By Shekhar Vaidya | May 14, 2026
In the world of self-hosting and home laboratory management, the mantra is often "if it ain’t broke, don’t fix it." For years, my networking stack was a multi-layered fortress. I relied on Cloudflare for DNS, DNS-over-HTTPS (DoH), and secure tunnels to expose services to the web. Simultaneously, I used Tailscale—the gold standard for effortless, WireGuard-powered remote connectivity—to bridge the gap between my mobile devices and my home network. It bypassed CGNAT limitations, secured my remote access, and allowed my phone to act as if it were sitting on the same local subnet as my server.
It was a perfect setup. Yet, I found myself asking a fundamental architectural question: If I am already entrusting 90% of my networking traffic to Cloudflare, why am I introducing a second vendor into the ecosystem?
This article explores my journey of replacing Tailscale with Cloudflare Mesh, the technical hurdles encountered, and the implications of consolidating a homelab stack under a single provider.
The Core Objective: Eliminating Complexity
The philosophy of "One Less Variable"
My decision to pivot wasn’t born from dissatisfaction with Tailscale. In fact, I have spent years recommending Tailscale to anyone struggling with the complexities of manual WireGuard configurations or the horrors of port forwarding. It remains one of the most beginner-friendly and robust tools in the space.
However, from an infrastructure perspective, every third-party service introduces a new point of failure, a new set of API keys to manage, and, most importantly, a new company holding metadata regarding my network topology. By migrating to Cloudflare Mesh, I sought to simplify my stack. The goal was simple: one dashboard, one authentication provider, and one set of logs. By integrating my remote access into the Cloudflare Zero Trust ecosystem, I was not necessarily looking for a "better" product, but a more unified one.
Chronology of the Migration
Phase 1: The Audit
Before touching a single configuration file, I audited my existing setup. I was already using Cloudflare Tunnels to securely expose specific applications (like my Pi-hole dashboard and Portainer) without opening ports on my router. I realized that the infrastructure for "Cloudflare Mesh" was already latent in my setup. I was effectively running the "Connector" (cloudflared) already; I just needed to enable the network routing portion of the Zero Trust dashboard.
Phase 2: Configuration and Early Friction
Moving from theory to practice revealed that "simple" is a relative term. I began by following the Cloudflare documentation for replacing a client-based VPN.

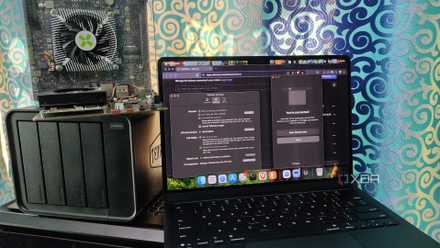
The process was technically six steps, but since I was already using Tunnels, the heavy lifting was done. I defined my internal IP ranges (192.168.x.x) within the Cloudflare dashboard and deployed the WARP client on my laptop and smartphone.
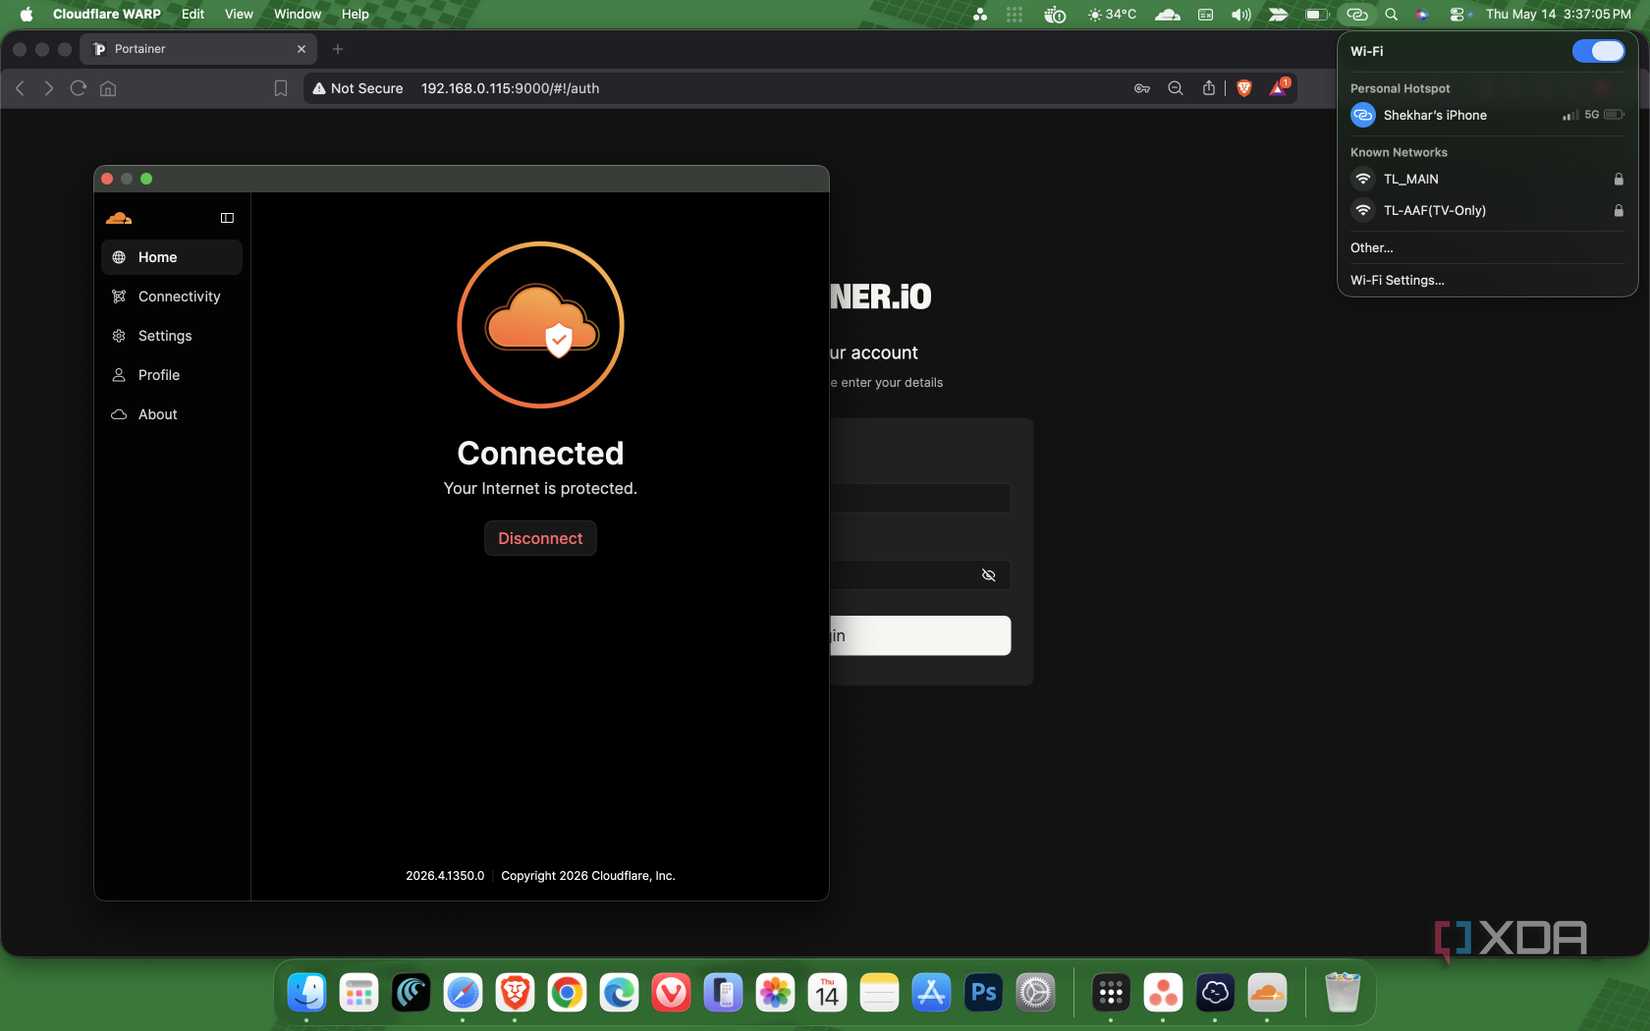
The initial failure: When I first tested the connection on mobile data, I could not reach my local services. After a troubleshooting session, I realized that the WARP client’s "split tunnel" feature was excluding my local 192.168.0.0/16 subnet by default. Furthermore, the mesh connectivity toggle in the Zero Trust dashboard was not fully propagated. Adjusting these settings solved the routing issue almost immediately.
Phase 3: The Unexpected Roadblock
One of the most frustrating moments occurred during client authentication. I was stuck in an infinite loop where the Cloudflare OTP (One-Time Password) was never reaching my email. I spent hours debugging the Cloudflare network, checking DNS records, and re-validating my Zero Trust subscription.
The culprit? My domain registrar had silently suspended my domain due to a discrepancy in my WHOIS contact information. It was a classic "human error" masquerading as a technical outage. Once the domain was reinstated, the authentication flow resumed, and the network came to life.
Supporting Data: Why the Shift Matters
To understand why this shift is significant, one must look at the way homelab traffic is handled.
| Feature | Tailscale (WireGuard) | Cloudflare Mesh (WARP/Tunnels) |
|---|---|---|
| Primary Architecture | Peer-to-Peer Mesh | Hub-and-Spoke (Connector-based) |
| Metadata Privacy | Tailscale manages keys | Cloudflare manages traffic routing |
| Authentication | OIDC/SSO | Cloudflare Access/Zero Trust |
| CGNAT Handling | Excellent (DERP servers) | Excellent (Tunnel-based) |
In the Tailscale model, your devices act as nodes that talk to each other. In my new Cloudflare Mesh setup, my homelab server acts as the "Connector." This creates a dependency: if the homelab server goes offline, the tunnel goes down. However, in a home server context, if the server goes down, the services I am trying to access are also offline, rendering the tunnel’s uptime moot.
Official Perspectives and Security Implications
From a security standpoint, consolidating under Cloudflare provides a "defense-in-depth" approach. By leveraging Cloudflare Access, I can now enforce identity-based authentication before a device even touches my network.
While some purists argue that centralizing control under a single giant like Cloudflare increases the risk of "all-eggs-in-one-basket," it also significantly reduces the attack surface. Instead of managing a Tailscale ACL (Access Control List) and a separate set of Cloudflare firewall rules, I now manage everything through a single policy set. If my domain is compromised, I have one place to revoke access rather than two.

Implications for the Future of Homelabbing
After a week of rigorous testing, the result is silence. The system is stable. I can access my Jellyfin media server, my Nextcloud instance, and my SSH terminals just as easily as I could with Tailscale.
1. The End of Duplication:
The most profound realization is that I was essentially running two parallel networking stacks. Removing Tailscale was not a "downgrade" but a "de-duplication." It cleared up my system tray and reduced the number of background daemons running on my machines.
2. The "Invisible" Infrastructure:
The highest compliment an IT engineer can pay to a system is that they stop thinking about it. My remote access now blends into the background of my daily routine. Whether I am on 5G, public Wi-Fi, or a hotel network, the experience is identical to being on my home LAN.
3. The Trade-offs:
Is this for everyone? Probably not. If you are not already deep into the Cloudflare ecosystem, the setup cost and the learning curve of the Zero Trust dashboard might be overkill. Tailscale remains the gold standard for those who want a "set it and forget it" VPN solution without needing to manage DNS records or tunnel configurations.
Conclusion: A Simpler Stack
My experiment to replace Tailscale was not about finding a "superior" technology. It was an exercise in architectural minimalism. By aligning my remote access strategy with my existing DNS and security infrastructure, I have created a more cohesive, manageable home network.
The migration taught me that as our homelabs grow in complexity, the primary challenge is not adding more tools, but managing the ones we have. In this case, removing a layer—even a great one—was exactly what my network needed to mature. My infrastructure is now leaner, my account overhead is lower, and, most importantly, my homelab feels like a single, unified system rather than a collection of disparate services duct-taped together.
For those considering a similar path, I suggest a staged migration. Keep your Tailscale instance active while you configure your Cloudflare Tunnels and Mesh. Only when you can reliably perform your core tasks through the new tunnel should you consider sunsetting your old VPN provider. In the end, the best network is the one you don’t have to troubleshoot.