Getting a 3D printer often feels like unlocking a secret, miniature factory on your desk. You load a spool of filament, import a digital file, hit "print," and within minutes, the machine begins the alchemical process of turning plastic string into a tangible, physical object. For many, that initial week is a blur of wide-eyed wonder. Every successful print feels like a minor miracle of modern engineering. However, that excitement is frequently tempered by the harsh, humbling reality of a failed print—a "spaghetti monster" of tangled plastic or a detached model that serves as a mechanical insult to your early efforts.
While the internet is flooded with "beginner guides" that emphasize leveling the bed, cleaning the build plate, and selecting high-quality filament, these standard tips often leave a critical gap. They address the mechanics, but they fail to address the mindset and the subtle habits that quietly sabotage prints before the nozzle even heats up. Reflecting on my first week of 3D printing, I realized that my mistakes weren’t born of hardware failure, but of a fundamental misunderstanding of how the machine interacts with its environment. These are the lessons I wish I had learned before I started reflexively blaming my printer for every failed attempt.
The Slicer: A Tool, Not a Psychic
The most common trap for a newcomer is the assumption that the "slicer"—the software that converts your 3D model into machine-readable G-code—is an all-knowing entity. Most users treat default slicer profiles as if they were gospel, handed down by the manufacturer to guarantee perfection. In reality, a default profile is merely a "safe" baseline. It is designed to provide a mediocre result across a wide spectrum of materials, models, and printer geometries.
I treated these default settings as though they were tuned specifically for my unique print. Consequently, I ignored obvious opportunities to optimize. I printed structural parts with excessive, wasteful infill; I printed decorative items with unnecessary wall thicknesses; and I pushed print speeds that, while technically possible, were entirely unsuited for the level of detail required. The printer completed the tasks, but the results were inefficient and often cosmetically flawed. I wasted significant amounts of filament because I didn’t realize the slicer was making broad, conservative assumptions rather than smart, context-aware decisions.
The true breakthrough occurred when I stopped treating slicer profiles as "set and forget" entities and started viewing them as editable recipes. By learning how to adjust layer height, infill patterns, support structures, and print speeds in concert, I transformed the printing process from a mystery into a predictable, repeatable science.
The Silent Killer: Filament Moisture
I expected "wet" filament to present itself in an obvious, dramatic fashion. In my mind, moisture absorption meant catastrophic failures: stringing, oozing, and prints that looked as though they had been "sneezed into existence." While extreme cases certainly manifest that way, moisture often exerts a much more insidious influence.

During my first week, I spent hours troubleshooting the printer, adjusting nozzle temperatures, re-leveling the bed, and obsessing over the first layer adhesion. The reality was that my filament had absorbed enough ambient humidity to print sub-optimally. The result was not a total failure, but a series of rough surfaces, inconsistent extrusion, and weak layer bonding that I incorrectly attributed to hardware issues.
Wet filament can make even a high-end printer look broken. If you are experiencing extra stringing, pitted surfaces, or tiny, audible "pops" as the plastic exits the nozzle, do not spend hours recalibrating your machine before checking the spool itself. The lesson is clear: filament care begins the moment the package is opened. You do not necessarily need a museum-grade, climate-controlled storage system on day one, but you do need a proactive strategy. Using airtight bags, desiccant packs, or a dedicated filament dryer removes a massive, invisible variable from the equation, saving you from chasing phantom problems that have nothing to do with the machine itself.
The Allure of Upgrades vs. The Necessity of Fundamentals
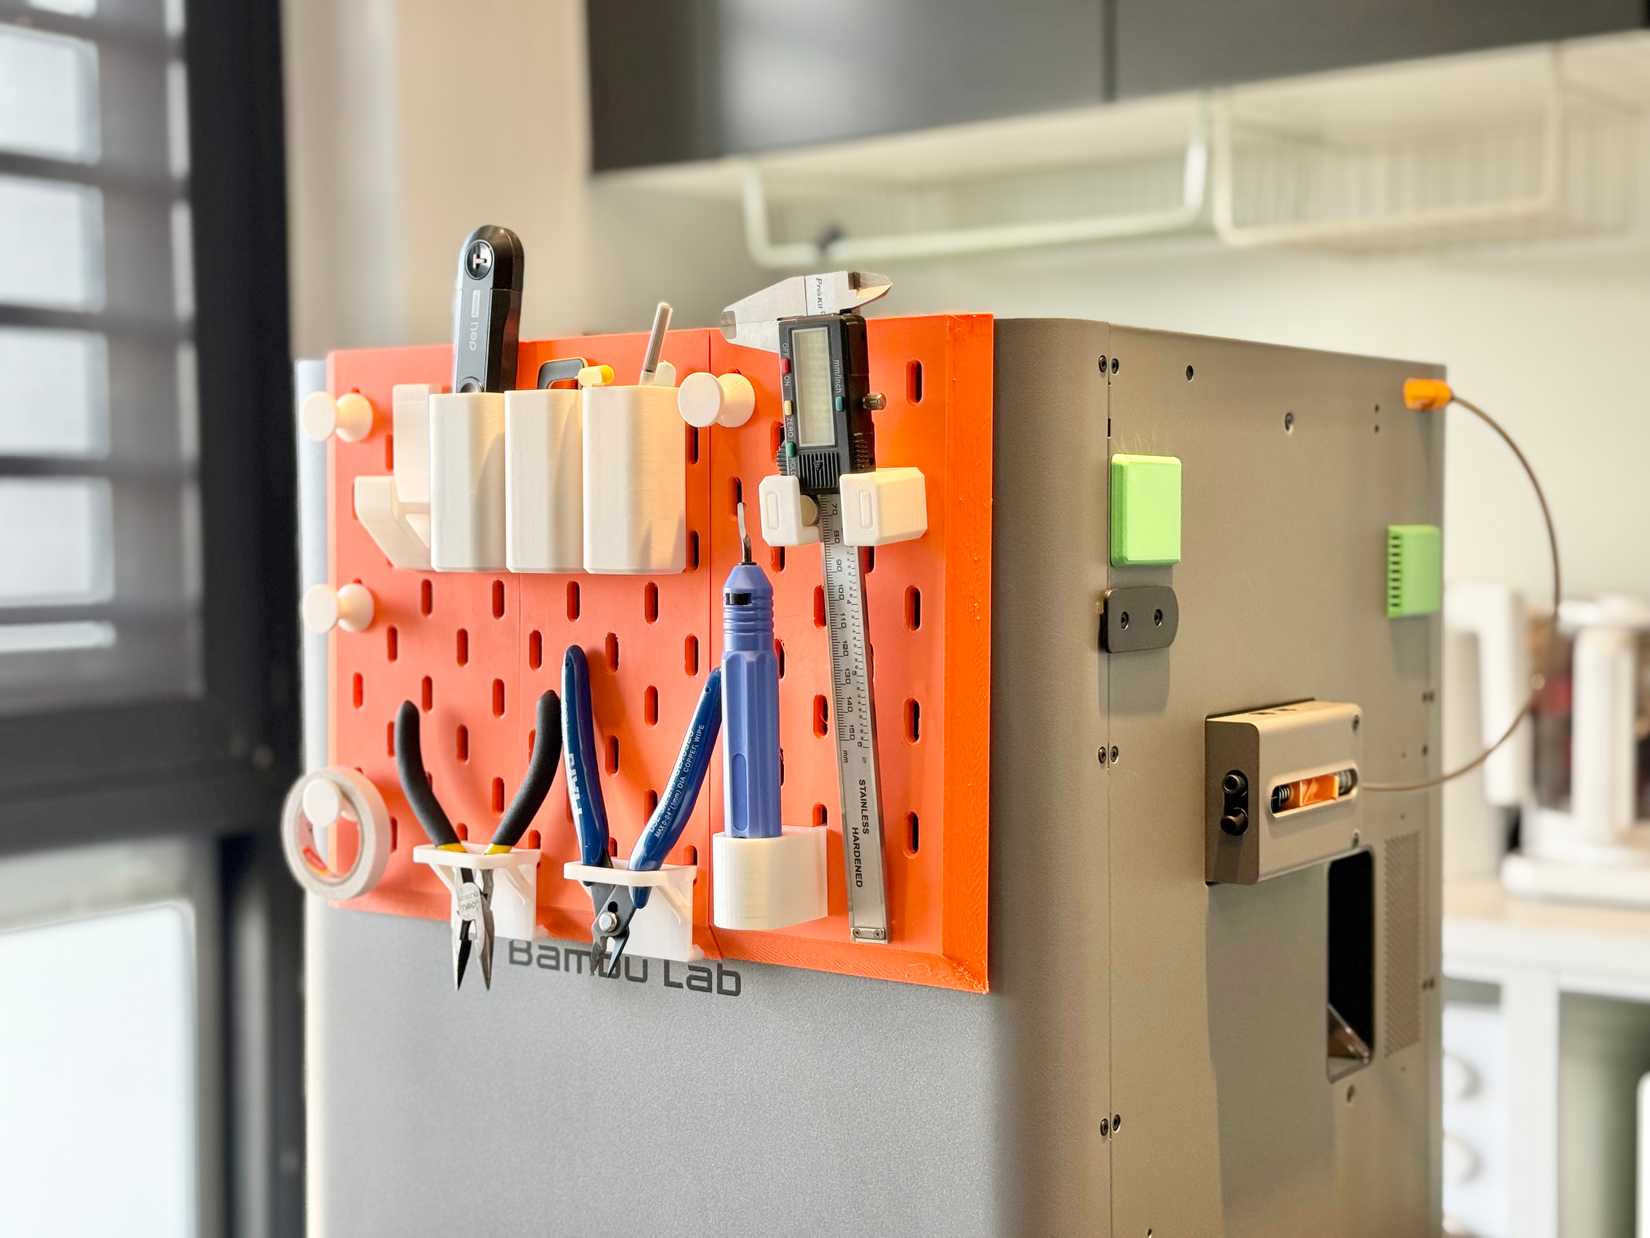
The first week with a 3D printer is a time of immense temptation. The 3D printing community is exceptionally talented at creating "mods"—spool holders, cable management clips, custom tool scrapers, and aesthetic shrouds. I found myself printing these upgrades almost immediately, feeling a false sense of productivity as I "customized" my machine.

The hard truth is that I hadn’t used the printer long enough to know what actually required improvement. I printed organizers for tools I didn’t even use yet, and I installed cable guides before I understood the mechanical limitations of my printer’s cable routing. I spent my most valuable early hours solving imaginary problems rather than mastering the machine’s inherent capabilities.
I would have advanced much faster had I focused on printing calibration pieces, tolerance tests, and functional parts with specific engineering goals. These "boring" prints teach you the nuance of how your machine handles overhangs, bridges, and dimensional accuracy. Random upgrades can feel like progress, but they often delay the necessary learning curve. A first printer does not need a costume change before you understand its personality.
Finding Purpose in the Print
Finally, I fell into the trap of printing for the sake of novelty. While printing a flexible dragon or a decorative vase is a great way to verify that the machine works, the early days of the hobby are often defined by a "novelty-chase." The danger here is that these complex, artistic models can hide your technical gaps. If a complex sculpture fails, it is nearly impossible for a beginner to discern whether the error was due to support settings, orientation, material choice, or improper cooling.
The prints that provided the most educational value were the ones with a specific, mundane purpose: a cable clip, a replacement knob for a drawer, or a custom shim. These items forced me to pay attention to "fit and finish," tolerances, and structural integrity. When a functional part fails to fit, the lesson is immediate and specific. When a "cool" dragon fails, it’s just a frustrating waste of plastic.
Implications for the Future
The journey from a "beginner" to a "competent user" is not paved with better hardware, but with a better understanding of the interaction between software, materials, and physics. As machines like the newly released Bambu Lab X2D continue to push the boundaries of speed and ease-of-use—boasting features like 1000 mm/s printing and dual-extrusion capabilities—the temptation to treat 3D printing as a "magic box" will only grow.
However, the core principles remain unchanged. Even with a printer that can handle a vast array of materials, from basic PLA to carbon-fiber-reinforced PA6, the user must still manage the fundamental variables: slicer settings, material condition, and the purpose of the print.
For those just starting, the advice is simple: slow down. Resist the urge to turn your printer into a project before it has become a tool. By treating the printer with the same respect you would a lathe or a CNC machine—prioritizing calibration over customization and understanding over output—you ensure that your first week is not just a flurry of plastic, but the foundation of a skill set that will last for years. The loudest lessons are often the ones learned in the first seven days; if you learn to listen to the machine rather than forcing it to perform, you will find that the possibilities of desktop manufacturing are, indeed, nearly endless.