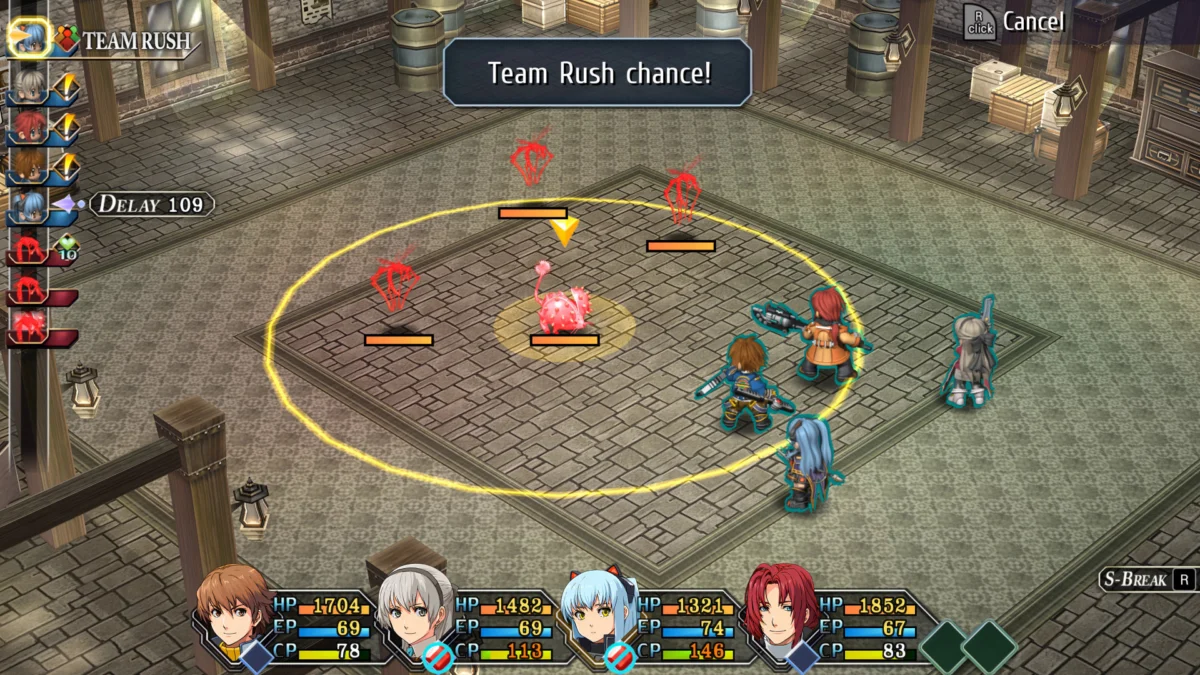

The allure of the Shallows in Subnautica 2 is undeniable. With its sun-dappled waters, abundant resources, and relatively docile wildlife, it serves as a comfortable cradle for any newly crash-landed survivor. However, as any veteran of the series knows, the true heart of the experience lies in the abyss. To uncover the mysteries of the planet, map the alien architecture, and survive the encroaching threats of the deep, you must venture beyond the 250-meter threshold.
While your own biological adaptations might allow you to withstand the pressure for short bursts, your primary vehicle—the Tadpole—is not so resilient. Left in its base configuration, the Tadpole will suffer catastrophic structural failure once it descends beyond 250 meters. To conquer the deep, you must master the art of vehicle modification. This guide provides a deep dive into securing the Depth Module, the most critical upgrade for your early-to-mid-game exploration.
Main Facts: Understanding the Tadpole Depth Module
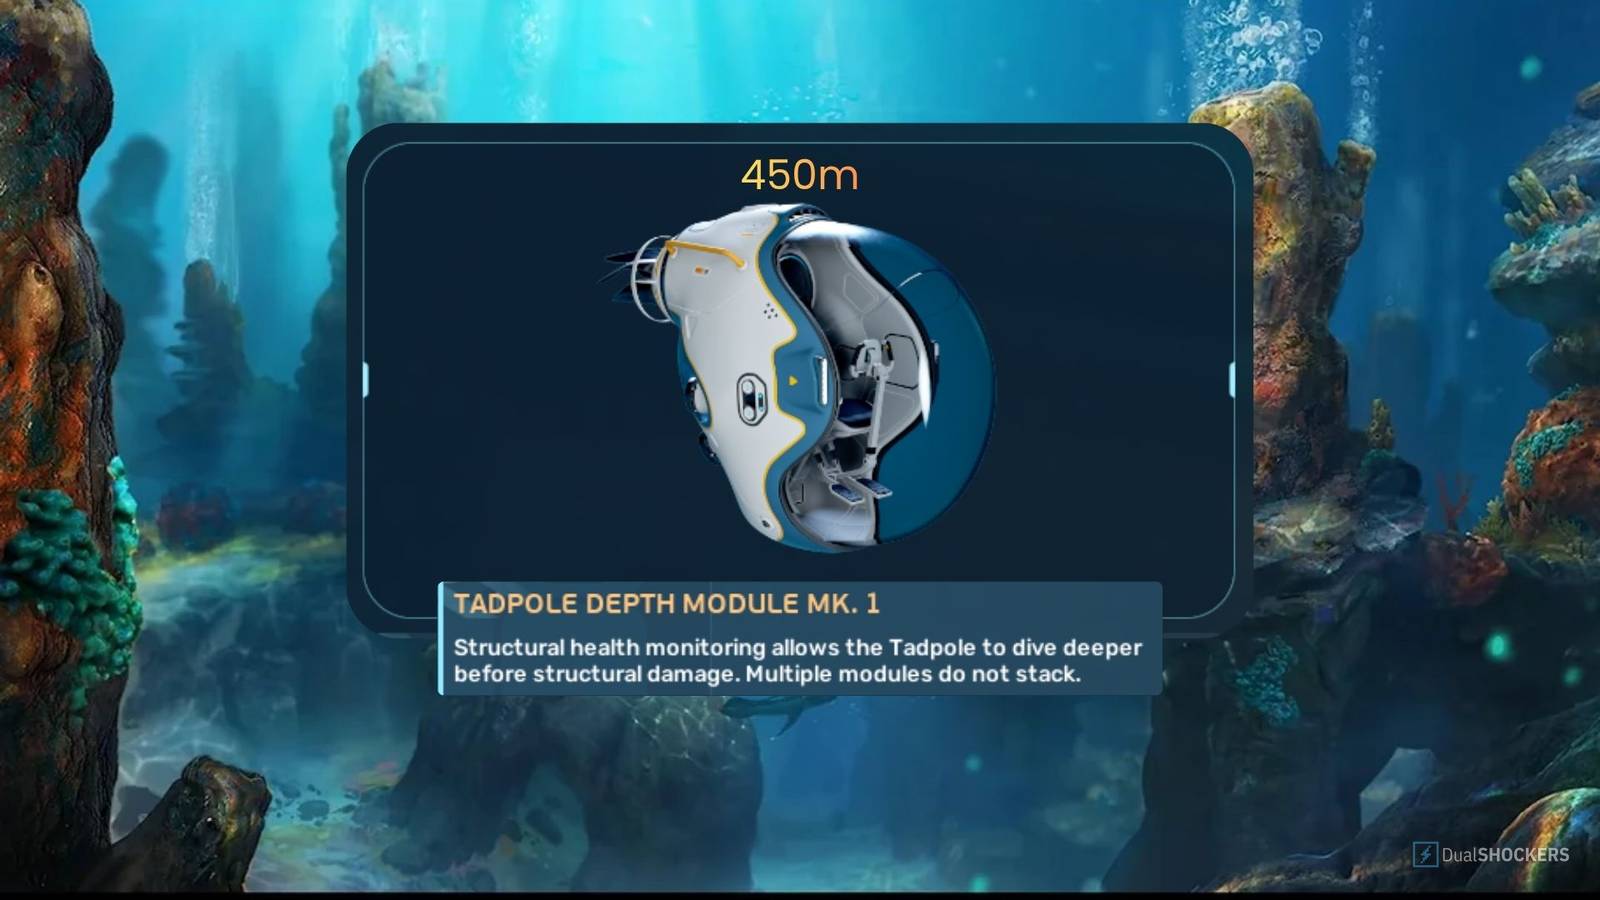
The Depth Module is an essential component designed to reinforce the hull of your submersible, effectively neutralizing the external water pressure that threatens to crush your vessel. In Subnautica 2, the standard Tadpole is limited to a maximum depth of 250m. By installing the Tier 1 Depth Module, you extend this capability to 450m, opening up vast swaths of the underwater map that were previously inaccessible.
The upgrade is not merely a convenience; it is a prerequisite for survival. Players who attempt to push the boundaries of their vehicle without this hardware will quickly find themselves facing hull breaches, emergency alarms, and eventually, the destruction of their only reliable transport. Acquiring the blueprint is the first major milestone in any player’s transition from a scavenger to an explorer.
Chronology of Discovery: How to Obtain the Blueprint
The journey to finding the Depth Module blueprint requires careful navigation and preparation. Following the game’s internal progression, players should look to secure this upgrade shortly after establishing a secondary base or outpost in the eastern regions of the map.
1. Scouting the Alien Ruins
The quest begins in the vicinity of the newly discovered Alien Ruins. Once you have established a presence in the eastern sector, head southeast. As you navigate the waters, you will eventually encounter a massive, imposing underwater mountain range. This area is highly biodiverse, featuring an abundance of Needler Fish—a species that, while visually striking, can be aggressive.

2. Navigating the Trench
Within the mountain’s shadow, look for a distinct blue ring—a hallmark of the alien terraforming technology present in the game. This ring marks the entrance to a sub-surface cave system. Before entering, ensure your Tadpole is positioned at the mouth of the cave, just above the 250m danger zone.
3. The Descent
Once you disembark, you must swim through the subterranean opening. The cave environment is dimly lit and home to several hazards. You will soon hear an audible, rhythmic beeping—this is your indicator that you are close to the wreckage of a previous mission.
4. Retrieving the Data Box
At the center of the wreck, you will find the Data Box containing the Depth Module blueprint. Do not leave immediately; the wreck itself is a treasure trove. Scan the nearby debris to secure fragments for the Tadpole Haul Chassis, an essential upgrade for inventory management that will prove invaluable as you spend longer periods away from your home base.

Supporting Data: Crafting and Installation
Once the blueprint is secured, the real work begins. To craft the module, you must have access to a Modification Station. If you have not yet constructed one at your base, a fully functional unit can be accessed within the Alien Ruins hub, though it is highly recommended to build your own to save time on future expeditions.
Essential Components
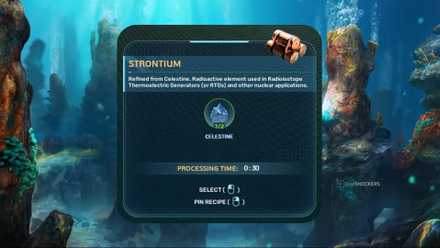
- Celestine: Plentiful in the immediate vicinity of the wreck site.
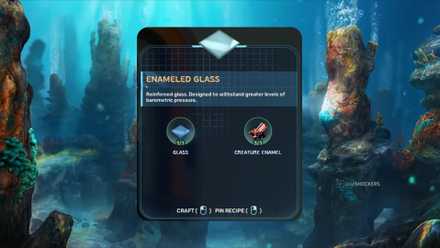
- Creature Enamel: Harvested from the local fauna; combine this with Glass to create Enameled Glass.
- System Chip: A core component crafted via a standard Fabricator using a Wiring Kit and two pieces of Quartz.
Installation Procedure
- Return to Base: Ensure all materials are gathered and organized.
- Fabrication: Use the Modification Station to synthesize the Depth Module.
- Integration: Approach your Tadpole and locate the rectangular maintenance hatch on the dorsal side of the vessel, situated just behind the power cell compartment.
- Activation: Simply interact with the slot to insert the module. Once installed, your HUD will update, confirming your new maximum crush depth of 450 meters.
Official Responses and Developer Intent
Unknown Worlds Entertainment, the developers behind Subnautica 2, have consistently emphasized that the "fear of the unknown" is a core mechanic. By limiting depth early on, they force players to engage with the crafting system and manage their resources carefully.
In recent community Q&A sessions, the development team noted that the Tadpole’s limited initial depth was a deliberate choice to encourage players to interact with the environment’s verticality. "We wanted the player to feel the weight of the ocean," stated a lead designer. "The upgrade path isn’t just about unlocking new areas; it’s about the player feeling that they have earned the right to see what lies at the bottom of the trench."
The introduction of the Depth Module is intended to act as a bridge between the "tutorial" phase of the game and the "survival horror" phase. As you descend past 250m, the lighting changes, the sound design becomes more oppressive, and the creatures become larger and more territorial. The developers believe this transition is where the Subnautica experience truly begins.
Implications: The Future of Your Exploration
Securing the Depth Module is merely the beginning of your journey. With a 450m range, the entire mid-level ecosystem of the planet is now open for harvest.
Expanding Your Reach
With this upgrade, you can now safely mine higher-tier minerals like Strontium, which is essential for advanced power systems and late-game vehicle upgrades. You can also explore the deeper caves where the most elusive flora and fauna reside.

Strategic Considerations
However, players should be warned: depth is only one factor of survival. As you reach these new depths, you will need to account for oxygen consumption, energy efficiency, and the increased presence of apex predators. It is highly recommended that you prioritize upgrading your Tadpole’s battery efficiency and defensive systems (such as the shock-field projector) as soon as you have the resources.
The depth limit is a hard boundary that, once crossed, changes the game’s risk profile significantly. The creatures you encounter at 400m are not the same as those in the Shallows; they are faster, stronger, and significantly more curious about your vessel.
The Path Ahead
As you continue your journey, keep in mind that this is only the first tier of the Depth Module. As you progress further, you will encounter the need for Tier 2 and Tier 3 modules, which will eventually allow you to explore the very floor of the ocean. The blueprint you just acquired is the foundation upon which your entire end-game survival strategy is built.
Whether you are seeking the origins of the alien civilization that left these ruins behind or simply looking to harvest the rarest materials in the sector, your Tadpole is your lifeline. Take care of it, upgrade it often, and never forget that in the deep, your equipment is the only thing standing between you and the crushing reality of the abyss.
Safe travels, survivor. The depths are waiting.