
Building a custom retro arcade cabinet is a rite of passage for many gaming enthusiasts. It is a project that sits at the intersection of woodworking, electronics engineering, and digital preservation. While the allure of having a permanent home for Pac-Man, Street Fighter, or Golden Tee is undeniable, the process is fraught with complex decisions that can quickly spiral from a fun weekend hobby into a significant investment of time and capital.
Whether you are aiming for a compact bartop unit or a full-sized floor model, success requires a methodical approach. This guide breaks down the essential considerations, from hardware selection to the realities of project budgeting.
The Strategic Foundation: Defining Your Scope
The most common mistake novice builders make is rushing to purchase a Raspberry Pi before establishing the "mission profile" of the machine. The games you intend to play dictate every other decision in the build process.
Game Library and Control Schemes
If your ambition is limited to classic 1980s titles like Galaga or Frogger, your control panel requirements are minimal: a four-way joystick and a single action button. However, if you plan to play fighting games like Street Fighter II, you will need a six-button layout for each player. If you are a fan of titles like Arkanoid or Tempest, you must integrate a spinner, while Marble Madness or Golden Tee requires a trackball.
Furthermore, player count is a critical design constraint. A two-player panel is standard, but attempting to cram four players into a single cabinet requires a significantly wider control deck, which in turn forces you to build a wider, more structurally complex cabinet.
Prototyping: The Cardboard Safeguard
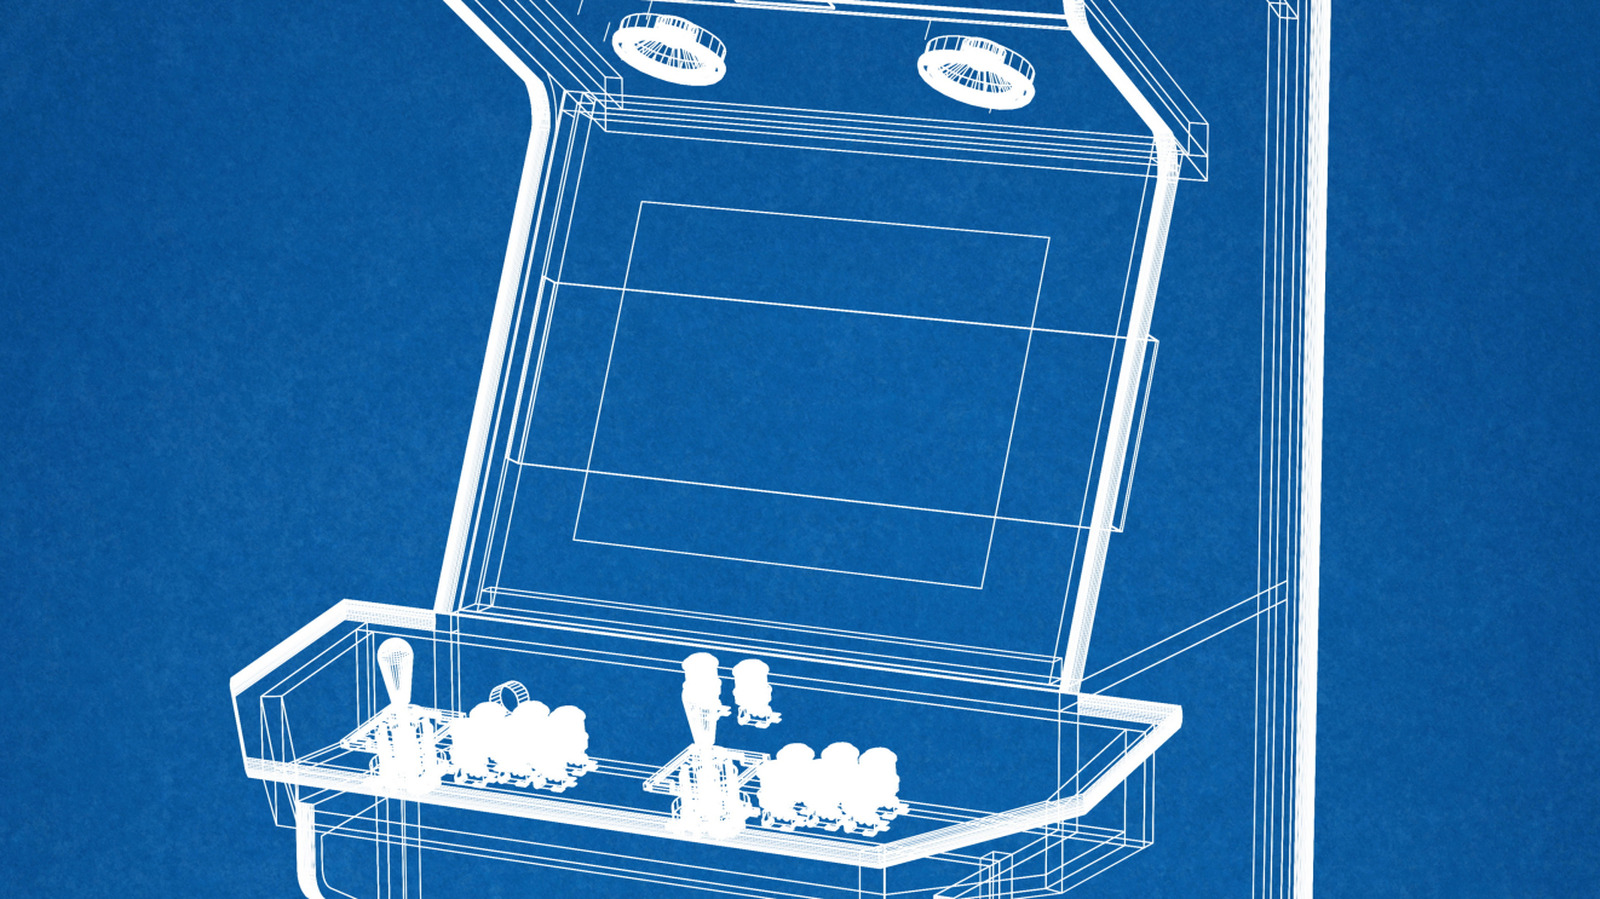
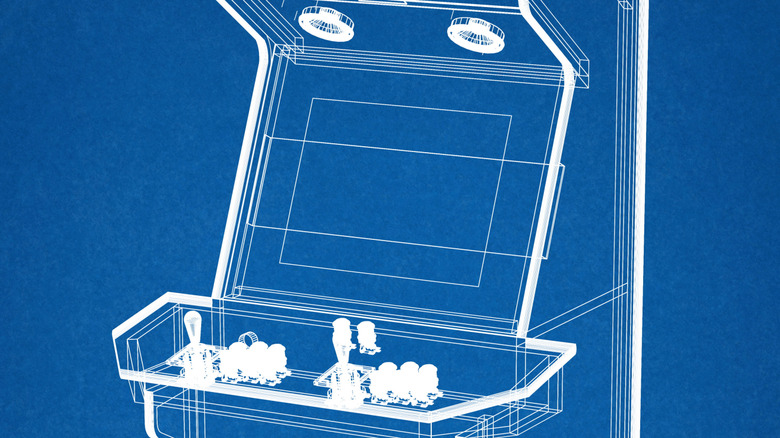
Before you ever touch a drill or a piece of MDF (medium-density fiberboard), create a full-scale mockup of your control panel using cardboard. Arrange your buttons and joysticks to ensure the ergonomics are sound. Many builders utilize the Maker Forums to vet their layouts, ensuring that "button mashing" won’t result in accidental interference between two players.
Hardware Selection: The Digital Brain
Once the design is set, you must select the hardware to run your emulation suite.
Raspberry Pi vs. Dedicated PC
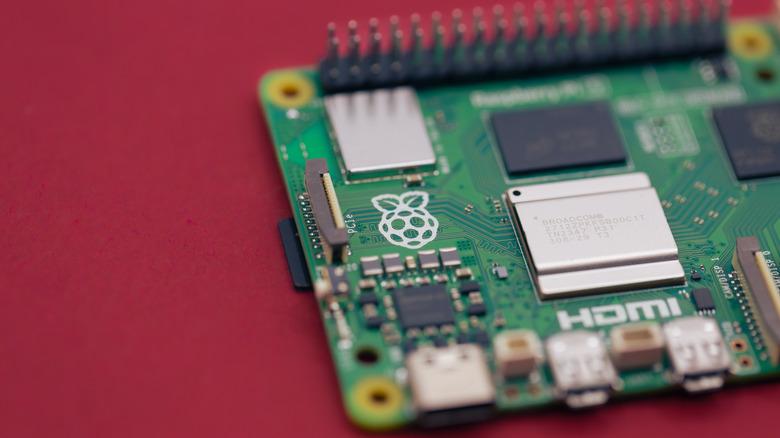
The Raspberry Pi has become the industry standard for DIY arcade builds due to its low power consumption, small footprint, and massive community support. The current Raspberry Pi 5 (2GB model) is an excellent entry point. While some might be tempted to opt for 4GB or 8GB models, the extra RAM provides negligible performance gains for 8-bit and 16-bit arcade emulation.
However, if your goal is to emulate more modern 3D systems—such as Sega Dreamcast, PlayStation 2, or arcade hardware from the late 90s—the Raspberry Pi may struggle. In these cases, a refurbished mini-PC or a desktop computer collecting dust is a superior choice. Modern Intel integrated graphics are highly capable of handling high-end emulation, and x86 architecture is broadly compatible with software like Batocera, which allows for a seamless, "console-like" experience.
The Role of the Encoder
A common point of confusion for beginners is the USB encoder. The encoder is the bridge between your physical hardware (buttons and joysticks) and the computer. It translates the electrical signal from a button press into a USB input that the system recognizes as a controller input. It is the invisible backbone of the machine.
Software Ecosystems
Understanding your software "front end" is vital:
- EmulationStation: This is merely the menu interface; it is not an emulator itself.
- Recalbox/Batocera: These are comprehensive operating systems that bundle the front end, the emulators, and the configuration tools into one package. They are generally considered the most user-friendly options.
- RetroPie: A long-time industry favorite, though it is currently lagging in official support for the latest Raspberry Pi 5 hardware.
Chronology of the Build: A Step-by-Step Approach
Building an arcade cabinet is rarely a linear process. However, following this general chronology will save you from costly rework:
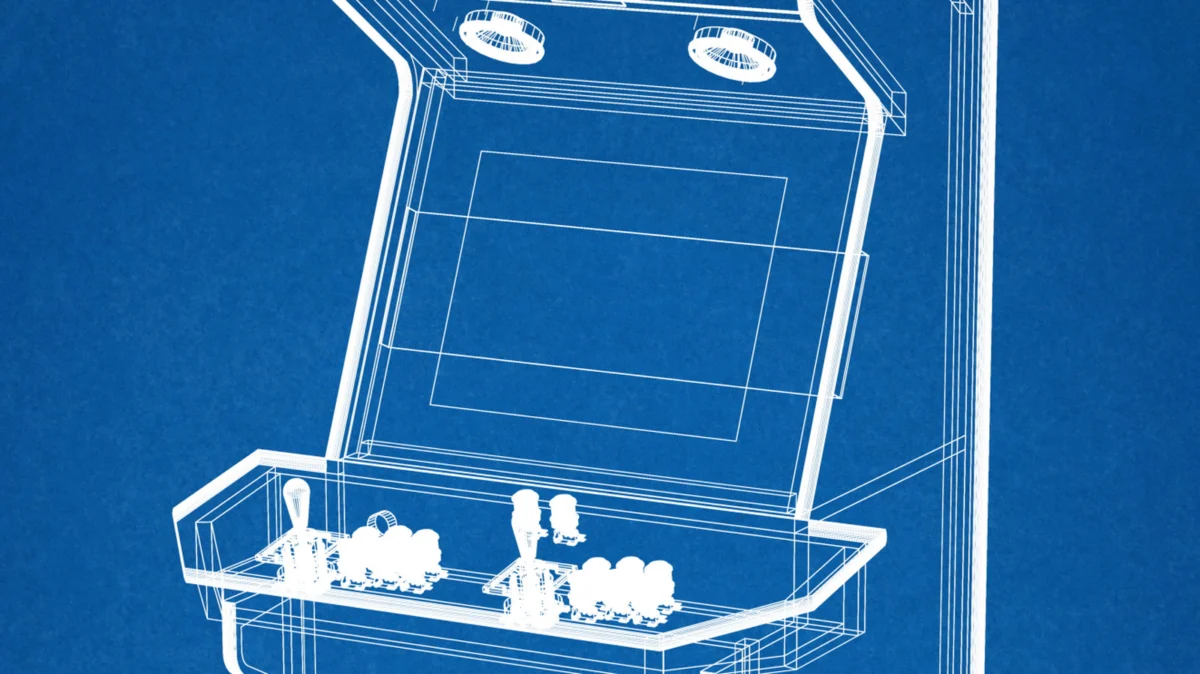
- Planning and Research: Determine the footprint of the cabinet. Will it be a bartop or upright? Sketch your dimensions.
- Sourcing Components: Acquire your display (a 4:3 aspect ratio monitor is period-accurate, though harder to find), buttons, joysticks, and computer.
- Control Panel Fabrication: Drill your panel and test the electronics before installing them in the cabinet.
- Cabinet Assembly: Construct the "furniture." Whether using a flat-pack kit (like those from Game Room Solutions) or raw plywood, this is the most labor-intensive phase.
- Internal Mounting: Secure the monitor, speakers, and power supply. Ensure there is adequate ventilation.
- Software Configuration: Set up your emulation OS, map your controls, and organize your ROMs.
- Finishing Touches: Apply vinyl artwork, install T-molding (the protective plastic edge trim), and set up the marquee lighting.
The Economics of "DIY"
A persistent myth in the community is that building your own cabinet is inherently cheaper than buying a pre-built commercial unit. This is often false.
The Hidden Costs
When you itemize a build, the costs add up rapidly. A basic bartop kit ($130), a full control set ($45), a speaker/amp package ($30), and a Raspberry Pi ($65) bring you to nearly $270 before you have even purchased a display, a power supply, cables, microSD storage, or aesthetic decals.
If you are sourcing premium parts—such as authentic Sanwa joysticks, high-quality LCD monitors, and custom-printed vinyl wraps—a full-sized, professional-grade cabinet can easily exceed $1,000. For comparison, a commercial unit like the Arcade1Up Pac-Man Deluxe retails for approximately $500.
The "Build vs. Buy" Implication
So, why build? The primary value proposition of a DIY build is customization and control. Commercial cabinets are often locked down, offering a fixed list of games and limited hardware modularity. A DIY cabinet allows you to:
- Choose your screen: Avoid the mediocre viewing angles found on some budget commercial panels.
- Curate your library: You decide exactly which games are included, avoiding the "filler" titles often found on mass-market units.
- Maintainability: Because you built it, you can fix it. Replacing a broken button or upgrading the computer in five years is a trivial task compared to repairing a proprietary, non-standard commercial board.
Legal and Ethical Considerations
It is imperative to address the legality of ROMs. The emulation community generally operates in a gray area. MAME (Multiple Arcade Machine Emulator) development guidelines explicitly advise users to utilize only licensed software, ROM sets released for non-commercial use, or data they have personally dumped from arcade PCBs they legally own. As you build your collection, ensure you are sourcing your files through reputable, legal channels.
Conclusion: The Path Forward
Building an arcade cabinet is a project that rewards patience and meticulous planning. Whether you prioritize the nostalgia of the classic 80s arcade or the performance of modern emulation, the result is a functional piece of art that serves as a monument to gaming history.
If you are starting your first build today, keep your scope tight, prototype your controls, and remember: the journey of construction is just as rewarding as the high score you’ll eventually chase on your own machine.