 Reynand Wu
Your iPhone is arguably the most powerful portable computer you own, serving as your primary media hub for music, podcasts, films, and telecommunications. Yet, despite the sophisticated engineering packed into every iteration of the device, most users continue to experience audio playback at suboptimal factory settings. While the iPhone is capable of delivering stunning acoustic fidelity, "out-of-the-box" performance often favors efficiency over clarity.
Achieving a high-fidelity experience requires a multifaceted approach, blending software calibration, an understanding of compression formats, and an honest assessment of your hardware limitations. Whether you are a casual listener or a dedicated audiophile, here is how you can transform your iPhone into a high-performance audio device.
The Fundamentals of Digital Audio: Why Settings Matter
At its core, digital audio is a balancing act between data throughput and sound quality. When you stream music, your iPhone interprets compressed files—data that has been "trimmed" to save bandwidth. While modern compression algorithms are remarkably efficient, they inherently discard "inaudible" data that can actually contribute to the depth, soundstage, and texture of a track.
The primary objective of optimizing your iPhone’s audio is to minimize this compression and tailor the output to your specific listening environment. By navigating the Settings app, you can move beyond default presets and move toward a configuration that respects the original intent of the recording engineer.
Chronology of Optimization: A Step-by-Step Calibration
To truly elevate your audio experience, you must approach the process systematically. We recommend tackling your setup in this specific order to ensure that each layer of the audio chain is optimized before you move on to the next.
1. Optimizing Streaming Platforms
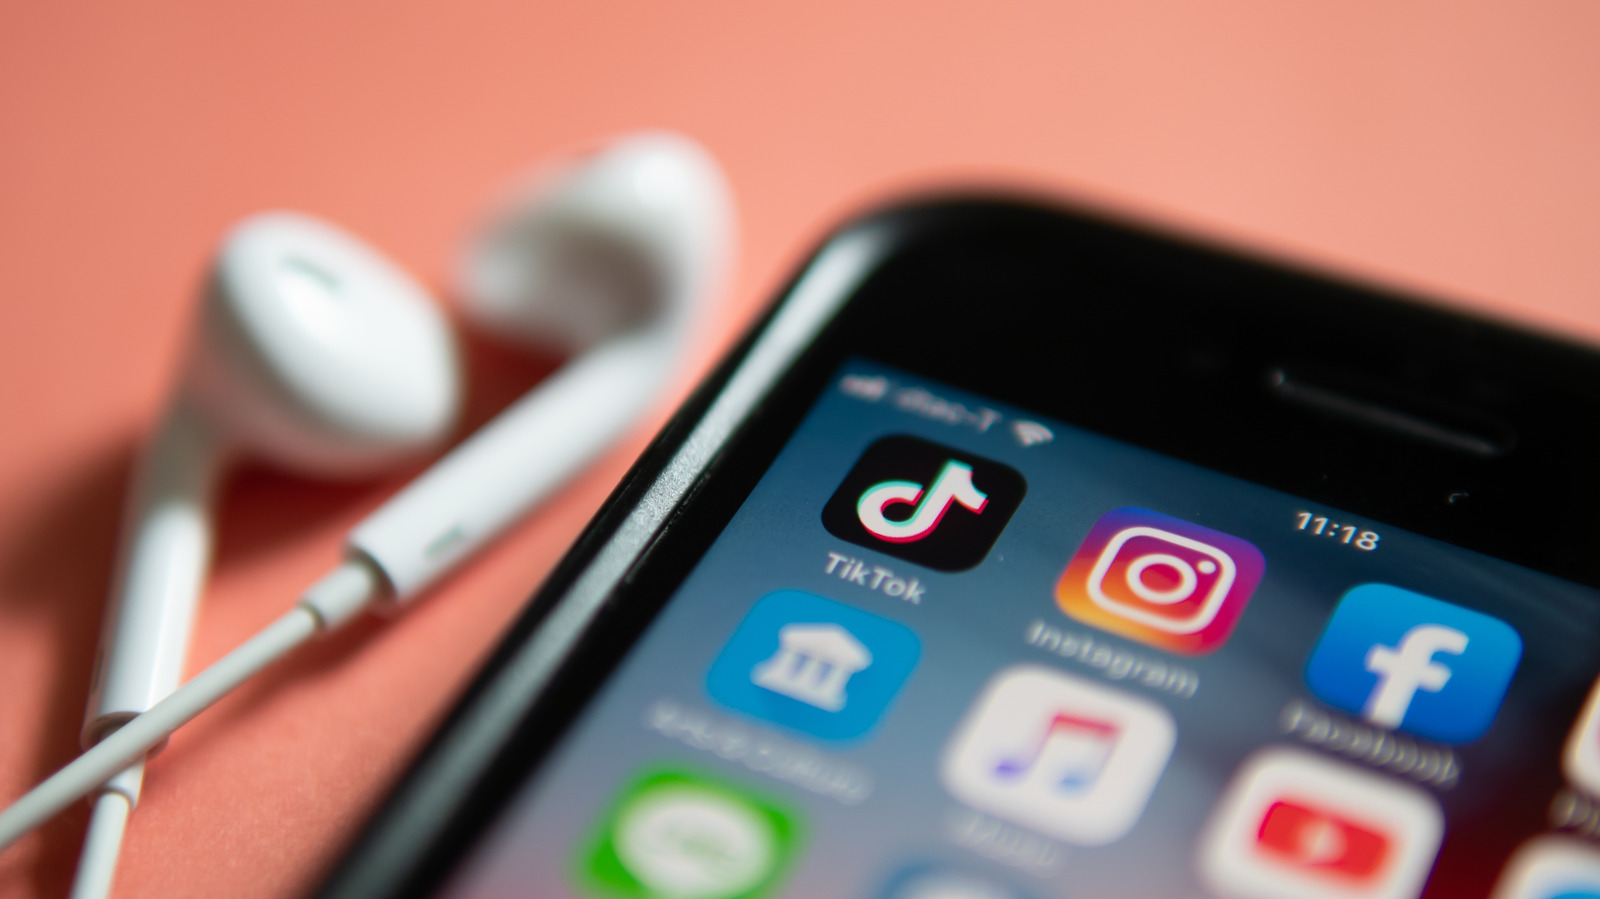
The journey begins with your music provider. Both Apple Music and Spotify offer granular controls that dictate the bitrate of your streams.
- Apple Music: Navigate to Settings > Apps > Music > Audio Quality. Here, you are presented with three distinct tiers: Wi-Fi Streaming, Mobile Data Streaming, and Downloads. For the best balance, select "High Quality." If you are using a dedicated digital-to-analog converter (DAC) and high-impedance headphones, "Lossless" is the preferred setting.
- Spotify: Access your profile icon, then head to Settings and privacy > Media quality. While free users are limited to "High," Premium subscribers should toggle the setting to "Very High." This maximizes the bitrate, reducing the artifacts often found in lower-quality streams.
2. Equalization: Sculpting Your Sound
Once your source quality is set, you must address the frequency response. The "Equalizer" (EQ) is not merely a gimmick; it is a vital tool for correcting the shortcomings of your headphones or the acoustics of your environment.
In Apple Music, the EQ menu offers various presets. While "Electronic" or "Bass Booster" might be popular, "Late Night" is often an unsung hero, as it compresses the dynamic range, making quiet passages easier to hear in noisy environments. In Spotify, you can access a more robust manual equalizer. By dragging the frequency sliders, you can compensate for headphones that may be too "bright" (harsh high frequencies) or "muddy" (overbearing bass).
3. The Role of "Sound Check" and Normalization
A contentious topic among audiophiles is "Sound Check" (Apple) and "Volume Normalization" (Spotify). These features attempt to bring all tracks to a consistent volume level.
- The Argument for: It prevents jarring volume jumps between tracks from different eras or artists.
- The Argument against: Purists argue that these features apply digital limiting, which can diminish the "punch" and dynamic range of a track.
- Recommendation: Conduct an A/B test. Listen to a high-production track with the feature on, then off. If you notice a loss in the "texture" of the music, keep it disabled.
Understanding Lossless Audio: The Hardware Hurdle
The term "Lossless" has become a buzzword in the industry, promising CD-quality or even studio-mastered audio. However, there is a fundamental technological bottleneck: Bluetooth.
Current Bluetooth protocols, including those used by the AirPods Pro and even high-end third-party wireless headphones, do not possess the bandwidth to transmit true lossless audio without some degree of compression. Consequently, toggling "Lossless" in your Apple Music settings will yield no perceptible benefit if you are listening via Bluetooth.
Bridging the Gap with DACs
To experience the true benefits of Lossless or Hi-Res Lossless files, you must use a wired connection. This is where the Digital-to-Analog Converter (DAC) becomes essential. A DAC bypasses the internal, often inferior, audio processing of your phone and converts the digital signal into a high-fidelity analog wave.
Budget-friendly options, such as the FiiO KA11 or similar dongle-DACs, provide a massive leap in sound quality. By plugging your wired headphones into a quality DAC, you suddenly unlock the depth, separation, and detail that lossless files are designed to provide.
Accessibility and Advanced Audio Customization
Beyond standard music settings, Apple has buried powerful audio tools within the Accessibility menu. These are not just for users with hearing impairments; they are, in effect, "pro-audio" tweaks.
Headphone Accommodations
Found under Settings > Accessibility > Audio & Visual, the Headphone Accommodations feature allows you to customize your output based on your personal hearing profile. You can boost "Soft Sounds," which makes subtle environmental audio and vocals in podcasts much clearer. You can also adjust frequency ranges, allowing you to prioritize the "Mid" range for vocal clarity or "High" range for crisp percussion.
Phone Noise Cancellation
For users on older devices (iPhone 12 and earlier), the Phone Noise Cancellation toggle is a game-changer for call quality. It utilizes the onboard microphones to sample ambient noise and phase-cancel it, ensuring your voice remains the priority during calls in loud environments.
Maintaining Your Equipment
While software tweaks can work wonders, they cannot overcome physical debris. If you are using the iPhone’s built-in speakers, sound degradation is often the result of lint, dust, or skin oils clogging the speaker grilles.
Periodically cleaning these grilles with a specialized tool—such as a soft-bristled brush, non-conductive putty, or low-pressure compressed air—can restore the high-frequency response that gets muffled by debris. Avoid using sharp objects, which can puncture the delicate protective mesh.
Implications for the Future of Mobile Audio
The industry is currently at a crossroads. As streaming services push for higher bitrates, the demand for high-quality, wired audio hardware is seeing a resurgence. Apple’s integration of the Vision Pro with high-end AirPods suggests a future where spatial audio and proprietary wireless protocols may eventually rival the clarity of wired connections.
However, for the present, the "Golden Ratio" of iPhone audio remains: High-quality source material + a capable external DAC + wired high-fidelity headphones.
By moving past the default settings and engaging with the granular controls provided by iOS and streaming providers, you transform your device from a mere convenience into a sophisticated audio instrument. The difference between the factory-default iPhone experience and a fully optimized setup is not just subtle—it is the difference between hearing your music and truly experiencing it.
As you refine these settings, remember that audio is subjective. There is no "perfect" setting, only the one that best suits your ears. Experiment with these configurations, embrace the nuances of lossless audio, and enjoy the clarity that your music deserves.

 Jia Lissa
 Neng Nana