

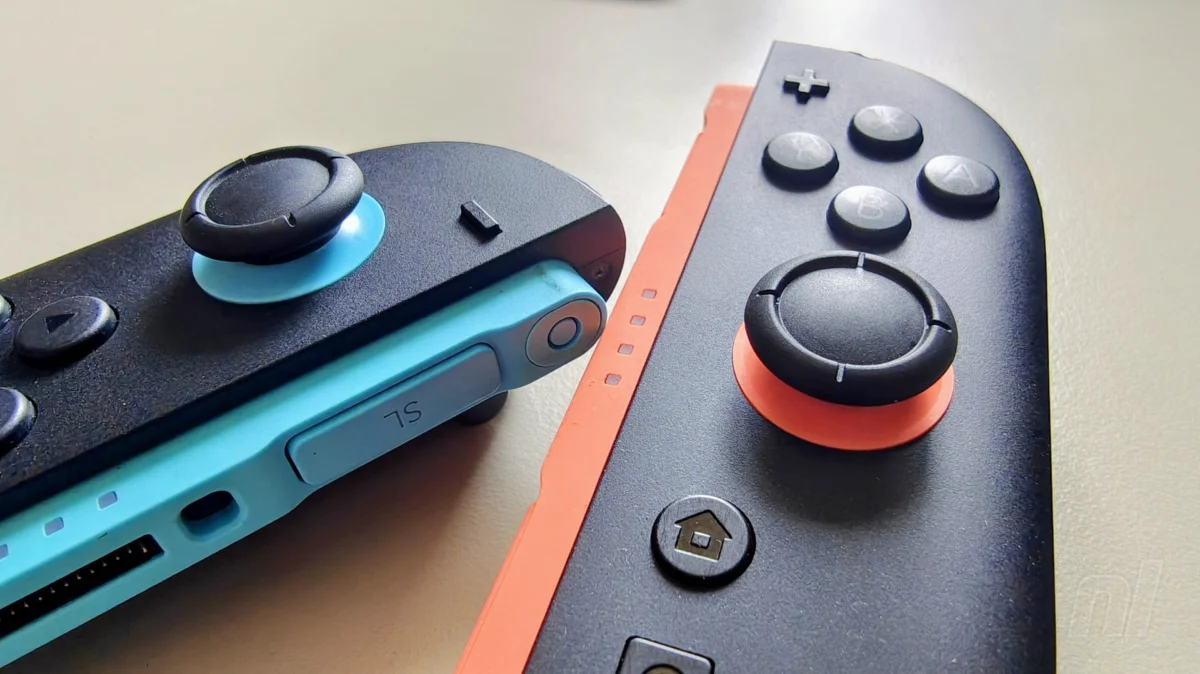
The Nintendo Switch 2 has arrived, and with it, a significant upgrade that directly addresses one of the original console’s most persistent and frustrating flaws: the notorious Joy-Con stick drift. While the initial Switch, launched in 2017, was widely lauded for its innovative hybrid design, its diminutive Joy-Con controllers quickly became synonymous with an infuriating issue where analog sticks would register input even when untouched, rendering gameplay erratic and often unplayable. This phenomenon, commonly referred to as "stick drift," plagued countless players and resulted in a significant volume of repair requests and public outcry.
However, early reports and hands-on experience with the Switch 2 suggest a dramatic improvement. The Joy-Con controllers accompanying the new console appear to be remarkably robust, with a conspicuous absence of widespread stick drift complaints. This is a welcome development for gamers, promising a more reliable and seamless play experience.
Despite this marked improvement, the reality of intricate electronic components means that failure can still occur. Accidental damage, wear and tear over extended use, or simply the desire to upgrade to potentially more durable and advanced technology could necessitate a replacement of these crucial analog sticks. For those who wish to keep their Switch 2 in peak condition or explore alternative, high-performance options, understanding the process of replacing these components is invaluable.
This comprehensive guide will delve into the mechanics of the Switch 2’s Joy-Con, explore the reasons behind the perceived improvement, and provide a detailed, step-by-step walkthrough for replacing the analog sticks. We will also address common troubleshooting scenarios and offer insights into the future of controller technology.
A Legacy of Frustration: The Original Switch’s Stick Drift Predicament
The original Nintendo Switch, a groundbreaking console that seamlessly transitioned between home and handheld gaming, was met with immense enthusiasm. However, this initial excitement was soon tempered by a pervasive and deeply irritating problem: analog stick drift. From the console’s launch in March 2017, users began reporting that their Joy-Cons would register phantom inputs. This meant that characters would move on their own, menus would scroll uncontrollably, and aiming in games became a frustrating exercise in futility.
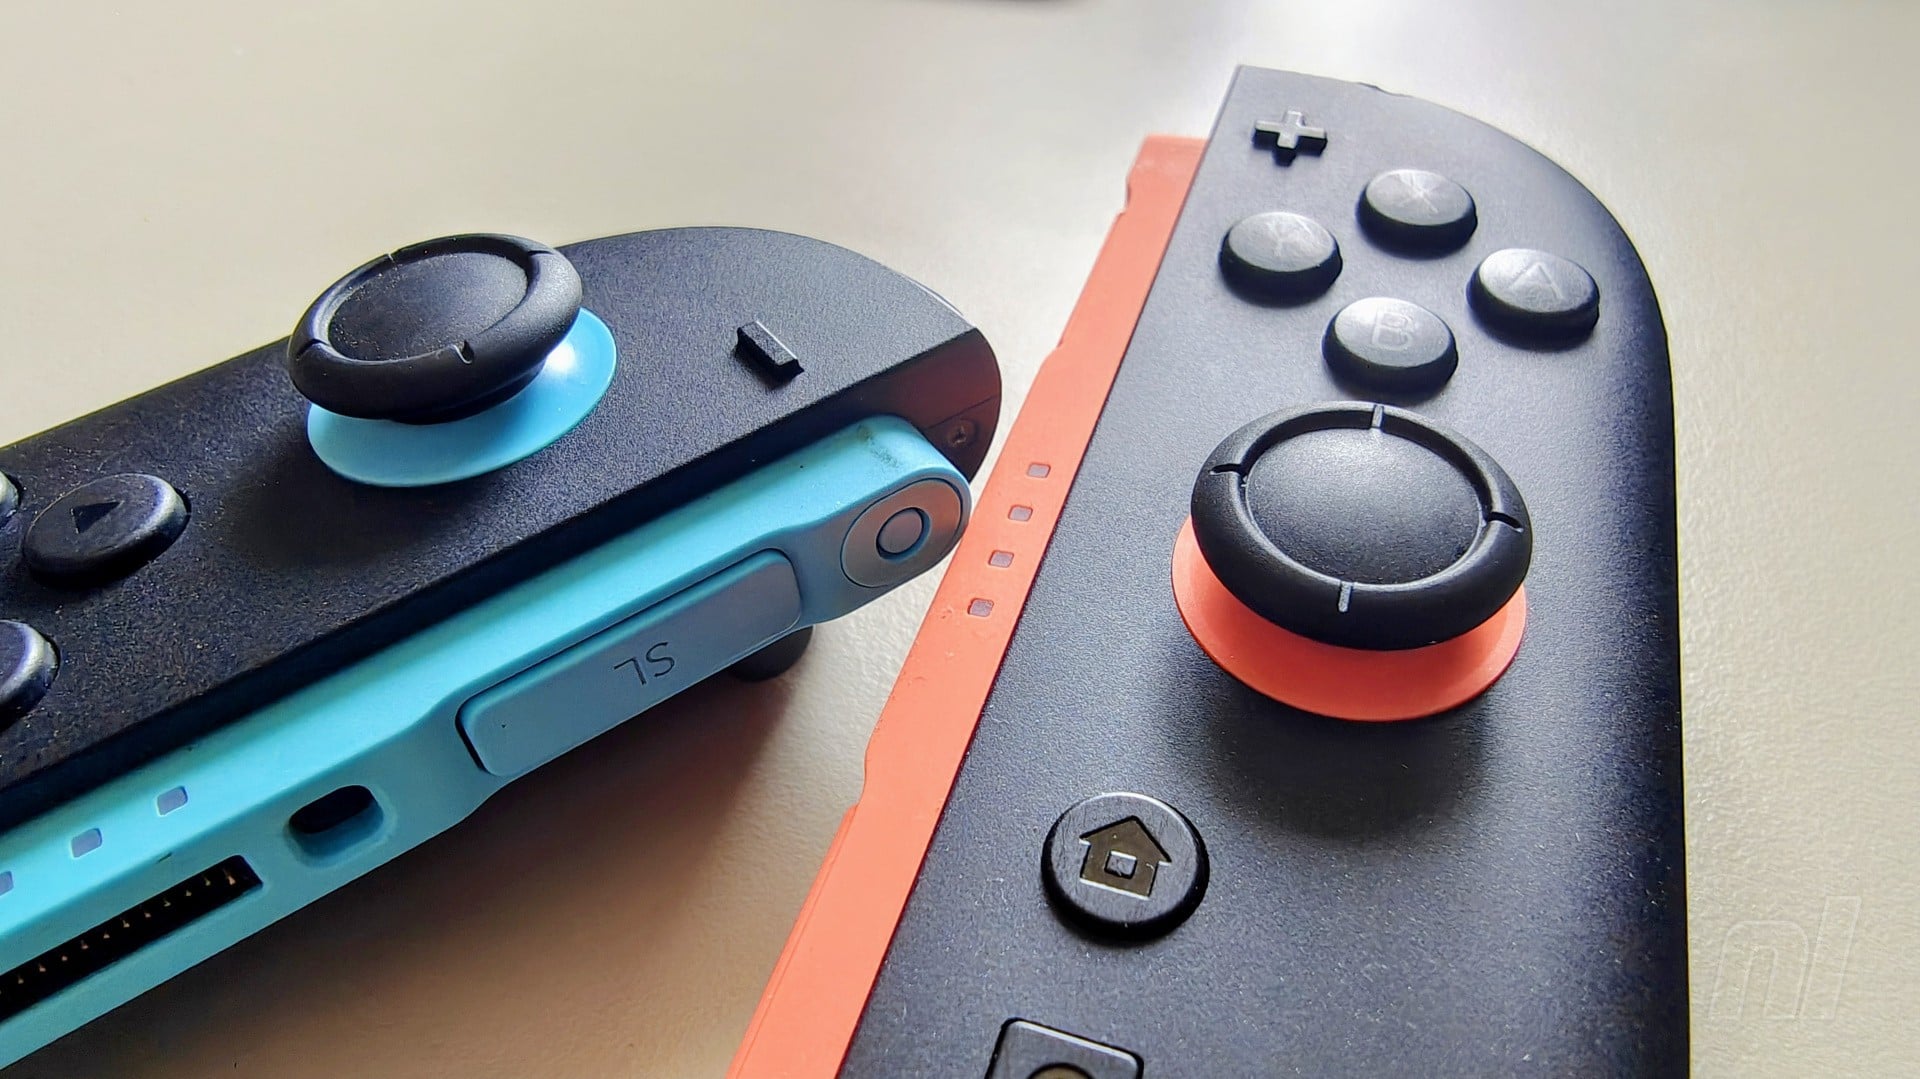
The cause of this issue was widely attributed to the wear and tear on the internal components of the analog sticks. The potentiometers, which translate the physical movement of the stick into electrical signals, were susceptible to dust and debris ingress. Over time, this ingress, coupled with the constant friction of the moving parts, led to inaccuracies and erratic readings, manifesting as stick drift.
Nintendo’s response to the issue was varied. Initially, the company offered repair services, though the turnaround time and the recurring nature of the problem for some users led to ongoing dissatisfaction. Eventually, Nintendo began offering free Joy-Con repairs for stick drift in many regions. Despite these efforts, the perception of the original Joy-Cons being inherently prone to this defect persisted, casting a shadow over an otherwise revolutionary gaming device.
The Switch 2: A New Dawn for Joy-Con Durability
The stark contrast between the original Switch’s Joy-Con issues and the apparent resilience of the Switch 2’s controllers is a testament to Nintendo’s commitment to addressing user feedback and improving their hardware. While Nintendo has not officially detailed the specific technological advancements made to the Switch 2’s analog sticks, industry speculation and expert analysis point to several key areas of improvement:
- Enhanced Component Quality: It is highly probable that Nintendo has sourced higher-grade materials and more robust internal components for the analog sticks in the Switch 2. This could include more durable plastics, improved bearing surfaces, and more resilient potentiometers designed to withstand greater wear and tear.
- Advanced Sealing Mechanisms: The ingress of dust and debris was a major contributor to stick drift on the original Joy-Cons. The Switch 2’s controllers may feature improved sealing around the analog stick mechanism, creating a more effective barrier against environmental contaminants. This could involve redesigned dust covers or more tightly integrated seals within the stick housing.
- Hall Effect or TMR Technology (Potential): While the article specifically mentions that the Switch 2 sticks use "similar technology to the original Switch," it also hints at the possibility of users opting for Hall Effect or TMR (Tunneling Magnetoresistance) alternatives. These technologies represent a significant leap forward in analog stick design.
- Hall Effect Sensors: These sensors detect magnetic fields to determine the position of the analog stick. Crucially, they are non-contact, meaning there is no physical friction between the sensor and the moving part. This dramatically reduces wear and tear and virtually eliminates the possibility of stick drift caused by physical degradation.
- TMR Sensors: Similar to Hall Effect sensors, TMR sensors also utilize magnetic fields but offer even greater precision and sensitivity. They are known for their exceptional durability and low power consumption.
The fact that the article encourages users to consider Hall Effect or TMR alternatives, while also stating the Switch 2 sticks use "similar technology," suggests a nuanced situation. It’s possible that Nintendo has refined the existing potentiometer-based technology to a higher standard, making it far more durable. Simultaneously, the market is already adapting by offering these advanced aftermarket solutions, further ensuring the longevity of Switch 2 controllers.
The Tools of the Trade: Preparing for Joy-Con 2 Stick Replacement
Replacing the analog sticks in your Switch 2 Joy-Cons, while a more involved process than simply swapping batteries, is entirely achievable for the dedicated DIY enthusiast. The procedure is largely consistent between the left and right Joy-Cons, with a few minor distinctions, particularly concerning the right (red) Joy-Con.

Before embarking on this repair, it is crucial to gather the necessary tools and components. This will ensure a smooth and efficient replacement process, minimizing the risk of damage.
Essential Tools and Components:
- Replacement Analog Sticks: These are the core of the repair. You can opt for official Nintendo replacements (if available) or third-party alternatives. As mentioned, Hall Effect or TMR sticks are highly recommended for their superior durability and resistance to drift. These can often be found on online marketplaces.
- Precision Screwdriver Set: A set of small, high-quality screwdrivers is paramount. You will specifically need:
- Tri-Wing (Y-Type) Screwdriver: Essential for removing the initial screws on the Joy-Con casing.
- Phillips Head (Crosshead) Screwdriver: Required for various internal screws.
- Plastic Opening Tools (Pry Tools/Spudgers): These are crucial for safely separating the plastic components of the Joy-Con without scratching or damaging them. A thin guitar pick can also serve this purpose.
- Tweezers: Fine-tipped tweezers are invaluable for manipulating small screws, disconnecting delicate ribbon cables, and handling small internal components.
- Small Container or Magnetic Mat: To keep track of the various screws and small parts you will be removing. Organizing them in the order of removal is a highly recommended practice to simplify reassembly.
- Anti-Static Wrist Strap (Recommended): While not strictly mandatory for this repair, using an anti-static wrist strap can prevent electrostatic discharge, which can damage sensitive electronic components.
- Magnifying Glass (Optional): For those with less than perfect eyesight, a magnifying glass can be extremely helpful in identifying small screws and ribbon cable connectors.
A Word of Caution:
It is imperative to reiterate that if you are not confident in your ability to perform delicate electronic repairs, it is strongly advised to seek professional assistance. Disassembling electronic devices carries inherent risks, and mishandling components can lead to irreparable damage. Proceed with caution and at your own risk.
Pro Tip for Reassembly: As you disassemble, lay out each screw and component in the exact order it was removed. This creates a clear roadmap for reassembly, allowing you to simply reverse the process.

The Surgical Procedure: Replacing Your Joy-Con 2 Analog Sticks
With your tools at the ready and a steady hand, you can now begin the process of replacing your Joy-Con 2 analog sticks. Remember, the following steps are detailed with the understanding that you are working with a Switch 2 Joy-Con.
Step 1: Initial Casing Disassembly
- Locate the two small tri-wing screws situated above and below the blue or red strip on the exterior of the Joy-Con.
- Using your tri-wing screwdriver, carefully remove these screws. Ensure the screwdriver is properly seated and apply firm, consistent pressure to avoid stripping the screw heads. Stripped screws can significantly complicate the disassembly process.
Step 2: Releasing the Plastic Strip
- On the opposite side of the Joy-Con from the screws you just removed, you’ll find a plastic strip.
- Insert a plastic opening tool (or a guitar pick) into the small gap located just below the bumper button.
- Gently pry upwards to release the top portion of the strip.
- Slowly slide the opening tool down the side of the casing, applying gentle pressure to separate the strip from the controller. Work your way around until the strip is completely detached.
Step 3: Uncovering Internal Screws
- Beneath the plastic strip you just removed, you will find two more screws.
- One of these screws requires a tri-wing screwdriver, while the other requires a Phillips head screwdriver.
- Carefully remove both screws.
Step 4: Separating the Back Cover

- Identify a small seam where the back cover meets the main body of the Joy-Con.
- Insert your plastic opening tool into this seam.
- Gently pry the back cover away from the main body. Slide the tool along the seam, working your way around the controller.
- As you pry, you should be able to use your fingers to help pull the cover off. Crucially, do not yank the cover off. This could damage the delicate wires connecting the battery and rumble motor.
Step 5: Disconnecting the Rumble Motor Wires
- You will now see the rumble motor, typically connected by two wires (usually blue and white).
- Using your fingers or tweezers, carefully disconnect these wires from their respective connectors. Be gentle and avoid using your fingernails directly on the wires, as this can cause damage.
Step 6: Detaching the Battery Connector
- Next, locate the battery connector, which attaches the battery to the main circuit board. This connector typically houses red and black wires.
- It is highly recommended to use a pair of tweezers for this step, as the connector can be quite small and difficult to grasp with fingertips. Gently lift the connector straight up to detach it.
Step 7: Removing the Release Button
- Locate the small release button on the side of the Joy-Con (the button used to detach the Joy-Con from the console).
- Carefully remove this button. It usually just lifts out.
Step 8: Removing the Trigger Button
- Insert your plastic opening tool between the bumper and the trigger button.
- Gently pry the trigger button towards you until it pops out of its housing.
Step 9: Accessing the Trigger Bracket

- Beneath the trigger button, you will find a bracket that secures the release button mechanism.
- Use your Phillips head screwdriver to remove the two screws holding this bracket in place.
- Once the screws are removed, carefully lift the bracket away.
Step 10: Unscrewing the Midframe
- You will now need to remove the midframe, which holds various internal components in place.
- Using your Phillips head screwdriver, remove the three screws securing the midframe:
- Two screws are located to the right of where the battery was situated.
- One screw is located just below the bumper button.
Step 11: Removing the Bumper Button
- With the midframe screws removed, you can now gently pull the bumper button out of its housing.
Step 12: Detaching the Trigger Board
- Above where the battery was, you will see the trigger board.
- Use your Phillips head screwdriver to remove the single screw securing this board.
- Once the screw is out, gently pry the trigger board upwards. It will remain attached by a ribbon cable, so do not attempt to pull it completely free at this stage.
Step 13: Removing the Midframe Assembly
- With the trigger board loosened, you can now carefully use your fingers to remove the entire midframe assembly from the Joy-Con.
Step 14: Disconnecting the Trigger Board Ribbon Cable

- Now, focus on the trigger board you loosened earlier. You will see a locking flap that secures its ribbon cable.
- Carefully lift this locking flap upwards.
- Once the flap is open, use your tweezers or fingers to gently pull the ribbon cable out of its connector, thereby detaching the trigger board completely.
Step 15: Detaching the Analog Stick Ribbon Cable
- Locate the ribbon cable that connects the analog stick to the main circuit board.
- Similar to the trigger board, you will find a locking flap for this connector.
- Lift the locking flap upwards, and then use tweezers or your fingers to gently pull the ribbon cable free from the connector.
Step 16: Unscrewing the Main Board
- You will now see the main circuit board of the Joy-Con.
- Using your Phillips head screwdriver, remove the five screws that hold this board in place.
Step 17: Navigating the Left vs. Right Joy-Con Divergence
This is a critical juncture where the procedure slightly differs between the left (typically blue) and right (typically red) Joy-Cons.
-
Step 17a: Left (Blue) Joy-Con Procedure

- Insert a spudger or plastic opening tool underneath the edge of the main circuit board.
- Gently lift the board upwards until you can get your fingers underneath.
- Carefully lift the entire board up and over, being extremely mindful of the analog stick’s ribbon cable.
- As you lift, you will notice a piece of black tape connecting the board to the analog stick assembly. Gently pry this tape away from the analog stick.
- The board will remain attached by two other ribbon cables. You do not need to detach these, but exercise extreme caution to avoid creasing or breaking them.
-
Step 17b: Right (Red) Joy-Con Procedure
- In the right Joy-Con, the two additional ribbon cables mentioned above (not the analog stick cable) will need to be disconnected. Their routing prevents the board from being lifted over.
- Locate the locking flaps for both of these ribbon cables, lift them up, and then use tweezers to carefully pull the cables out of their connectors.
- Once these are disconnected, you can remove the main board completely.
Step 18: Removing and Replacing the Analog Stick
- With the main board out of the way, you will see the analog stick module secured by two small screws.
- Use your Phillips head screwdriver to remove these two screws.
- Carefully lift out the old analog stick.
- Position your new replacement analog stick in its place and secure it with the two screws you just removed.
Step 19: The Reassembly Journey
- Now, meticulously work your way back through each step of this guide in reverse order.
- Pay close attention when reattaching ribbon cables. Ensure the locking flap is lifted before inserting the cable, and then firmly flip the flap back down to secure it.
- Double-check that all screws are properly tightened, but avoid over-tightening, which can strip the screw holes.
Troubleshooting Common Issues
Even with careful execution, post-repair issues can arise. Here are some common problems and their solutions:
Q1: My sticks and/or buttons aren’t working after the repair.
A: This is a common scenario and usually indicates a minor oversight during reassembly. The most frequent culprit is a ribbon cable that hasn’t been fully seated or has been improperly reconnected.

- Action: Don’t panic. Go back through the disassembly and reassembly steps methodically. Pay particular attention to steps 14, 15, and 17a/17b, ensuring all ribbon cables are securely connected and their locking flaps are properly engaged. It’s also possible a small component was dislodged. A careful visual inspection of the internal components might reveal the issue.
Q2: What if I completely break a component?
A: As emphasized throughout this guide, if you’re not comfortable with intricate electronics, professional help is the best course of action. If you have damaged a component beyond repair during the process:
- Action:
- Individual Components: If you’ve broken a specific part, such as a ribbon cable or a small plastic piece, you may be able to source replacement parts online. Websites specializing in game console repair parts are a good starting point.
- Major Damage: If the damage is extensive, or if you’ve damaged the main circuit board, it may be more cost-effective to consider purchasing a new Joy-Con controller. Nintendo also offers repair services, and if your Joy-Cons are still under warranty, this is a viable and often free option.
Where to Find Quality Replacement Sticks: The Gulikit Advantage
When it comes to replacing your Joy-Con 2 analog sticks, opting for high-quality aftermarket alternatives can provide enhanced longevity and performance. While many options exist, the Gulikit TMR Sticks have emerged as a highly recommended choice.
These sticks utilize Tunneling Magnetoresistance (TMR) technology, a superior method to traditional potentiometers. TMR sensors rely on magnetic fields to detect stick movement, eliminating physical contact and friction. This non-contact design drastically reduces wear and tear, making stick drift virtually a non-issue.
- Availability and Pricing: Gulikit TMR Sticks are readily available on major online retail platforms like Amazon in both the UK and US. At the time of writing, they typically retail for approximately £16.99 / $19.99.
- Performance and Feel: Users report that the Gulikit TMR sticks offer a feel that is practically indistinguishable from the original Joy-Con 2 sticks, which is precisely what most gamers desire for a seamless transition. They maintain the same aesthetic, with the only visual difference often being a distinct color on the ribbon cable, serving as a helpful identifier.
- Benefits: Beyond their drift-resistant nature, TMR sticks are often lauded for their enhanced accuracy and improved power efficiency, further contributing to a superior gaming experience.
It’s important to note that some external links within this guide may be affiliate links. This means that if you click on these links and make a purchase, the publisher may receive a small commission. This comes at no extra cost to you and helps support the continued creation of such detailed guides.
The Future of Gaming Controllers: Beyond the Analog Stick
The evolution of the Switch 2’s Joy-Cons, with their apparent improvement in durability and the growing availability of advanced replacement options like TMR sticks, signals a broader trend in controller design. The industry is increasingly moving towards technologies that minimize wear and tear and maximize precision and longevity.

- Hall Effect and TMR Dominance: It’s highly probable that future console generations will see Hall Effect or TMR technology become standard in analog sticks. This would effectively consign the issue of stick drift to the history books.
- Haptic Feedback Advancements: Beyond analog sticks, advancements in haptic feedback technology are also transforming the gaming experience. The nuanced vibrations and tactile sensations offered by controllers like the PlayStation 5’s DualSense demonstrate the potential for controllers to become even more immersive.
- Ergonomics and Customization: As gamers spend more time with their consoles, the importance of ergonomic design and customization options continues to grow. Future controllers may offer more modular designs, allowing users to tailor their input devices to their specific preferences.
The Switch 2’s Joy-Con, while perhaps not a complete reinvention, represents a significant and welcome evolution. By addressing the persistent problem of stick drift and offering a more robust user experience, Nintendo has demonstrated its commitment to refining its hardware based on valuable player feedback. For those who wish to maintain their controllers or explore cutting-edge technology, the ability to replace these analog sticks provides a pathway to extended enjoyment and a more reliable gaming future.











No comments yet. Be the first to join the conversation!