 Nana Muazin
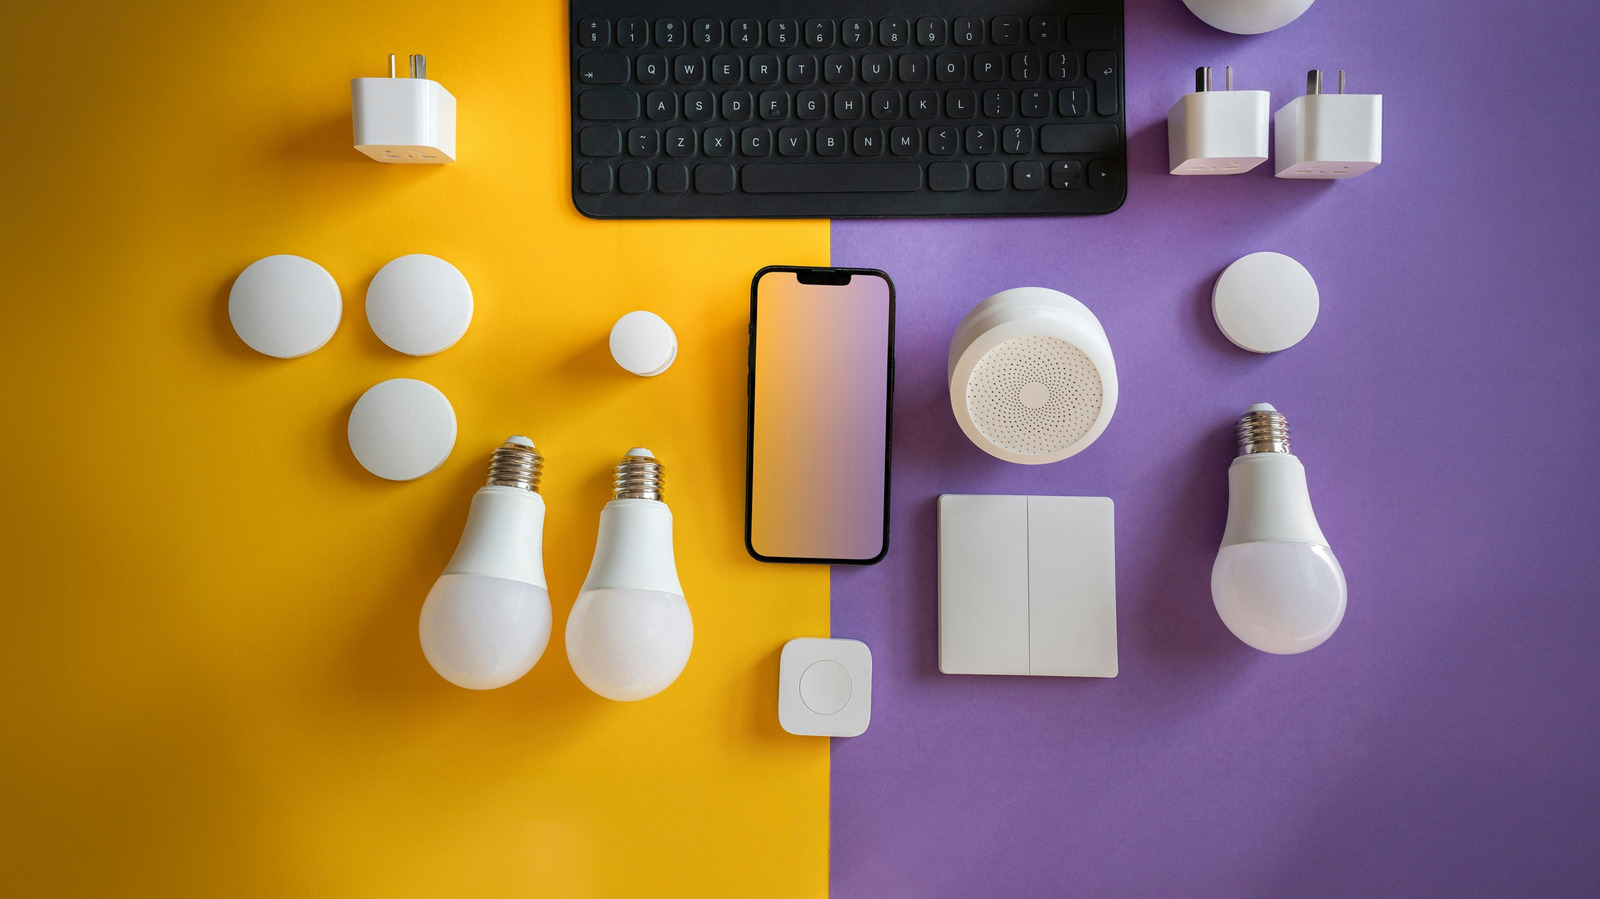
In an era where the "Internet of Things" (IoT) has permeated nearly every corner of our residences, the promise of a seamless, automated home often hits a frustrating wall of fragmentation. Consumers are frequently left juggling a dozen different apps, each tethered to a proprietary cloud service, struggling to make a Philips Hue bulb communicate with a Nest thermostat or a Ring doorbell. While emerging standards like Matter and Thread aim to bridge these gaps, the reality of the modern smart home remains messy and siloed.
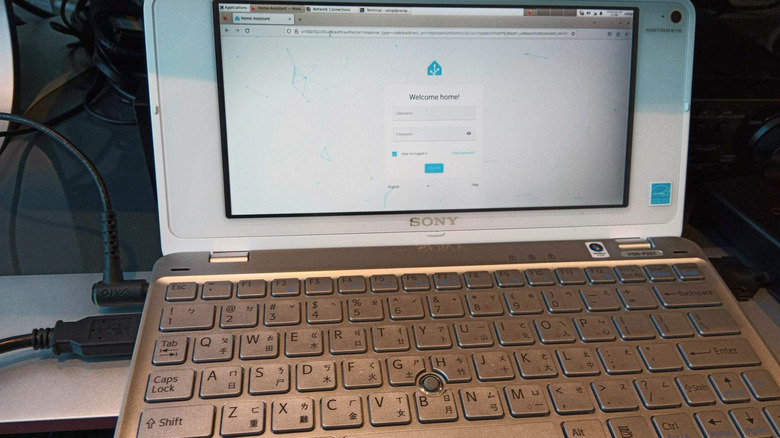
However, there is a potent, open-source remedy for this digital disarray: Home Assistant. While many enthusiasts flock to dedicated hardware like the Raspberry Pi or purpose-built mini PCs, a surprisingly robust and cost-effective alternative is already sitting in your junk drawer. That "crappy" old laptop you retired years ago is more than just e-waste; it is a capable, ready-to-run server that can serve as the command center for your entire smart home ecosystem.
The Core Concept: Why Centralize Your Home?
At its heart, Home Assistant is an open-source platform designed to act as a local control hub for diverse smart devices. Unlike manufacturer-specific ecosystems that force your data through their private servers, Home Assistant emphasizes local control. This means faster response times, greater privacy, and, most importantly, the ability to make devices from competing brands finally play nice together.
By migrating your smart home control to a local server—whether it’s a high-end gaming rig or a dusty 2015-era laptop—you regain autonomy. You are no longer reliant on the "always-on" status of a third-party cloud. If your internet connection drops, your local automations—such as motion-activated hallway lights or scheduled thermostat adjustments—will continue to function flawlessly.
Chronology of a Transition: From E-Waste to Smart Hub
Converting a legacy device into a server is a project that typically unfolds over a weekend of tinkering. Here is how the transition from a forgotten laptop to a central brain usually proceeds:
- Hardware Audit: You locate the laptop, clear out the dust, and assess its basic functionality. Does the screen turn on? Is the battery stable?
- Environment Setup: You decide whether to run Home Assistant as a "Virtual Machine" (VM) for a low-stakes trial or perform a clean install of Home Assistant OS (HAOS) to dedicate the machine fully to the task.
- Network Integration: You connect the machine to your router via Ethernet for maximum stability.
- Device Discovery: Once the server is online, you begin the process of linking your existing devices—lights, plugs, sensors, and cameras—to the Home Assistant interface.
- Automation Scripting: The final phase involves creating "Scenes" and "Automations," effectively teaching your home to react to your life rather than requiring manual input.
Assessing Your Hardware: Is It Ready for the Job?
One of the most frequent misconceptions in the smart home community is that you need high-performance hardware to run a hub. In reality, Home Assistant is remarkably lightweight. A laptop that struggles to render modern web pages or run bloated office software is often perfectly capable of monitoring sensor updates and toggling smart switches.
The Role of Virtualization
For those who are hesitant to wipe their drive, virtualization is the ideal "sandbox." By using software like Oracle’s VirtualBox, VMware Workstation, or VMware Fusion, you can run Home Assistant inside your existing operating system (Windows or macOS). This allows you to continue using the laptop for other tasks, though it does introduce a slight performance penalty.
Dedicated Hardware
If you find that Home Assistant is the answer to your smart home woes, you may eventually choose to format the laptop entirely. Installing Home Assistant OS (HAOS) directly onto the hardware removes the overhead of a host operating system, providing a "bare-metal" experience that is both faster and more reliable. This is the preferred route for users who want a "set it and forget it" appliance.
Safety First: Managing the Battery
A critical consideration when repurposing an old laptop is the state of its lithium-ion battery. Most laptops were never designed to be plugged into a wall 24/7 for years on end.
- Swelling Risks: If your battery shows any signs of bulging or discoloration, remove it immediately. A swollen battery is a fire hazard.
- Power Management: If the battery is healthy, consider using third-party utilities or BIOS settings to cap the maximum charge at 50% or 80%. This significantly extends the lifespan of the chemistry within the cells, preventing the degradation caused by keeping a battery at a constant 100% charge.
- Running Without a Battery: If the laptop can operate directly from the power adapter, this is often the safest configuration for a 24/7 server.
Implications: The Trade-off Between Friction and Freedom
It is important to approach this project with realistic expectations. Home Assistant is not a consumer-grade, plug-and-play product. It demands a level of technical literacy and patience. The "user experience" is utilitarian rather than polished, and troubleshooting often requires consulting community forums or reading technical documentation.
However, the implications of making this jump are profound. By moving to a local server, you are effectively "de-Googling" or "de-Amazoning" your home. You gain the ability to create complex, multi-brand automations—such as having your lights slowly brighten as your morning alarm triggers, or locking every door in the house when your smartphone leaves the geofence—without those commands traversing a third-party cloud.
Electricity Costs: The Hidden Factor
While the hardware is "free," the electricity is not. Old laptops are significantly less power-efficient than modern ARM-based devices like the Raspberry Pi or purpose-built Intel NUC-style mini PCs. Before committing to a laptop long-term, it is wise to use a plug-in power meter. If the device draws 30-40 watts continuously, the annual electricity cost might eventually exceed the price of a more efficient, modern mini-PC.
Supporting Data and Best Practices
For those ready to start, the community provides a wealth of resources. The Home Assistant website maintains an extensive list of compatible integrations, covering everything from smart irrigation systems to high-end home audio setups.
Key Technical Recommendations:
- SSD vs. HDD: If your old laptop has a spinning mechanical hard drive, consider a cheap SSD upgrade. The performance difference in boot times and database responsiveness is transformative.
- Ethernet over Wi-Fi: Wi-Fi is prone to interference. A stable server requires a stable connection. If at all possible, keep your server hard-wired to your network router.
- Backup Protocols: One of the most powerful features of Home Assistant is its robust backup system. Even if your old laptop eventually dies, you can download a full backup file and restore your entire smart home configuration to new hardware in minutes.
Official Stance and Community Sentiment
The developers of Home Assistant have consistently fostered an environment that favors "generic" hardware. By supporting x86-64 architecture, they have ensured that users aren’t locked into proprietary, expensive hubs. The prevailing sentiment among the Home Assistant community is one of empowerment: the best smart home hub is the one you already own.
While industry giants continue to push closed, proprietary ecosystems designed to harvest data, the DIY smart home movement offers a counter-narrative. It is a philosophy rooted in local control, user privacy, and the sustainable reuse of existing technology.
Conclusion: The Path Forward
Transforming a dusty laptop into a smart home hub is more than just a weekend project; it is an entry point into a more sophisticated way of interacting with your living space. While the learning curve is steeper than a commercial alternative, the payoff—a home that is truly yours, functioning reliably without external dependence—is well worth the effort.
Start small. Use that old laptop to automate a single room. Learn the quirks, experience the satisfaction of a "smart" command executing in milliseconds, and decide for yourself if you’re ready to take the next step. After all, the hardware is already there waiting—why not put it to work?


 Lina Hope
 Iffa Jayyana