

For the modern homeowner, the allure of the "do-it-yourself" (DIY) approach is undeniable. Beyond the potential for significant cost savings, there is an intrinsic sense of accomplishment in maintaining one’s own property. However, when it comes to the roof—the primary line of defense against the elements—the margin for error is razor-thin. While professional roofing contractors possess the specialized training and heavy-duty equipment required for full-scale replacements or complex structural interventions, minor repairs are often well within the grasp of a capable homeowner.
The transition from amateur to proficient home maintainer begins not with confidence, but with preparation. Equipping yourself with the correct tools is the first, and perhaps most critical, hurdle to conquer. Using subpar equipment or improvising with household items not designed for roofing can result in property damage, hazardous working conditions, and costly mistakes.
The Scope of DIY Roofing: Knowing Your Limits
Before climbing onto your roof, it is imperative to establish a clear boundary between manageable maintenance and professional-grade projects. Structural repairs—such as replacing rotting rafters, correcting sagging rooflines, or installing entirely new underlayment across a large surface area—are tasks that demand professional expertise. Attempting these as a novice can compromise the structural integrity of your home and potentially void your homeowners’ insurance policy.
However, minor maintenance, such as replacing missing asphalt shingles, sealing small leaks, or clearing debris, is frequently handled by homeowners. The goal of this guide is to delineate the four essential tools required for these minor interventions, focusing on safety, versatility, and cost-effectiveness.
1. The Extension Ladder: The Foundation of Safety
The most immediate risk in any roofing project is the ascent itself. While many homeowners keep a standard step ladder in their garage, these are categorically unsuitable for roof access. A step ladder, by design, lacks the height and the necessary points of contact to stabilize itself against the edge of a roof.
Why Extension Ladders Are Mandatory
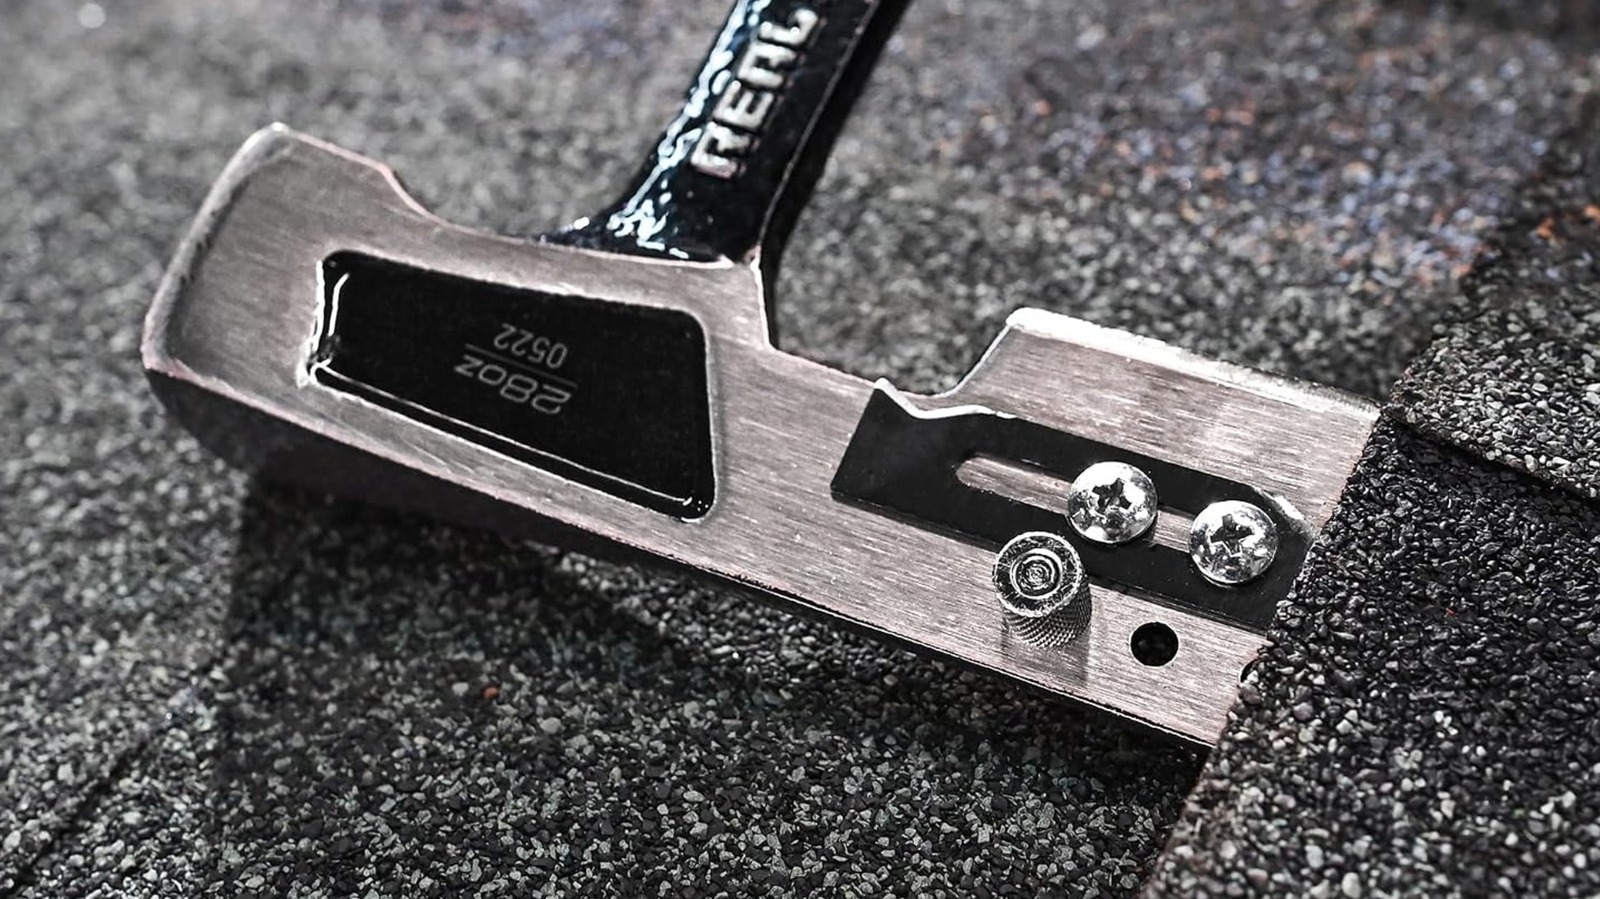
An extension ladder is the only safe option for accessing your roof. It provides the necessary reach and, when properly positioned, leans against the structural frame of the house—usually the fascia or gutter line—to create a stable, reliable platform.
Critical Selection Criteria
When investing in a ladder, safety must be the primary consideration.
- Material: Opt for non-conductive fiberglass. In the vicinity of a roof, you are often working near power lines or electrical service entries. Aluminum ladders, while lightweight, are highly conductive and pose a lethal electrocution risk.
- Height: Ensure your ladder is tall enough to extend at least three feet above the roofline. This provides a secure handhold when transitioning from the ladder to the roof surface.
- Load Capacity: Always check the duty rating. A Type IA (300 lb capacity) ladder is generally recommended for durability and stability.
While a high-quality fiberglass extension ladder may represent a $300 investment, it is an essential piece of safety equipment that serves multiple purposes, from cleaning gutters to trimming overhanging tree branches, making it a sound long-term asset.
2. The Pry Bar: Efficient Material Removal
To repair a leak or replace a damaged shingle, you must first access the substrate. This often requires the removal of compromised materials. While brute force might seem like a strategy, it often results in damage to the surrounding healthy shingles.
The Utility of the Pry Bar
A high-quality pry bar is the primary instrument for extracting stubborn roofing nails and lifting shingles without tearing the surrounding material. Whether you are dealing with a single loose shingle or a small patch of damaged asphalt, a pry bar allows for surgical precision.
Specialized vs. General Tools
For the average homeowner, a standard "Wonder Bar" or flat pry bar—often available for under $20—is sufficient for general tasks. However, if your repair involves a larger surface area, you may consider a specialized "shingle ripper" or "roof shovel." These tools feature a long handle and a notched blade designed to slide under the shingles and shear off the nails in one smooth motion. While more expensive, they significantly reduce the physical strain of roof stripping.
3. The Roofing Hammer: Precision and Multitasking
Once the damaged material is removed, the installation process begins. While professional roofers almost exclusively use pneumatic nailers, these tools are often overkill for the weekend warrior.
Why the Roofing Hammer Remains Relevant
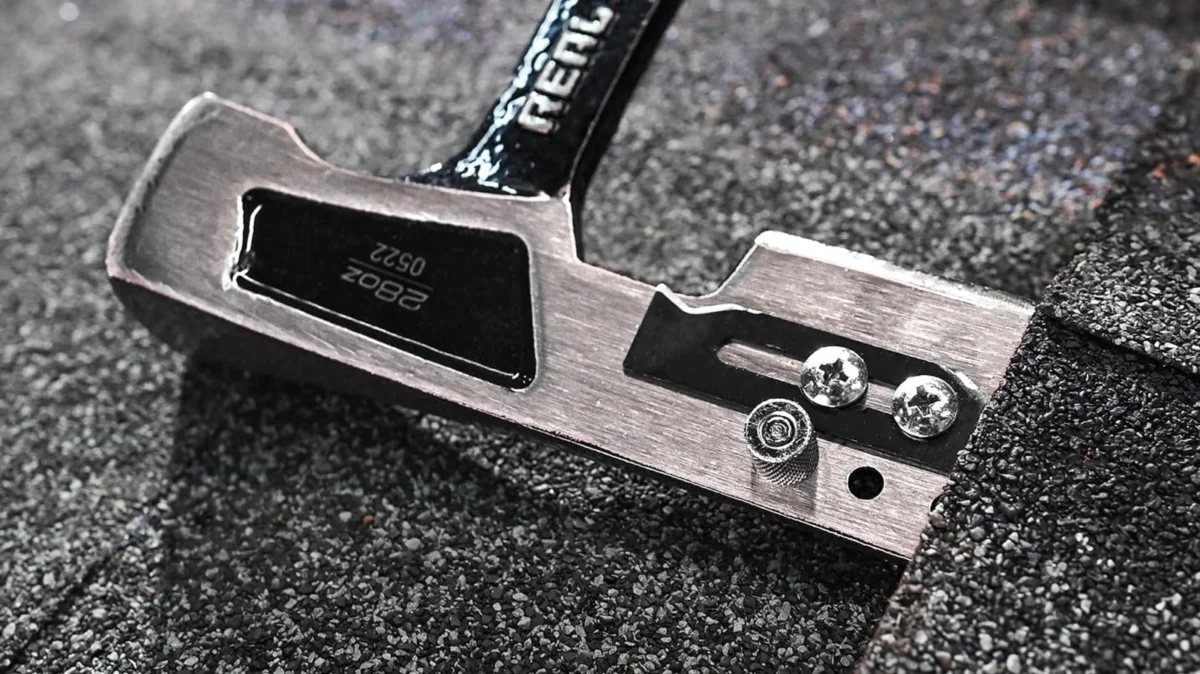
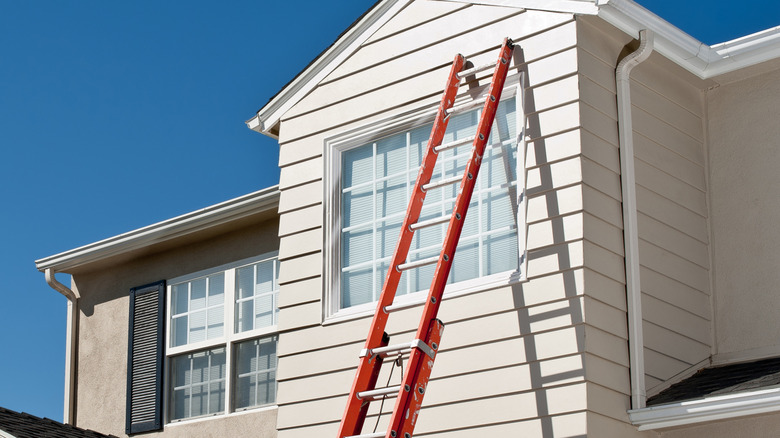
A professional-grade roofing hammer (or shingler’s hammer) is a versatile, manual alternative that excels in small-scale repairs. It serves three distinct functions:
- Driving Nails: The head is designed to drive roofing nails flush without damaging the shingle surface.
- Removing Nails: The claw end allows for the extraction of old nails that might be preventing a new shingle from laying flat.
- Cutting Materials: Many models feature a sharp, hatchet-like blade on the side, allowing you to trim shingles and underlayment to the exact size required for a perfect fit.
Unlike pneumatic nailers, which require an air compressor, hoses, and power, the roofing hammer is portable, quiet, and requires no setup time. At a price point typically under $40, it is an economical choice for the infrequent repairer.
4. The Caulk Gun: The Final Line of Defense
Waterproofing is the ultimate objective of any roof repair. Even when shingles are perfectly aligned, gaps around chimneys, vent pipes, and flashing must be sealed to prevent water intrusion.
Manual vs. Electric Models
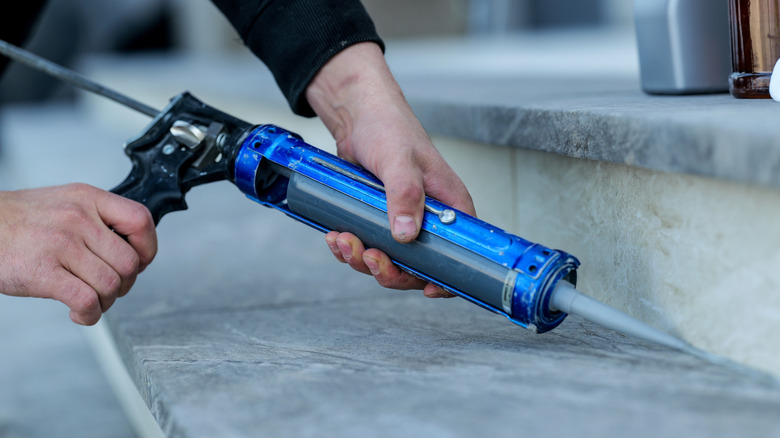
- The Manual Caulk Gun: For the occasional DIYer, a standard manual caulk gun (priced between $5 and $15) is more than adequate. These tools are simple, durable, and highly effective for applying roofing cement or exterior-grade silicone.
- The Electric Advantage: If you are tackling a large-scale project that requires significant amounts of sealant, an electric caulk gun can prevent hand fatigue and ensure a more consistent bead. However, these are a luxury for most homeowners and only become cost-effective if you plan on using them for other projects, such as bathroom renovations or window sealing.
The Implications of Professional-Grade Standards
Selecting these tools is not merely about finding the cheapest options; it is about choosing equipment that balances safety, ease of use, and multi-functionality. The criteria for our selection were rooted in the reality of the DIYer:
- Safety-First Design: Tools were chosen based on their ability to mitigate the inherent risks of working at heights.
- Entry-Level Accessibility: We prioritized tools that do not require an apprenticeship to operate effectively.
- Versatility: Each tool mentioned—from the extension ladder to the caulk gun—serves a purpose outside of roofing, ensuring that your investment provides value for years to come.
A Note on Safety Protocols
Regardless of the tools you possess, the most important element of any roofing project is the operator. Always inform someone of your plans before you climb onto the roof. Wear non-slip, rubber-soled footwear and avoid working on the roof during inclement weather, including high winds or extreme heat. If the roof pitch is steep or the job involves electrical components, do not hesitate to call a licensed professional.
Summary of Essential Tool Inventory
| Tool | Primary Function | Estimated Investment |
|---|---|---|
| Fiberglass Extension Ladder | Access & Stability | $250 – $400 |
| Pry Bar / Shingle Ripper | Material Removal | $5 – $55 |
| Roofing Hammer | Nailing & Trimming | $20 – $40 |
| Caulk Gun | Waterproofing/Sealing | $5 – $30 (Manual) |
By investing in these foundational tools and respecting the limitations of your own experience, you can ensure that your roof remains a sturdy, protective shield for your home. While the DIY route requires diligence and respect for the complexity of the work, the rewards of a job well done are both financial and deeply satisfying.