
By [Your Name/Publication Name]
[Date]
The gothic allure of Mina the Hollower, a game drawing palpable inspiration from the challenging legacies of Castlevania and Bloodborne, has captivated a dedicated fanbase. However, its inherent difficulty has proven to be a significant barrier for some players, leaving them grappling with its intricate mechanics and unforgiving combat. While the immediate impulse might be to simply encourage players to "get good," a more constructive approach lies within the game itself: its robust modifier system. This suite of accessibility options offers a pathway for players to tailor their experience, making the game more approachable without sacrificing its core atmosphere and design.
This article delves into the most beneficial modifiers for players seeking to ease into the dark and mysterious world of Mina the Hollower, offering a detailed breakdown of each option and its impact on gameplay. It’s important to note that certain modifiers can only be activated at the beginning of a new save file, and most will disable achievements. However, the enjoyment and accessibility of the game should undoubtedly take precedence over digital accolades.
The Foundation of Accessibility: Understanding Game Modifiers
Mina the Hollower doesn’t shy away from its challenging nature, a characteristic that defines its genre. Yet, the developers have thoughtfully integrated a comprehensive list of modifiers designed to cater to a wider range of player skill and patience. These options range from the purely whimsical to those that significantly alter the game’s difficulty curve, allowing for personalized gameplay experiences. Whether you’re looking to mitigate specific frustrations or simply want a smoother introduction to the game’s mechanics, these modifiers provide a powerful toolkit.
Before diving into specific recommendations, a crucial caveat: some of these modifiers are "start of game" only. This means if you’re already deep into your playthrough and encountering roadblocks, you might need to consider a fresh start to leverage certain advantages. Furthermore, the activation of most modifiers will disable achievement tracking. While the allure of unlocking achievements is undeniable, prioritizing an enjoyable and less frustrating gameplay experience is often the more rewarding path for many players.
Top Modifiers for a More Accommodating Journey
1. No Pit Damage: Avoiding Unseen Perils
H2: Navigating the Abyss Without Penalty
H3: When Gravity is Your Greatest Adversary
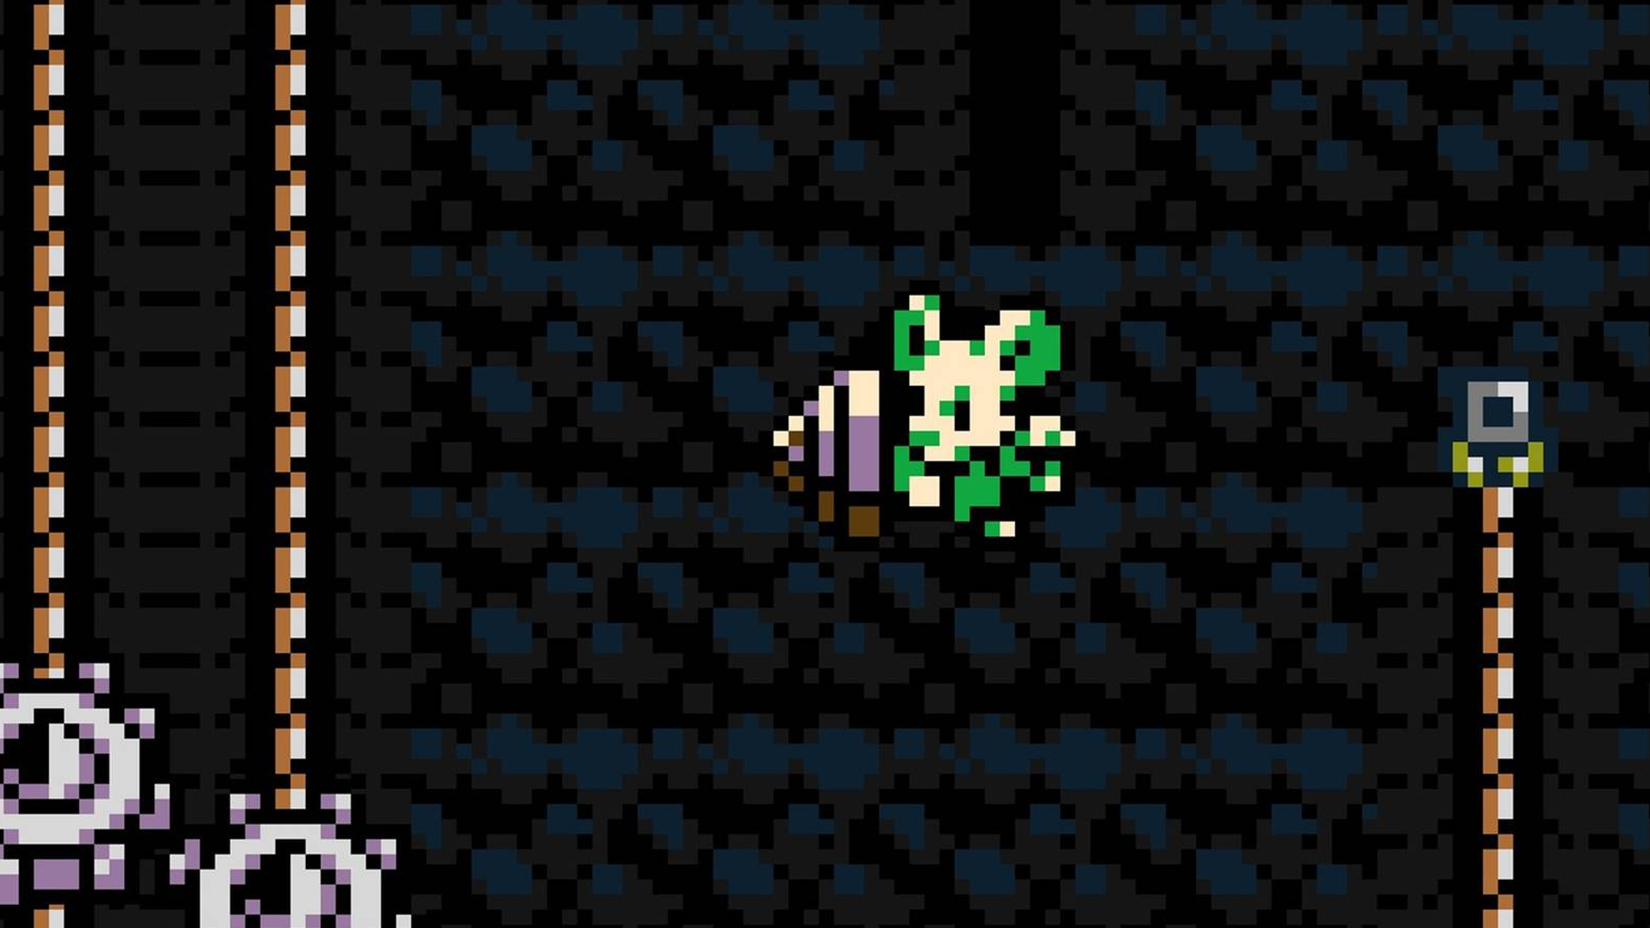
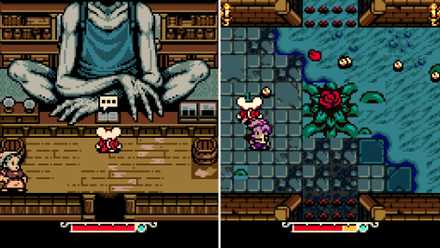
One of the most consistent and often frustrating sources of damage in Mina the Hollower isn’t necessarily enemy attacks, but the treacherous environment itself. Falling into bottomless pits or deep bodies of water can instantly deplete a significant portion of Mina’s health, especially in the early game when her health pool is smaller, healing resources are scarce, and crucial sidearms are yet to be acquired. While these environmental hazards are a staple of challenging platformers, their persistent threat can quickly become a nuisance that detracts from the overall enjoyment.
The "No Pit Damage" modifier completely removes any health loss incurred from falling into pits or sinking in water. While you will still be reset to the beginning of the current screen upon falling, you will no longer suffer any health depletion. This significantly alleviates the pressure of precise platforming, especially when combined with the constant threat of enemy harassment. For players who find the game’s platforming mechanics a steep learning curve, this modifier offers substantial relief, allowing them to focus on combat and exploration without the constant fear of accidental falls.
Supporting Data: Anecdotal evidence from player feedback frequently highlights environmental hazards as a primary source of frustration, particularly during initial playthroughs. The early game, with its limited resources, makes recovery from pit-related damage particularly punishing.
2. Floatier Jump: Granting Extra Hang Time
H2: Mastering Aerial Maneuvers
H3: The Advantage of Extended Airtime
Effective navigation in Mina the Hollower hinges on mastering two distinct jump mechanics: the standard jump and the burrow jump. Accurately gauging jump distances, especially amidst the chaos of combat, can be a challenge. This difficulty can lead to those dreaded falls into bottomless pits, even when attempting to evade danger. While certain Trinkets can provide a slight boost to jump height and hang time, the "Floatier Jump" modifier offers a more substantial and consistent advantage.
Activating this modifier enhances both Mina’s standard and burrow jumps, allowing her to remain airborne for a longer duration. This extended hang time translates to increased jumping distance and greater aerial control, enabling players to more easily dodge enemies, navigate hazardous terrain, and make more precise landings. While the most challenging platforming sections might still require specific Trinkets, the Floatier Jump modifier provides a significant boost to general maneuverability, making traversal feel more fluid and less perilous.
Implications: This modifier directly addresses a common point of player friction related to the game’s movement mechanics. By making jumps more forgiving, it allows players to focus on other aspects of gameplay without being constantly penalized for minor miscalculations in trajectory.
3. No Wind: Maintaining Control in Turbulent Environments
H2: Unhindered Movement in All Conditions
H3: Standing Firm Against the Elements
Certain areas within Mina the Hollower, such as the locale of Septemberg, feature persistent wind effects that can subtly influence Mina’s movement. This environmental factor can push her in a particular direction or slow her down when moving against it. While seemingly minor, this constant push and pull can complicate both platforming and combat, especially if players are not equipped with items like the Steady Soles, which offer resistance to environmental forces. For those irked by this added layer of complexity, the "No Wind" modifier offers a welcome respite.
Enabling the "No Wind" modifier completely negates all wind effects throughout the game. This allows Mina to move at her intended speed and maintain her footing without external forces dictating her trajectory. This is particularly beneficial during longer stretches of platforming or in combat scenarios where precise positioning is crucial. By removing the unpredictable element of wind, players can focus on executing their strategies with greater confidence and control.
4. More Inv Time: Extending Moments of Respite
H2: The Gift of Extra Invincibility
H3: A Crucial Buffer for Recovery
When Mina sustains damage from an enemy in Mina the Hollower, she briefly flashes, entering a state of temporary invulnerability. These "invincibility frames" (i-frames) are designed to provide a crucial window for players to reposition themselves or escape further harm. However, these frames can sometimes feel too short, especially in intense combat encounters where rapid-fire attacks can quickly overwhelm a player. The "More Inv Time" modifier directly addresses this by extending the duration of these invincibility frames.
This enhancement provides players with a more generous window to react, recover, and strategize after taking a hit. This additional time can be invaluable for practicing evasion techniques with less pressure or for simply gaining a moment to breathe amidst a chaotic battle. As players become more proficient with Mina’s defensive capabilities, they can always disable this modifier to reintroduce a greater challenge.
Chronology: The concept of invincibility frames after taking damage is a well-established mechanic in many action-oriented games, designed to prevent players from being stun-locked or overwhelmed by unavoidable damage sequences. Mina the Hollower‘s implementation is standard, but the modifier offers an adjustable experience.
5. Steady Healing: Uninterrupted Recovery
H2: The Assurance of a Full Heal
H3: Prioritizing Survival Without Interruption
Mina’s Plasma Vials serve as her primary means of health recovery, replenishing her vitality by consuming accrued Plasma. However, the act of healing is not an instant or risk-free endeavor. Enemies can interrupt the healing process, leading to the loss of both the vial and the opportunity to recover health. While certain Trinkets can mitigate this risk, the "Steady Healing" modifier offers a more direct solution.
With "Steady Healing" enabled, Mina becomes completely immune to enemy interruption during the entire animation of a healing action. This guarantees that once a heal is initiated, it will be completed without fail. This eliminates the frustration of wasted vials and the danger of being cornered while attempting to recover. It provides a critical safety net, allowing players to focus on their survival without the added stress of fending off attacks during their most vulnerable moments.
Supporting Data: The risk associated with healing in difficult games is a common design element intended to create tension. However, for players struggling with the core combat, this risk can become a significant deterrent. Steady Healing directly addresses this by removing that specific layer of pressure.
6. Boning Up 20% Faster: Accelerating Progression
H2: Expedited Character Advancement
H3: A More Efficient Path to Power
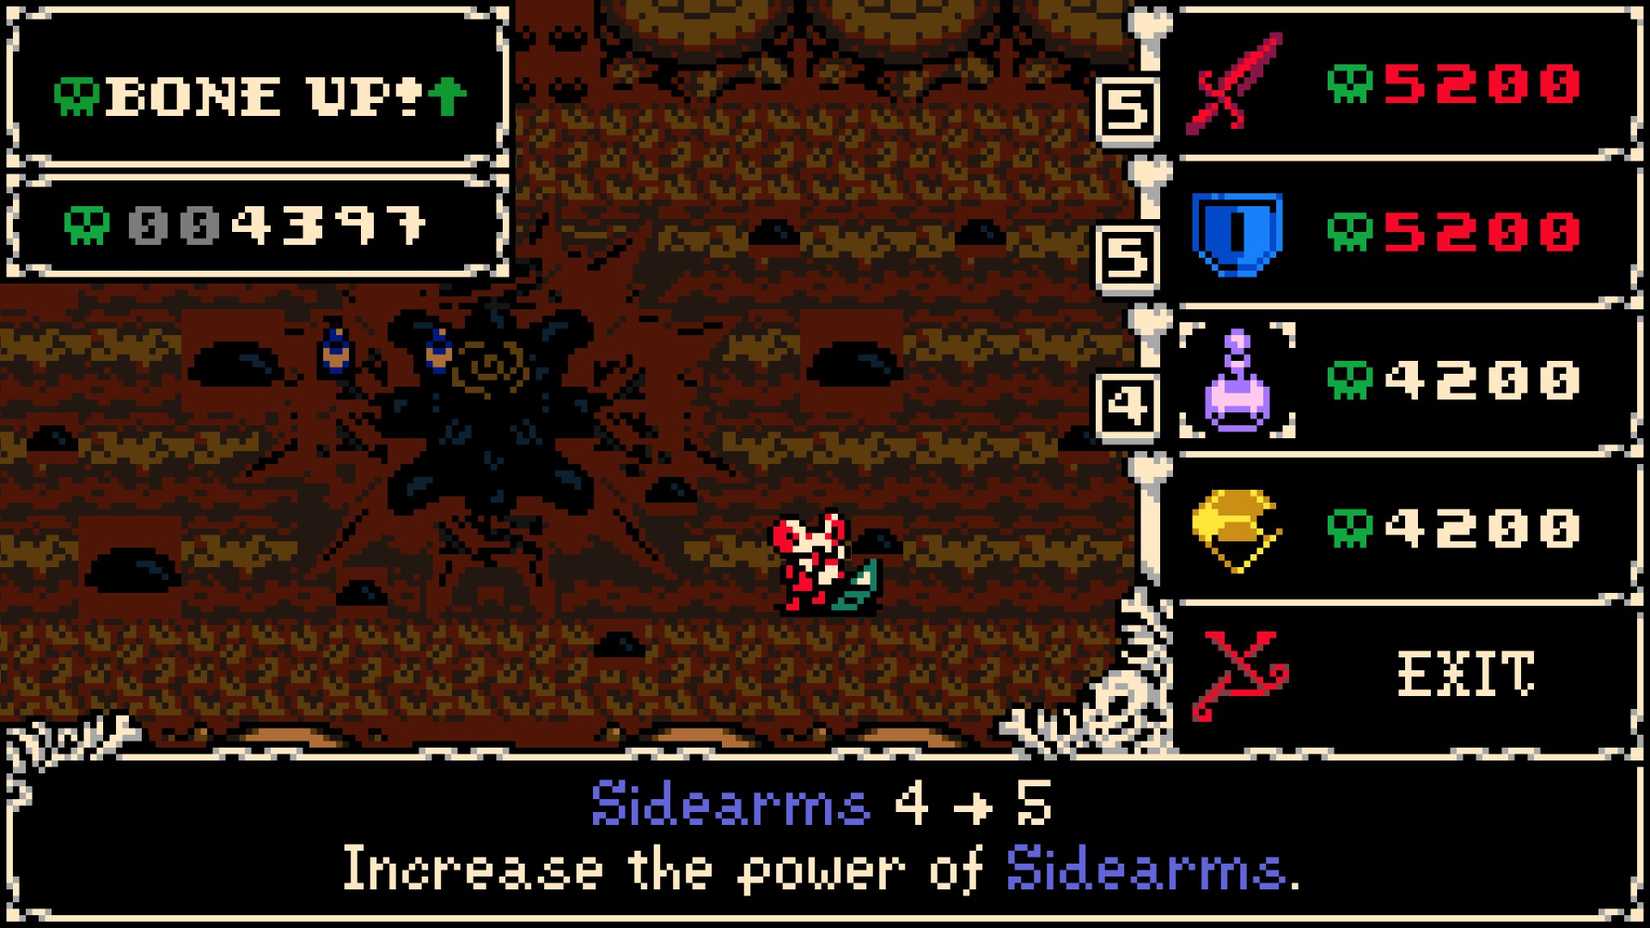
"Boning Up" is the core leveling system in Mina the Hollower, allowing players to invest accumulated bones into enhancing Mina’s stats or converting them into valuable Bonestone. As players progress, the bone requirement for each subsequent "Bone Up" threshold increases, naturally pacing their development. However, for those who find this progression too slow, the "Boning Up 20% Faster" modifier offers a significant boost.
This modifier reduces the bone requirement for all "Bone Up" thresholds by 20%. This means players will reach leveling opportunities more frequently, allowing for faster stat progression and a quicker accumulation of Bonestone. While this may seem like a minor adjustment, the cumulative effect over the course of the game can be substantial, freeing up bones for other crucial upgrades and allowing players to overcome challenges more efficiently.
Implications: By accelerating the leveling process, this modifier can help players overcome stat-based difficulty spikes more readily. It provides a tangible benefit that directly impacts a player’s power level, making the game feel more manageable as they progress.
7. No Bone Loss: Safeguarding Your Hard-Earned Currency
H2: A Safety Net for Your Bones
H3: Mitigating the Impact of Failure
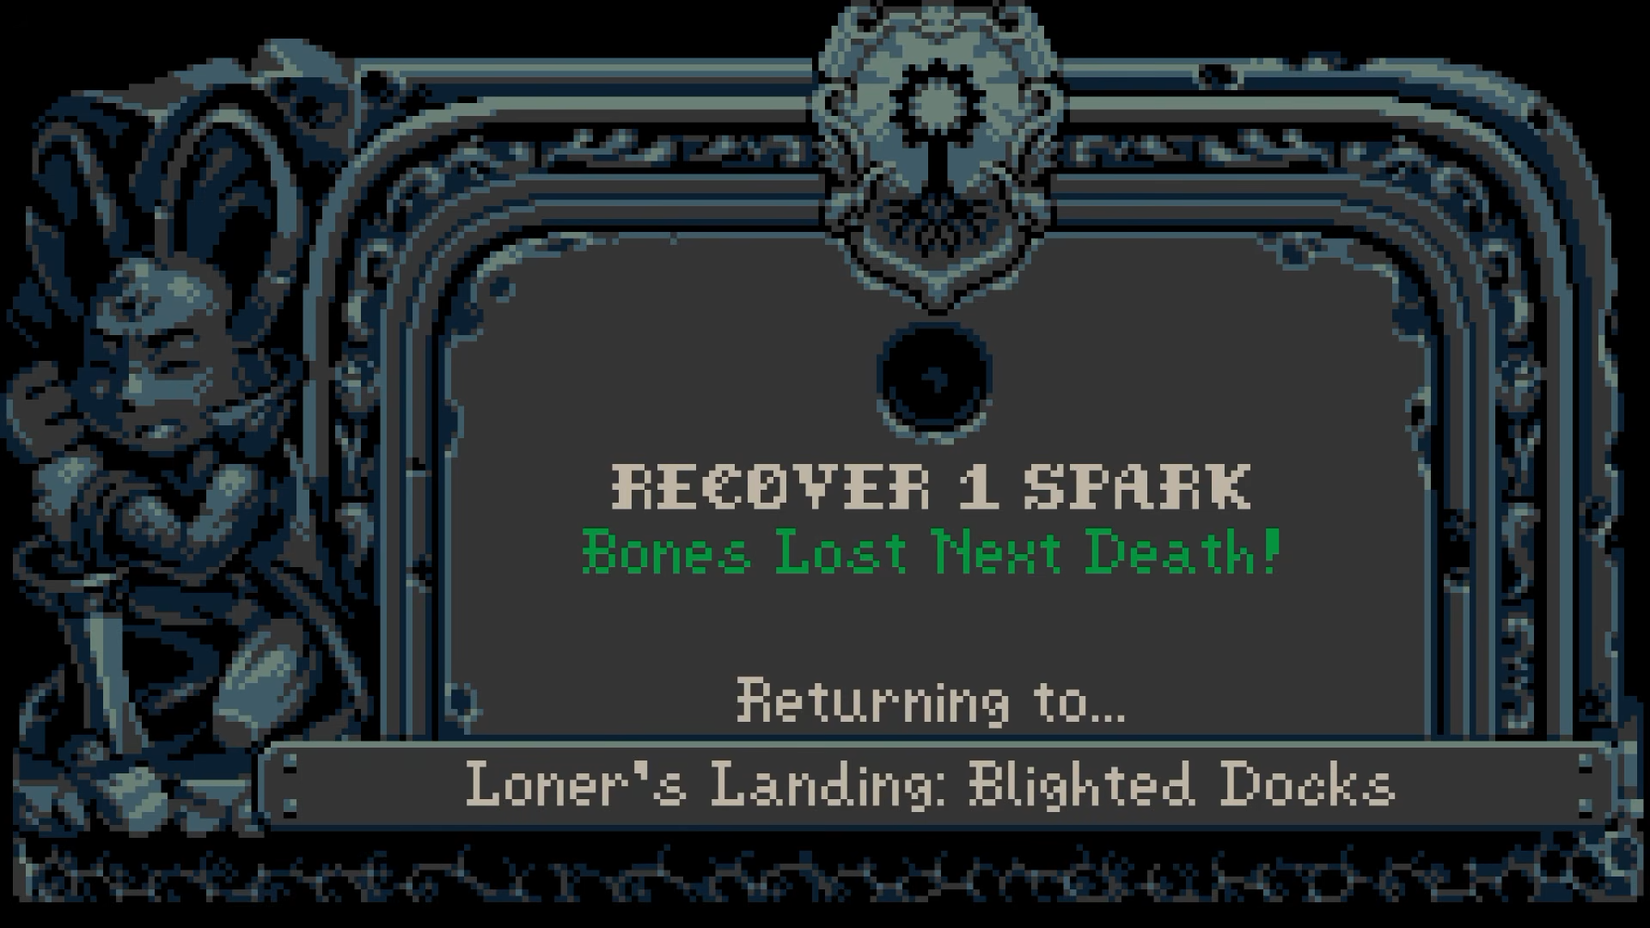
Drawing inspiration from the Soulslike genre, Mina the Hollower features a "Spark" system that influences bone retention upon death. While players don’t lose all their bones upon dying, they do lose a Spark from their Spark Containers. A "Sparkless Death," which occurs when all Spark Containers are depleted, results in the loss of all currently held bones. The "No Bone Loss" modifier effectively neutralizes this core penalty.
With this modifier active, players will not lose any bones, even if they suffer a Sparkless Death. It’s important to note that Sparks still serve a purpose beyond bone retention; they are required to open Spark Doors and also provide a healing effect upon recovery. Therefore, while the dire consequence of bone loss is removed, there remains incentive to reclaim lost Sparks, striking a balance between risk and reward.
Chronology: The Spark system is a key mechanic that introduces a layer of risk management into the game. Removing the most severe penalty associated with its failure allows players to engage with other game systems without the constant fear of complete economic ruin.
8. No Surge Line: Enjoying Spark Generator Ascents at Your Own Pace
H2: Conquering the Towers Without the Rush
H3: A Strategic Approach to Crucial Encounters
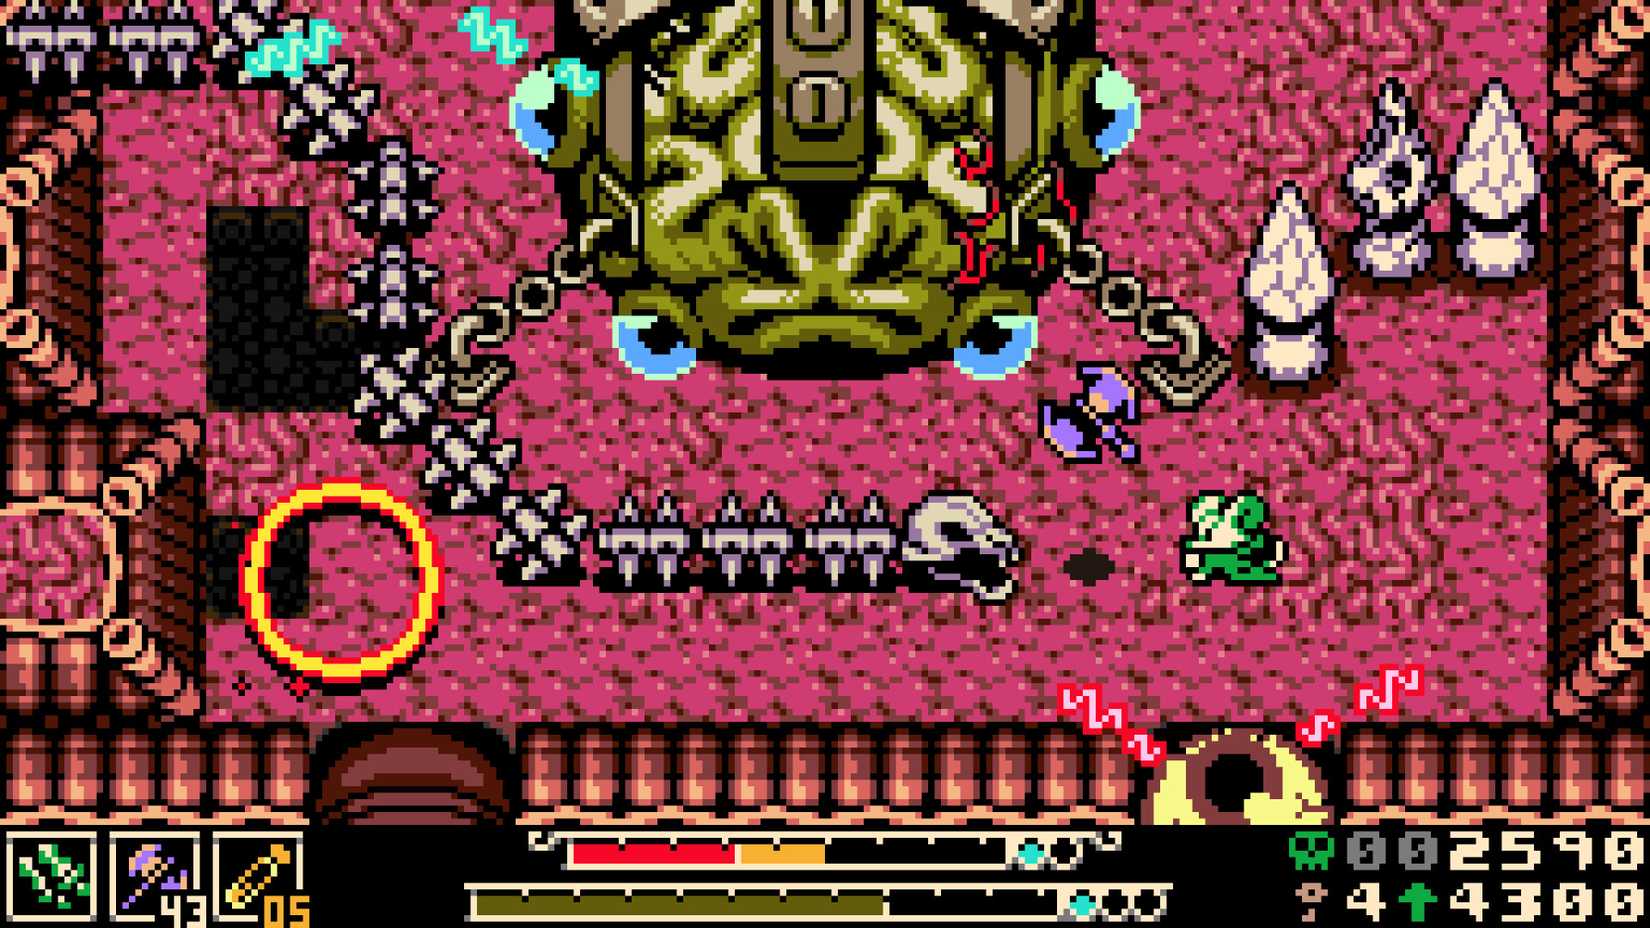
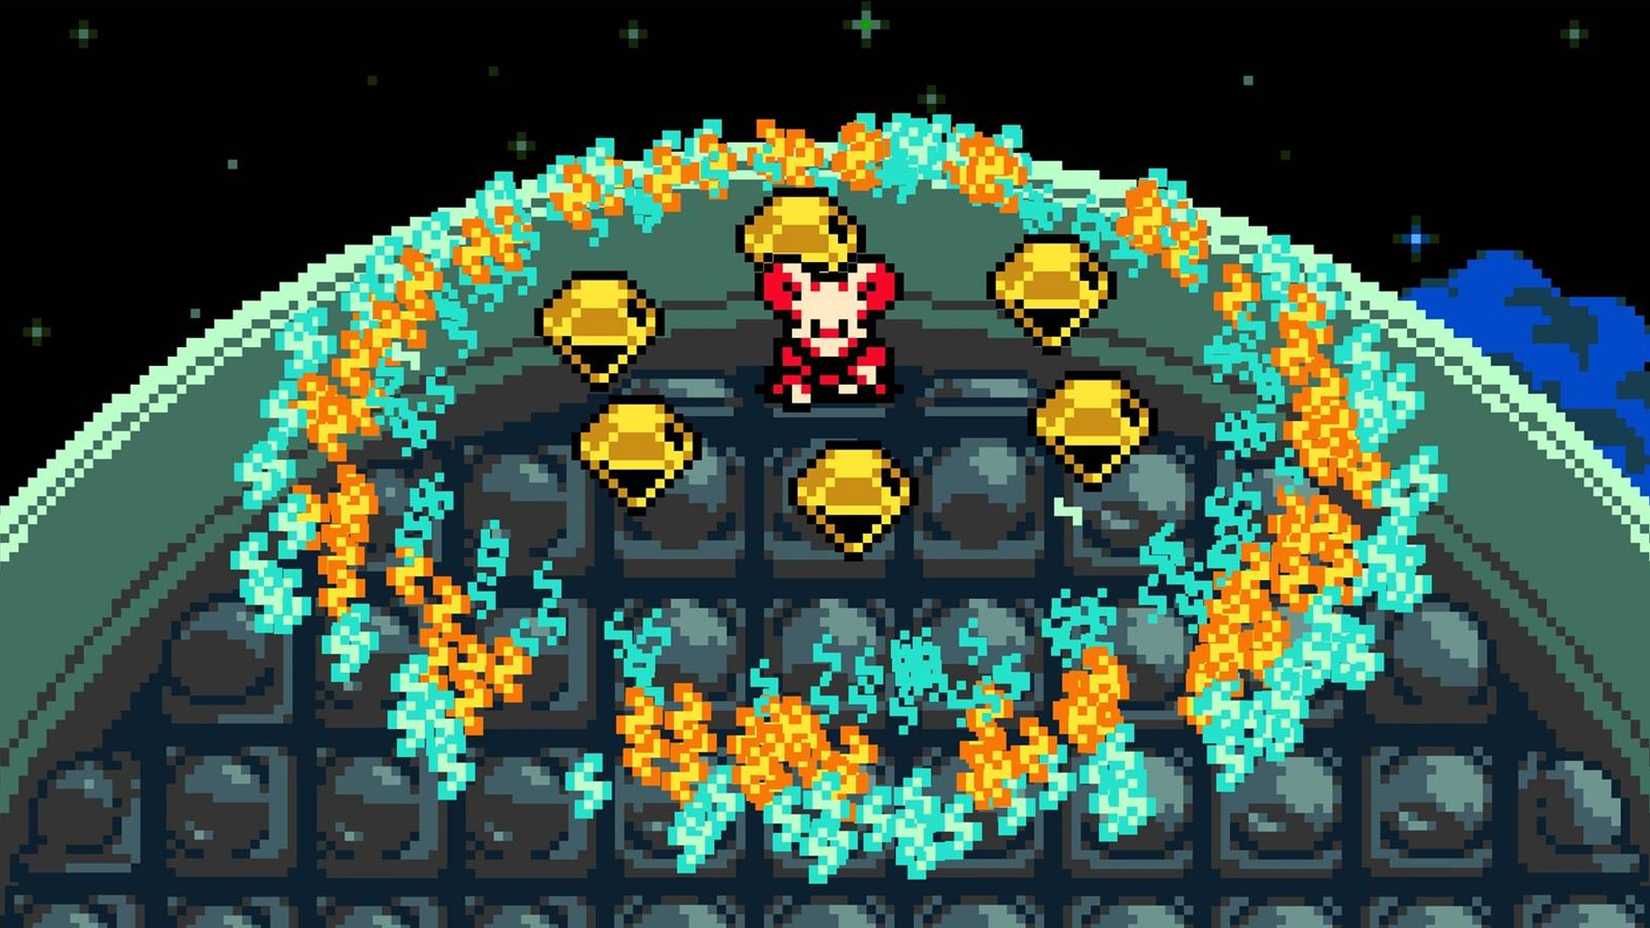
At the conclusion of each major region in Mina the Hollower, players encounter Spark Generators, vital machinery that Mina is tasked with repairing. This repair process involves a perilous ascent up a tower, navigating hazards and engaging enemies while being pursued by a relentless "Surge Line." While this sequence is designed to be an exciting climax, the Surge Line’s constant pressure can force players into rushed decisions, leading to mistakes and repeated attempts. The "No Surge Line" modifier removes this pressure entirely.
Activating this modifier eliminates the Surge Line from all Spark Generator ascents. This allows players to take their time, meticulously clearing enemies, collecting all available bones, and executing their platforming with precision. What was once a frantic race against time becomes a more deliberate and rewarding challenge, allowing players to fully engage with the mechanics of the ascent without the looming threat of instant failure. It transforms a potentially frustrating encounter into an enjoyable bonus stage.
9. Shop Prices (Cheap): Making Every Bone Count
H2: Unlocking the Best Gear Without Breaking the Bank
H3: Favorable Deals Across Tenebrous Isle
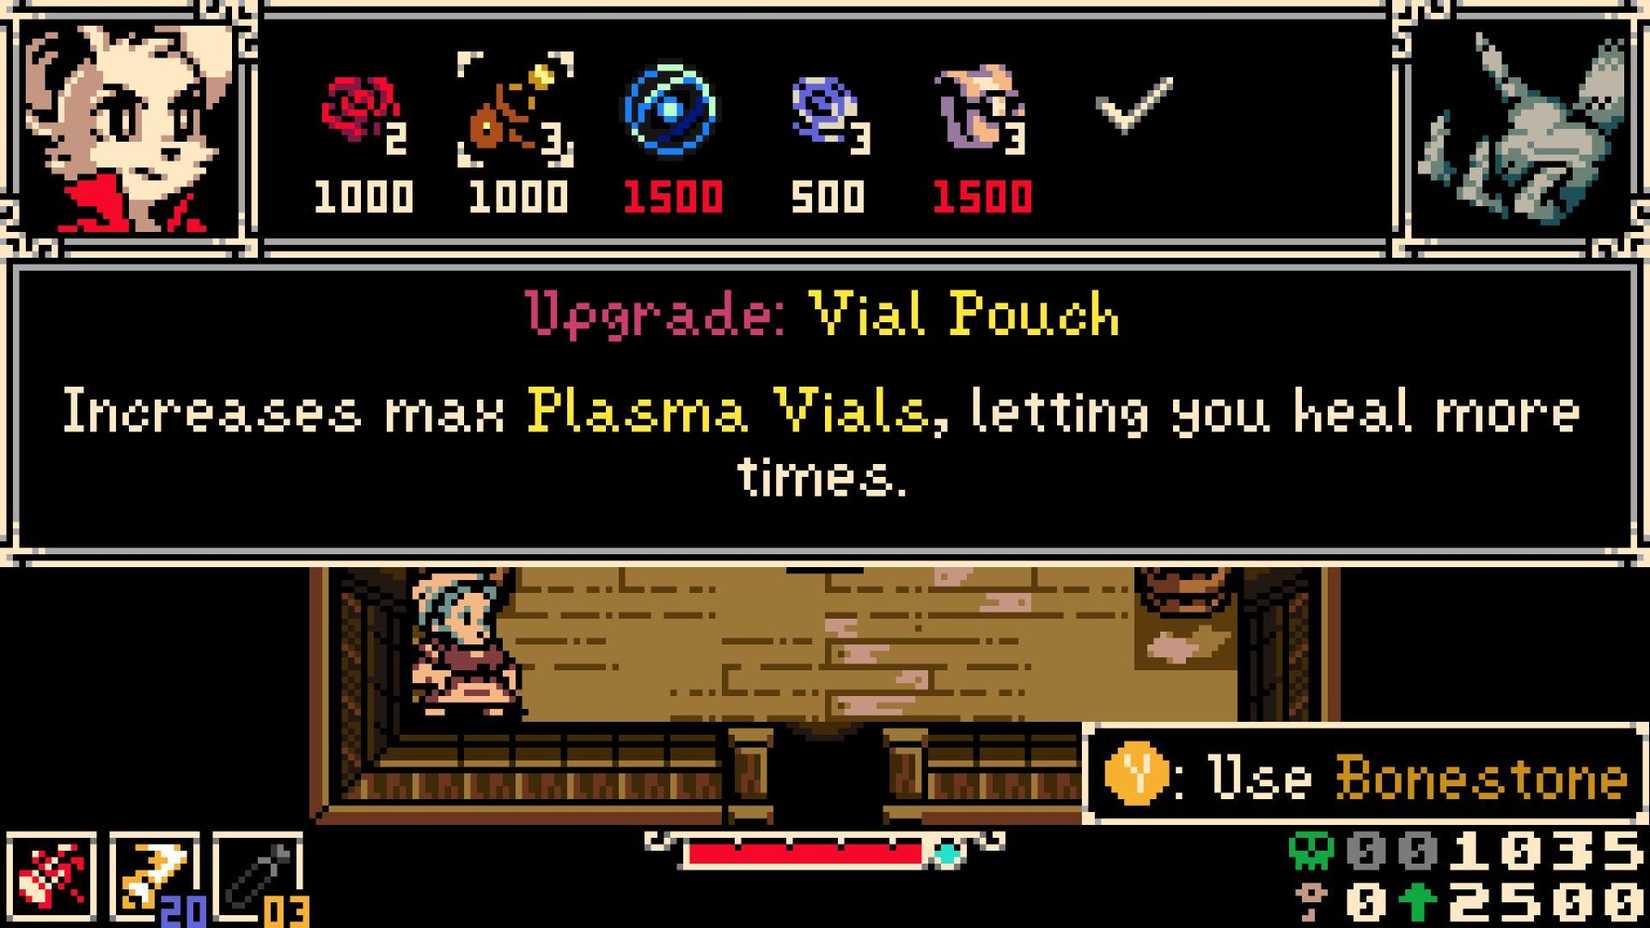
Throughout the vast world of Tenebrous Isle, and particularly within the town of Ossex, players will encounter various shops offering essential items such as character upgrades, new weapons, Trinkets, and other miscellaneous goods. The cost of these items, when combined with the ongoing expense of "Boning Up," can create a significant budgetary strain for players. The "Shop Prices (Cheap)" modifier offers a straightforward solution to this economic challenge.
This modifier allows players to select from three universal price settings: cheap, expensive, or random. Selecting "cheap" ensures that all shopkeepers in the game will offer their wares at a reduced cost. This makes it significantly easier to afford major upgrades, especially in Ossex, and also provides a valuable buffer when encountering standalone merchants in the field and needing to purchase emergency supplies.
Supporting Data: Economic management is a common challenge in RPGs. By directly impacting the cost of goods, this modifier alleviates a significant source of potential frustration and allows players to invest more readily in their character’s development.
10. Warp Home: Instantaneous Returns to Safety
H2: The Ultimate Escape Route
H3: Seamless Travel Back to Civilization
Tenebrous Isle is a sprawling, interconnected world filled with intricate shortcuts that gradually unlock as players progress. While it’s technically possible to traverse the entire map on foot, returning to safety can sometimes be hampered by difficult platforming sections or the presence of formidable enemies. The "Warp Home" modifier provides an immediate and convenient solution to this navigational challenge.
When activated, the "Warp Home" modifier allows players to instantly return to Ossex (or the starting shipwreck if Ossex has not yet been visited) by simply opening the pause menu and selecting the warp option. This eliminates the risk of losing bones due to navigational hazards or difficult enemy encounters while attempting to retreat. While players will still need to manually backtrack to their previous location, the ability to quickly return to a safe hub significantly streamlines the gameplay loop and reduces the anxiety associated with exploration.
Implications: This modifier directly addresses the potential for backtracking and environmental navigation to become tedious or punishing. By offering instant travel, it allows players to engage with the core gameplay loop without the added burden of long and potentially perilous journeys back to safety.
Conclusion: Empowering the Player
Mina the Hollower offers a rich and challenging experience that rewards perseverance and skill. However, the game’s design team has commendably provided players with the tools to tailor that experience to their individual needs and preferences. By thoughtfully utilizing the modifier system, players can navigate the treacherous landscapes of Tenebrous Isle with greater confidence, overcome challenging encounters with less frustration, and ultimately, fully immerse themselves in the captivating world of Mina the Hollower. The choice to "git gud" is always an option, but the power to adjust the game’s difficulty to a more enjoyable level is a testament to thoughtful game design, ensuring that the dark allure of this gothic adventure is accessible to a broader audience.