

The gothic, interconnected world of Mina the Hollower is far more than a simple action-adventure romp; it is a dense, labyrinthine puzzle box designed by the masters at Yacht Club Games. As players traverse the cursed island, they will quickly realize that the environment is teeming with secrets, obscure pathways, and vital equipment. Among the most coveted of these collectibles are the Kears—rare, mystical items that serve as a testament to a player’s thoroughness and dedication.
There are exactly 50 Kears hidden throughout the game’s sprawling map. They are not merely lying in plain sight; they are tucked away in forgotten chests, obscured behind destructible environmental anomalies, or held by merchants who demand a steep price for their wares. Finding all 50 requires a blend of sharp observation, spatial reasoning, and, at times, a willingness to risk it all in the deepest, darkest corners of the map.

The Significance of the Kear: A Mechanical Overview
In the context of Mina the Hollower, Kears are more than just a completionist’s trophy. They are essential currency for unlocking specific barriers and are often required to progress into late-game secret chambers that house the game’s most powerful gear. Because many are missable—or gated behind difficult-to-solve environmental puzzles—players often find themselves backtracking across the island, re-examining every suspicious wall or floor tile.
This guide provides a comprehensive, sequential breakdown of every Kear location, ensuring that no stone is left unturned in your pursuit of 100% completion.
Chronological Path: The First Steps (Kears 1–2)
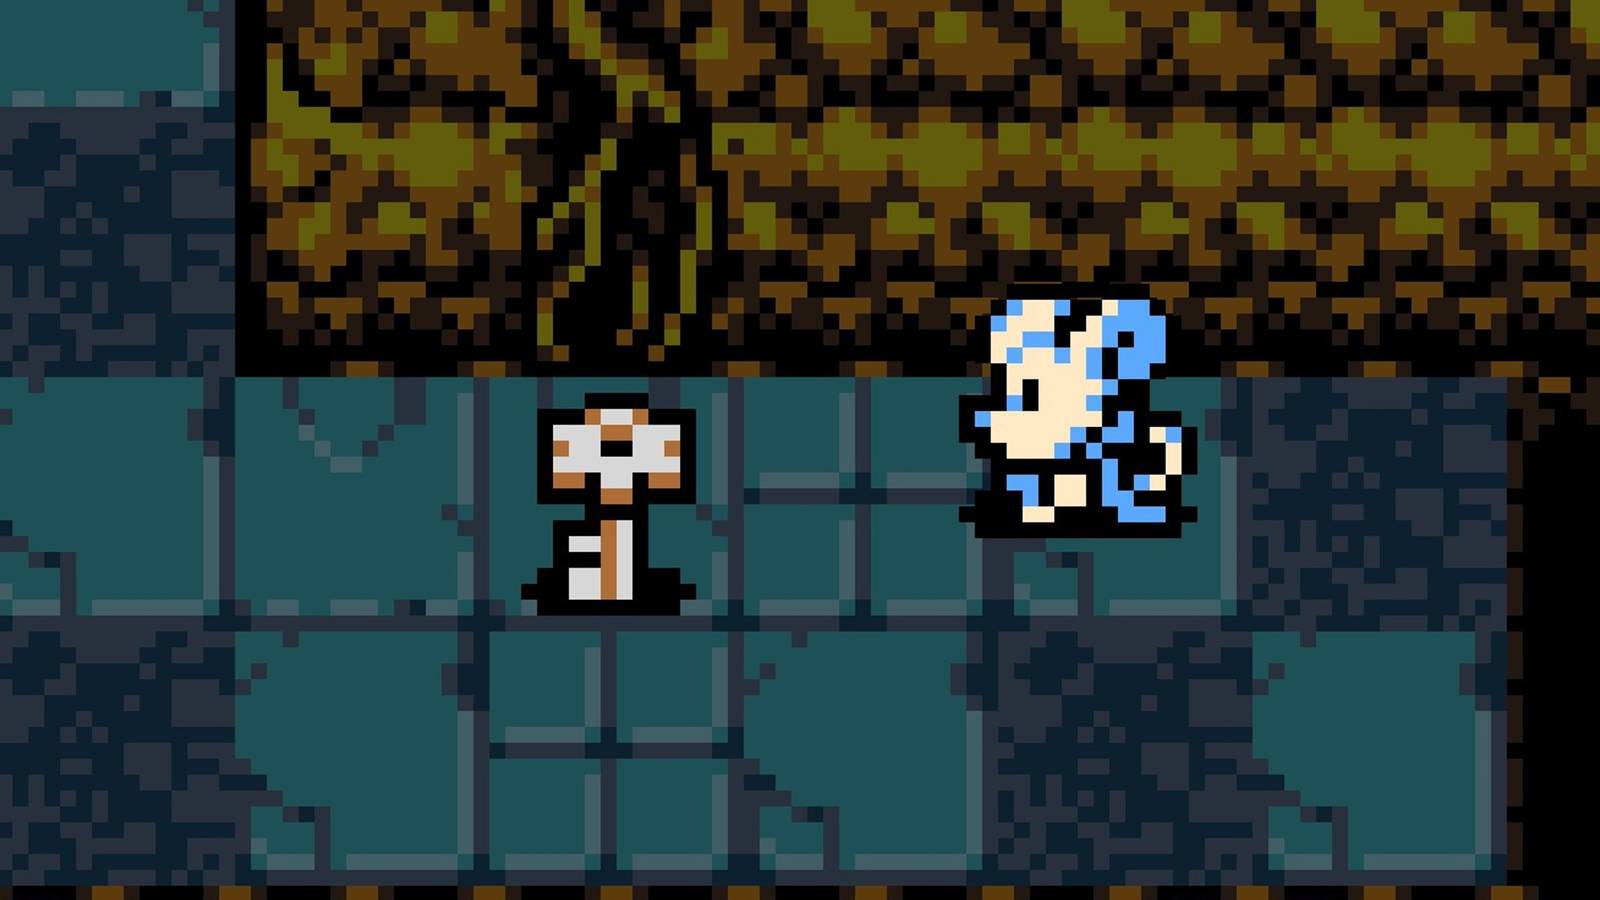
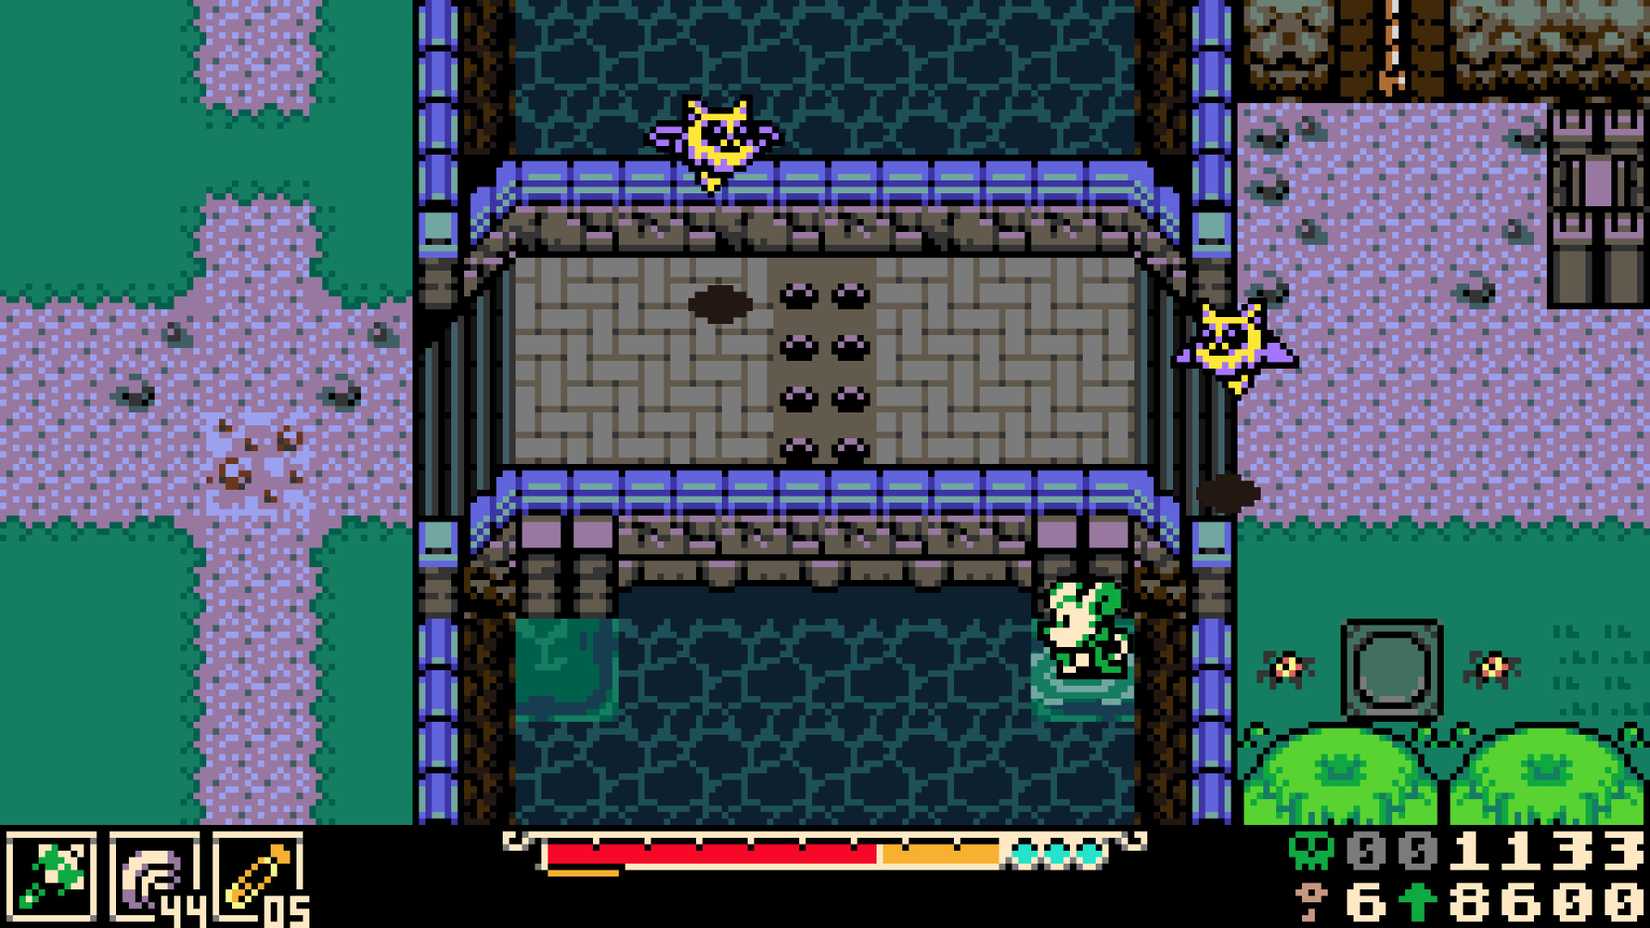
Your journey begins in the wake of the tragic shipwreck.
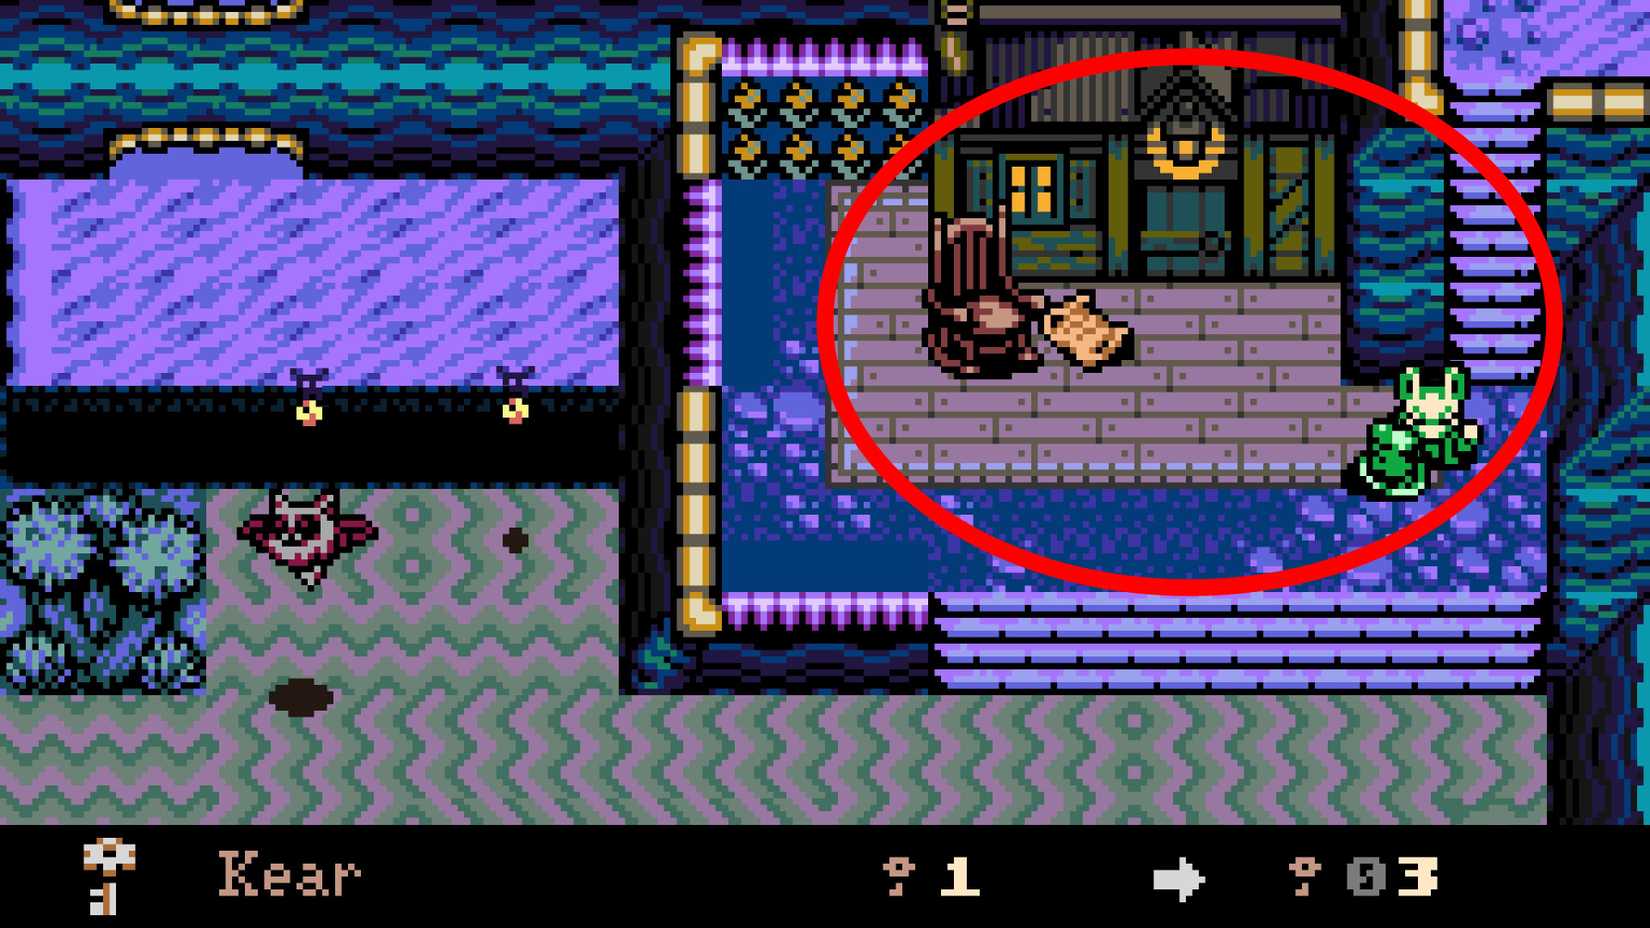
Kear 1: Loner’s Landing Hidden Hole
After the initial shipwreck sequence, advance along the main path until you encounter a bridge. You must navigate to the rear of the area to loop around the left side, crossing the bridge to reach a new screen on the right. Clear all enemies, then locate the small tower with the cracked wooden door. Strike it to trigger an explosion; the resulting hole in the floor is your gateway to the first Kear.
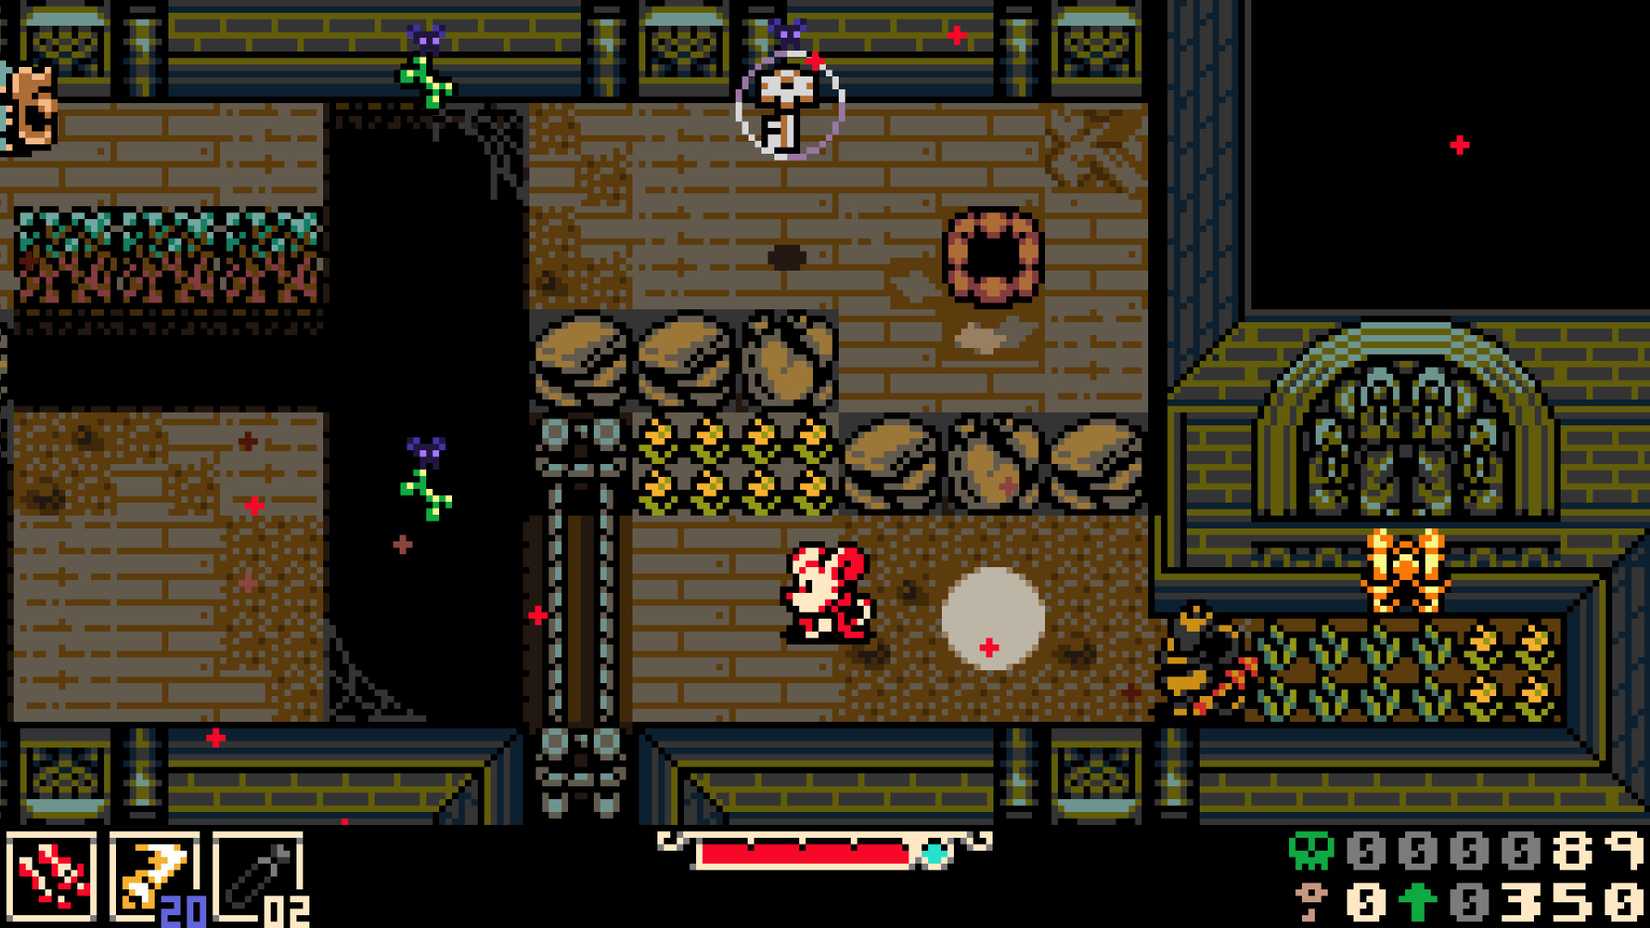
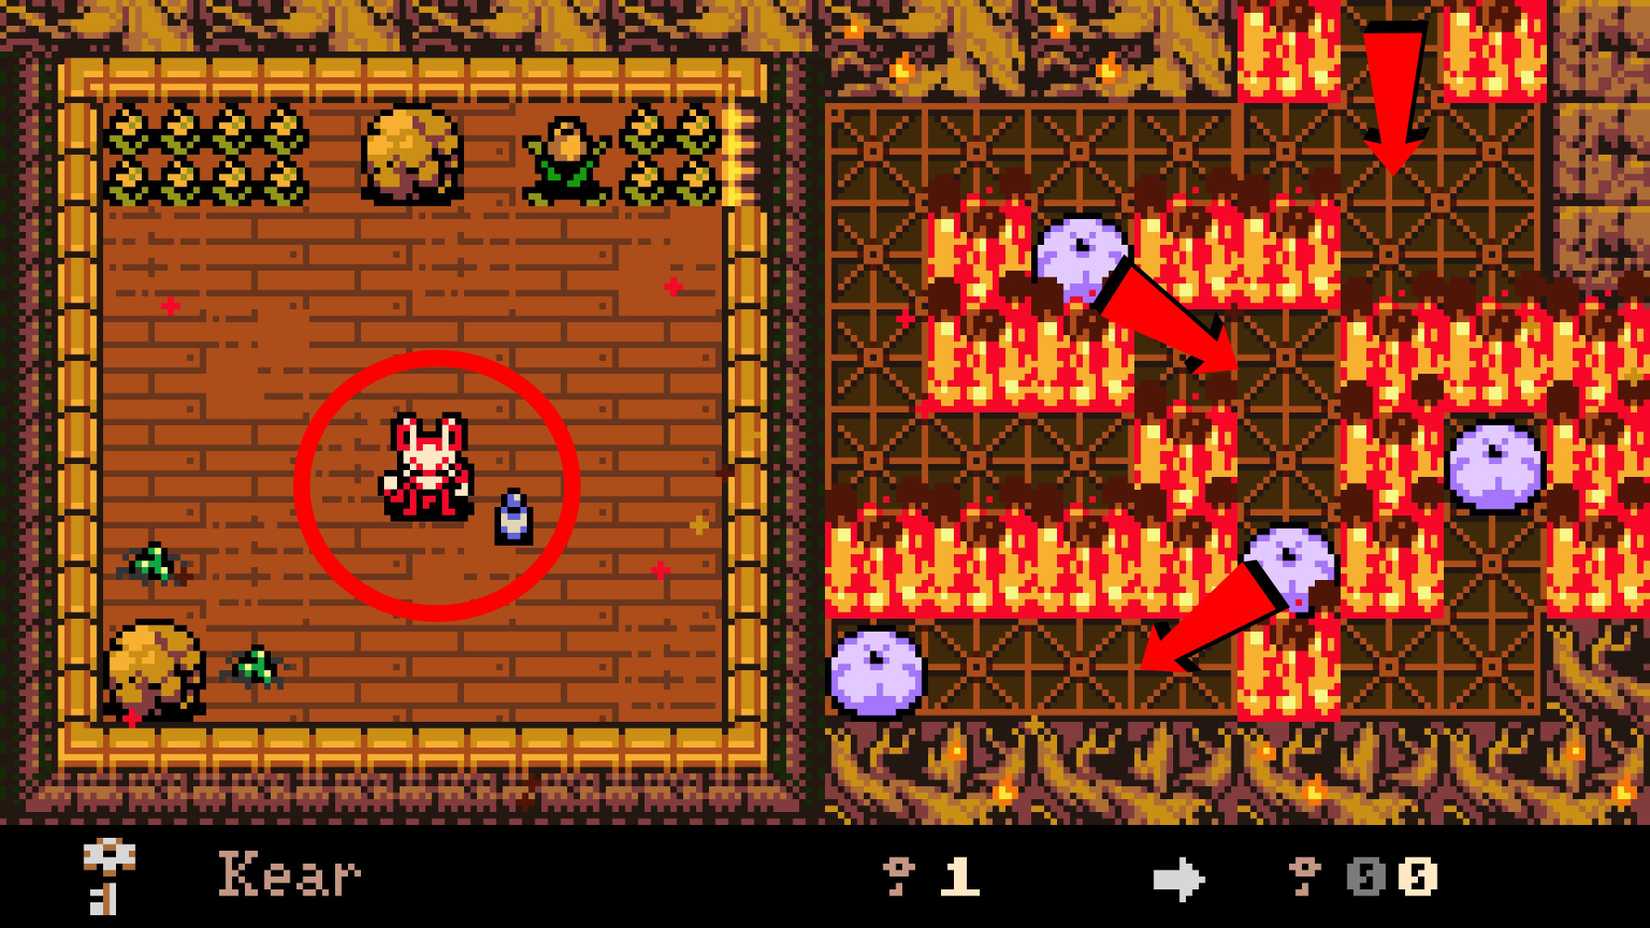
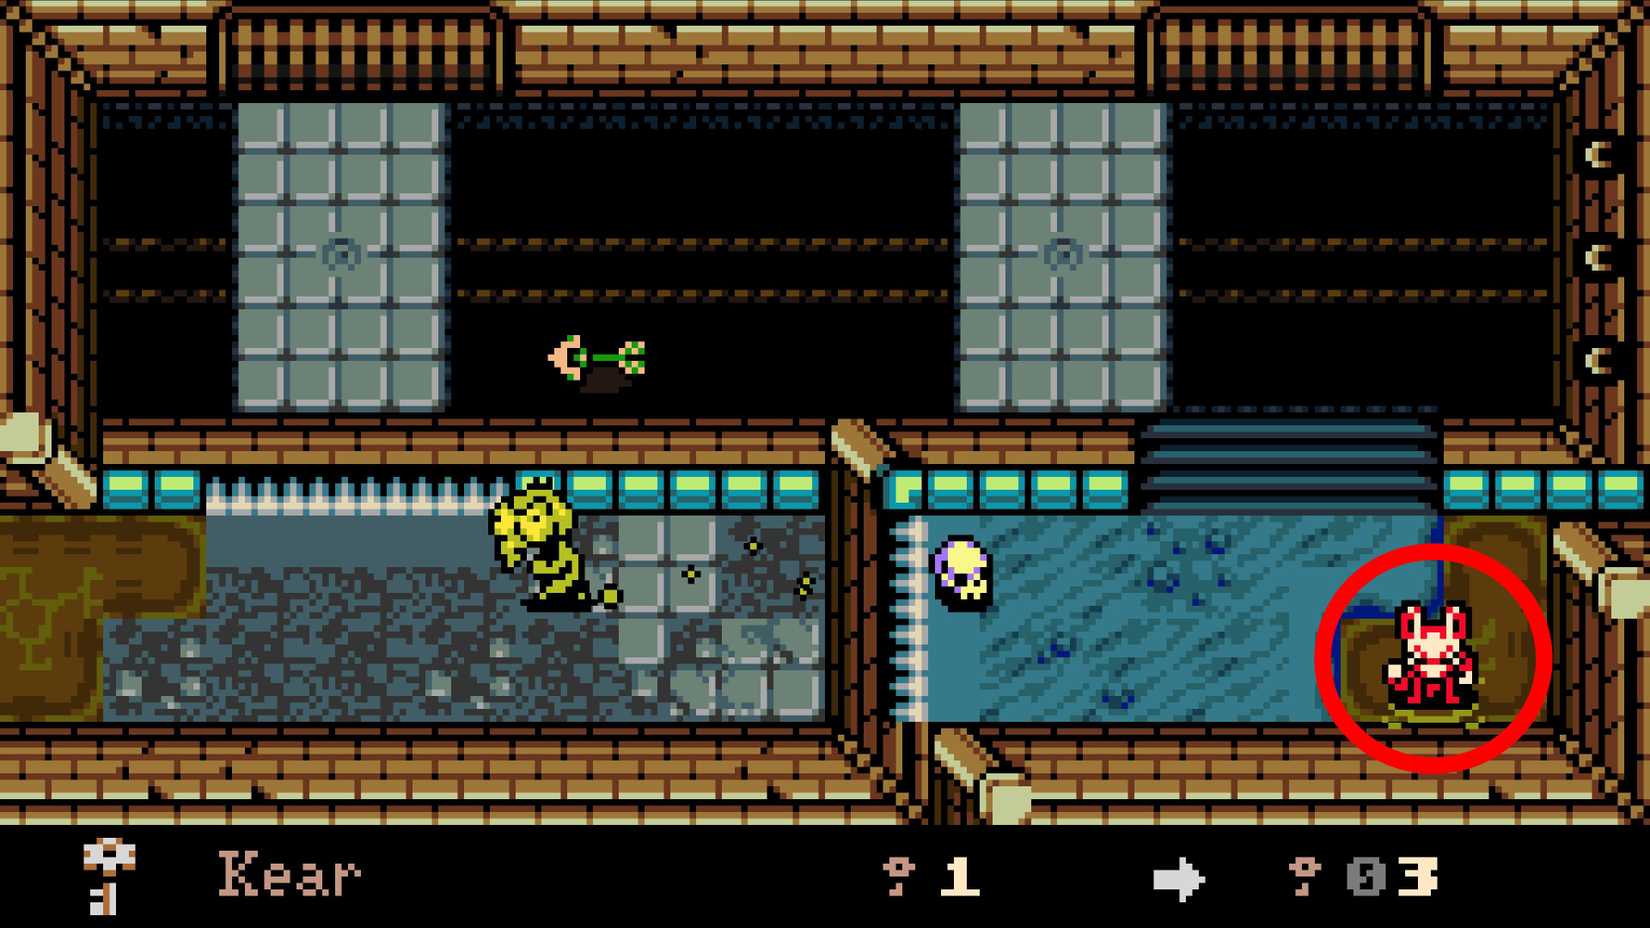
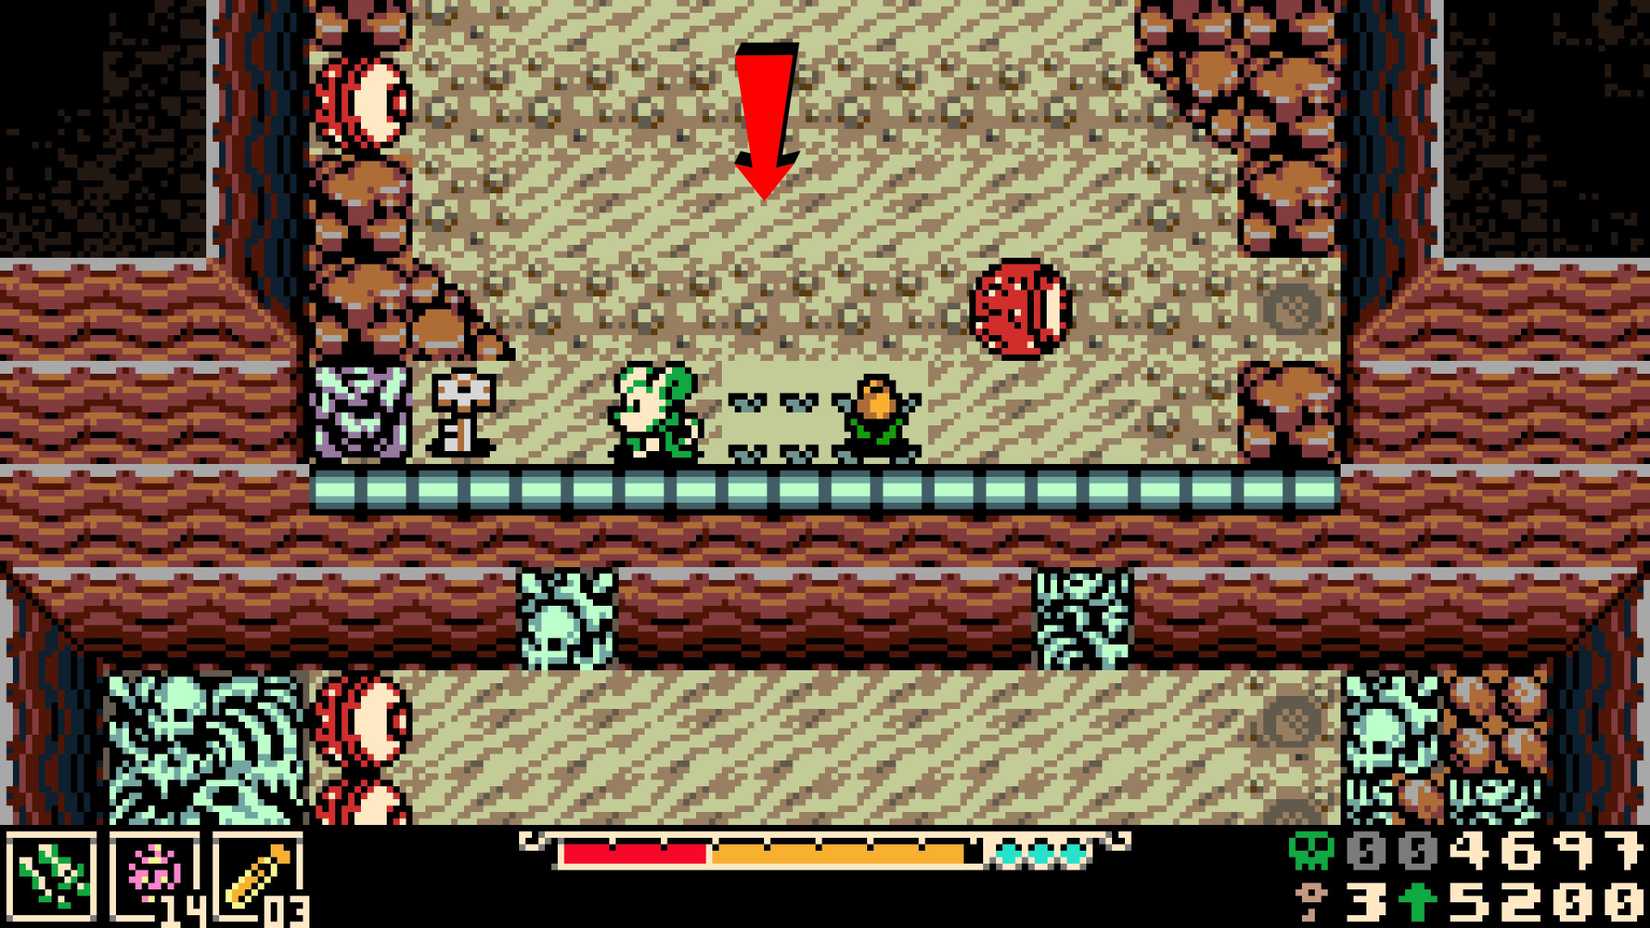
Kear 2: The Fire Puzzle
Continuing from the previous area, you will enter an arena engulfed in wildfires. Keep your momentum high until you spot two moving platforms. One will glide past a high-jumping purple flower; use this as a launchpad to reach the bottom-right corner of the screen. From there, chain your jumps using the flowers to reach a platform on the left guarded by two enemies. Dispatch them and open the chest to claim your second prize.
Commercial Acquisitions: The Kear Institute and Beyond (Kears 3–11)
Not all Kears are found in the wild. In the city of Ossex, you will encounter the Kear Institute, a hub for collectors.
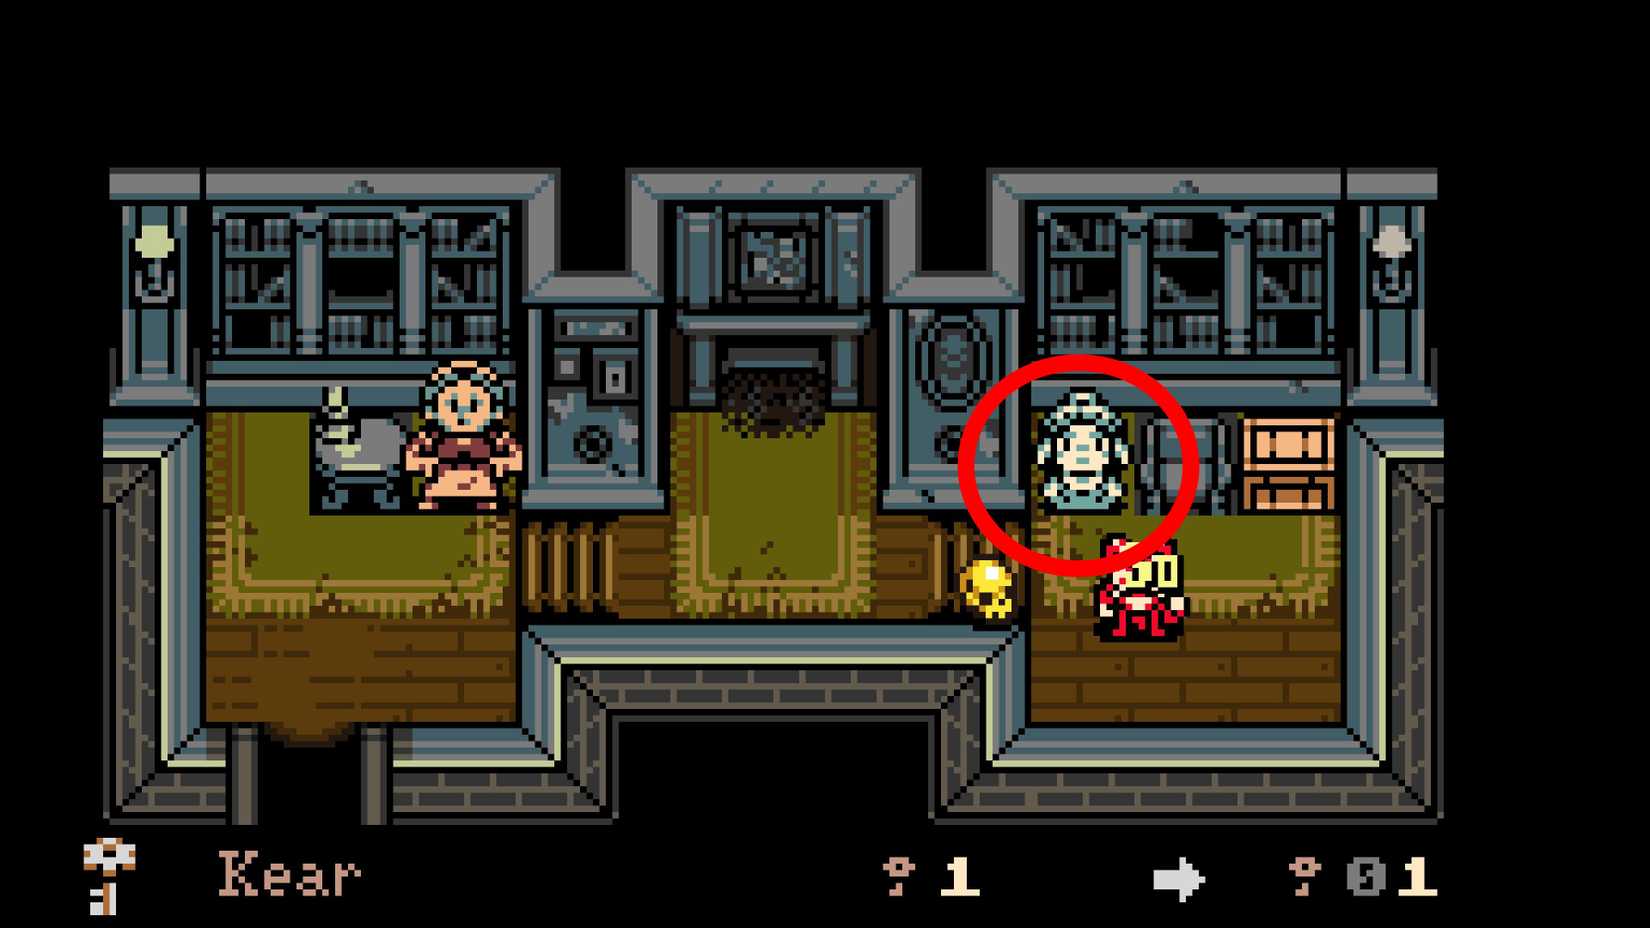
Kears 3–11: The Kearnes Collection
Located on the street below the city’s central fountain, the Kear Institute is easily identified by the giant Kear statue on its roof. Inside, you will meet Kearnes. This merchant is the primary source for bulk Kears. Be warned: his business model is predatory. The first Kear costs 300 Bones, but prices increase exponentially with every subsequent purchase. You will need to farm Bones efficiently to secure all nine of his stock.
Navigating the Hidden Depths of Ossex (Kears 12–13)
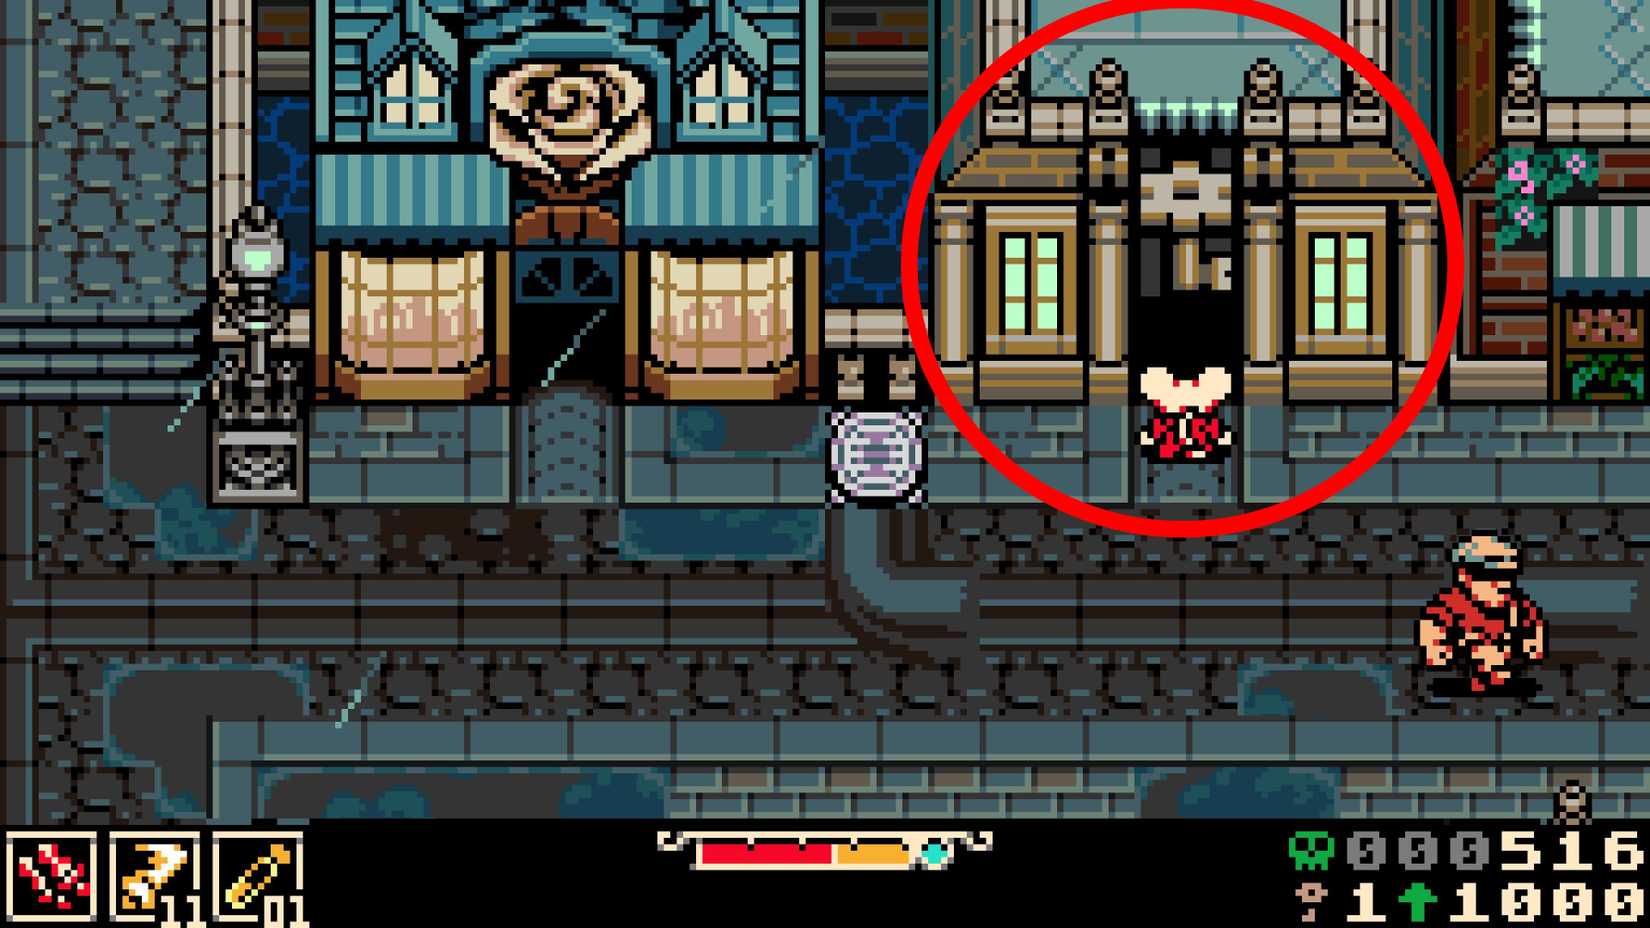
Kear 12: The Guild Vault
Outside the Kear Institute, look for a wooden crate in a nearby corner. Destroy it to reveal a hidden path filled with platforming hazards. This leads to the front of the Hollower’s Guild. Once inside, use your burrowing ability at the back of the hall to access a secret chamber containing a treasure chest.

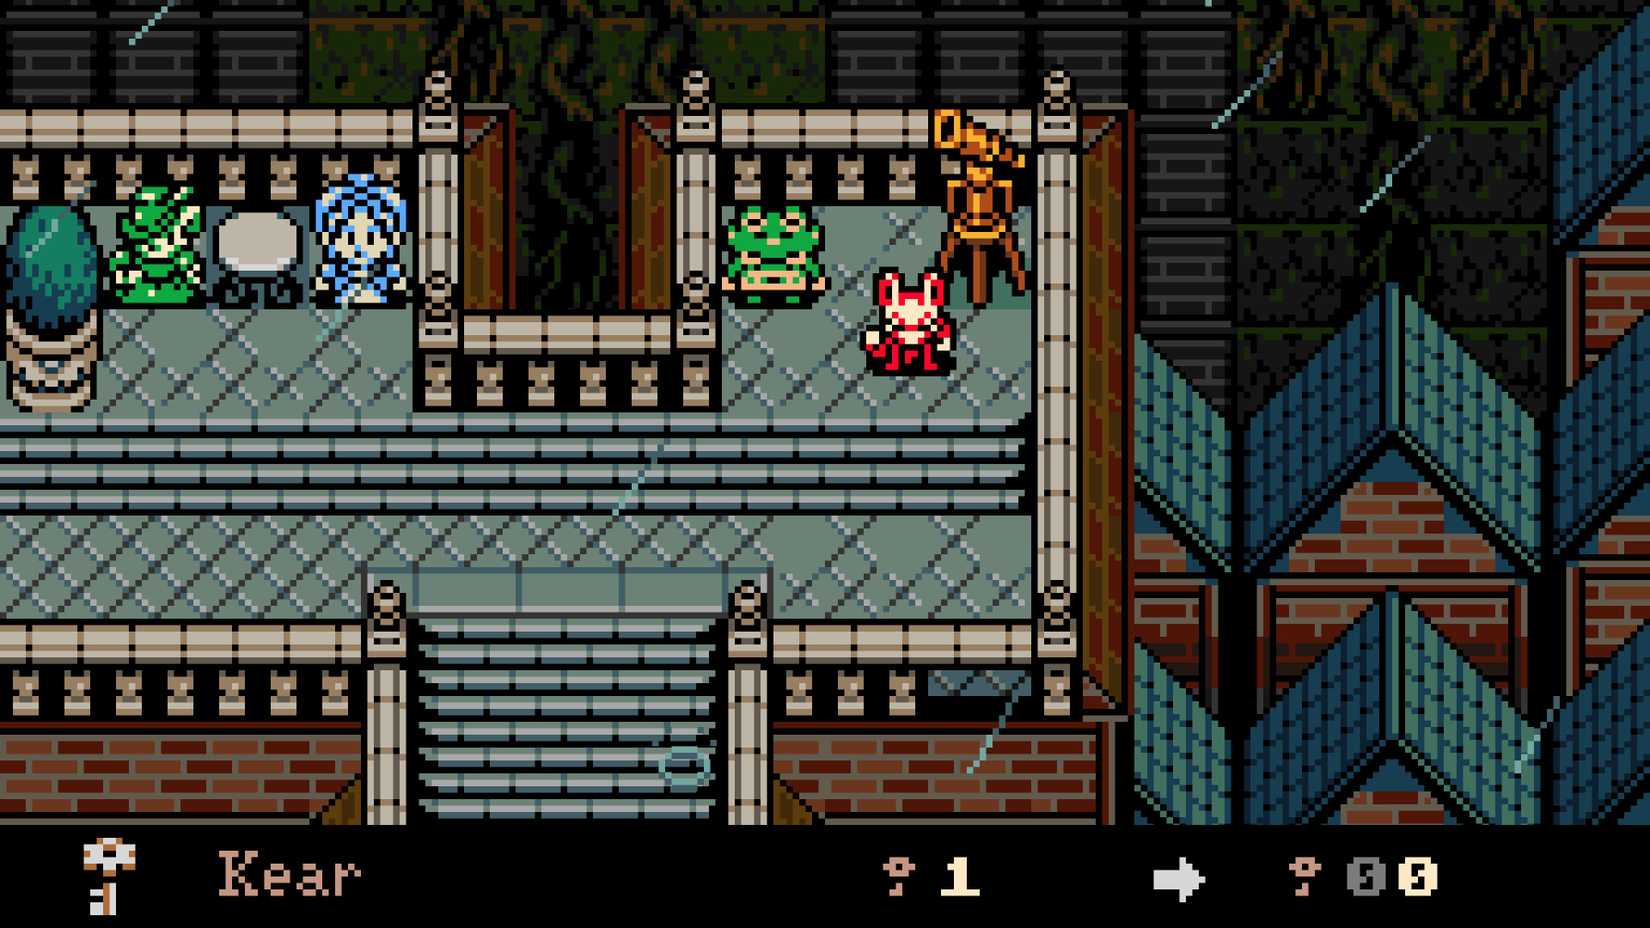
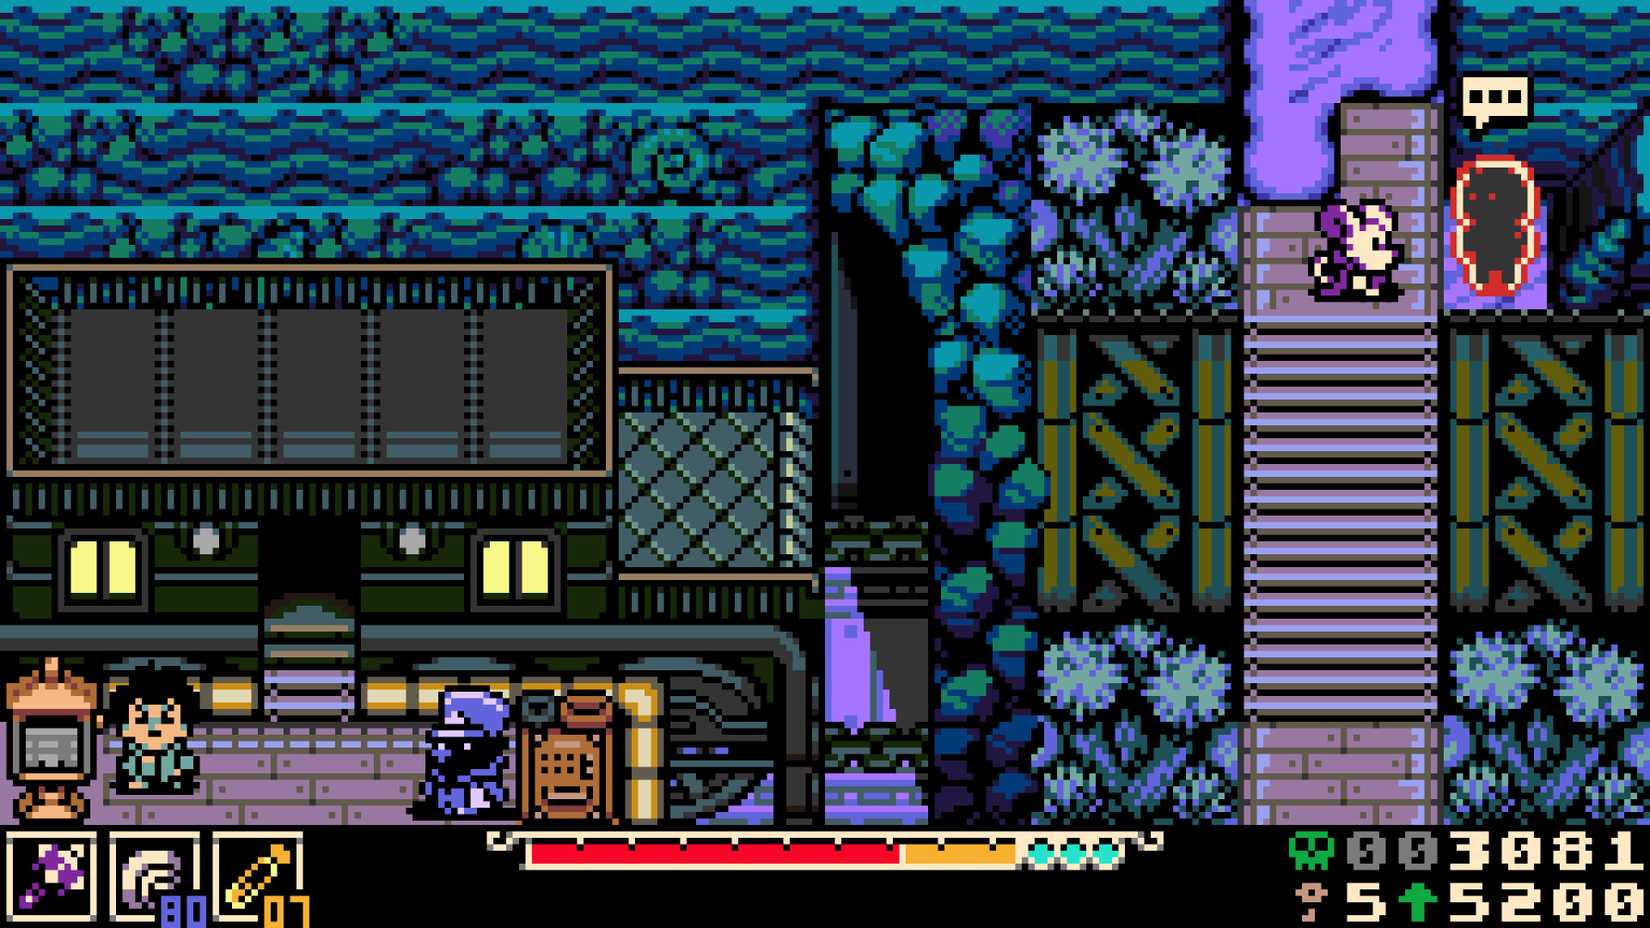
Kear 13: The Celestial Telescope
In the busy neighborhood east of the central square, use a Kear to unlock the barrier blocking the upper path. Speak to the NPC by the telescope, then look through the lens. Pan to the far right, then upward toward the large yellow planet. By focusing and unfocusing on the planet, you will eventually trigger a sparkling effect, causing a comet to crash and reveal a Kear.
The Graveyard Shift: Mourner’s Mile (Kears 15–17)
The graveyard is a hazardous zone where light is your only friend.
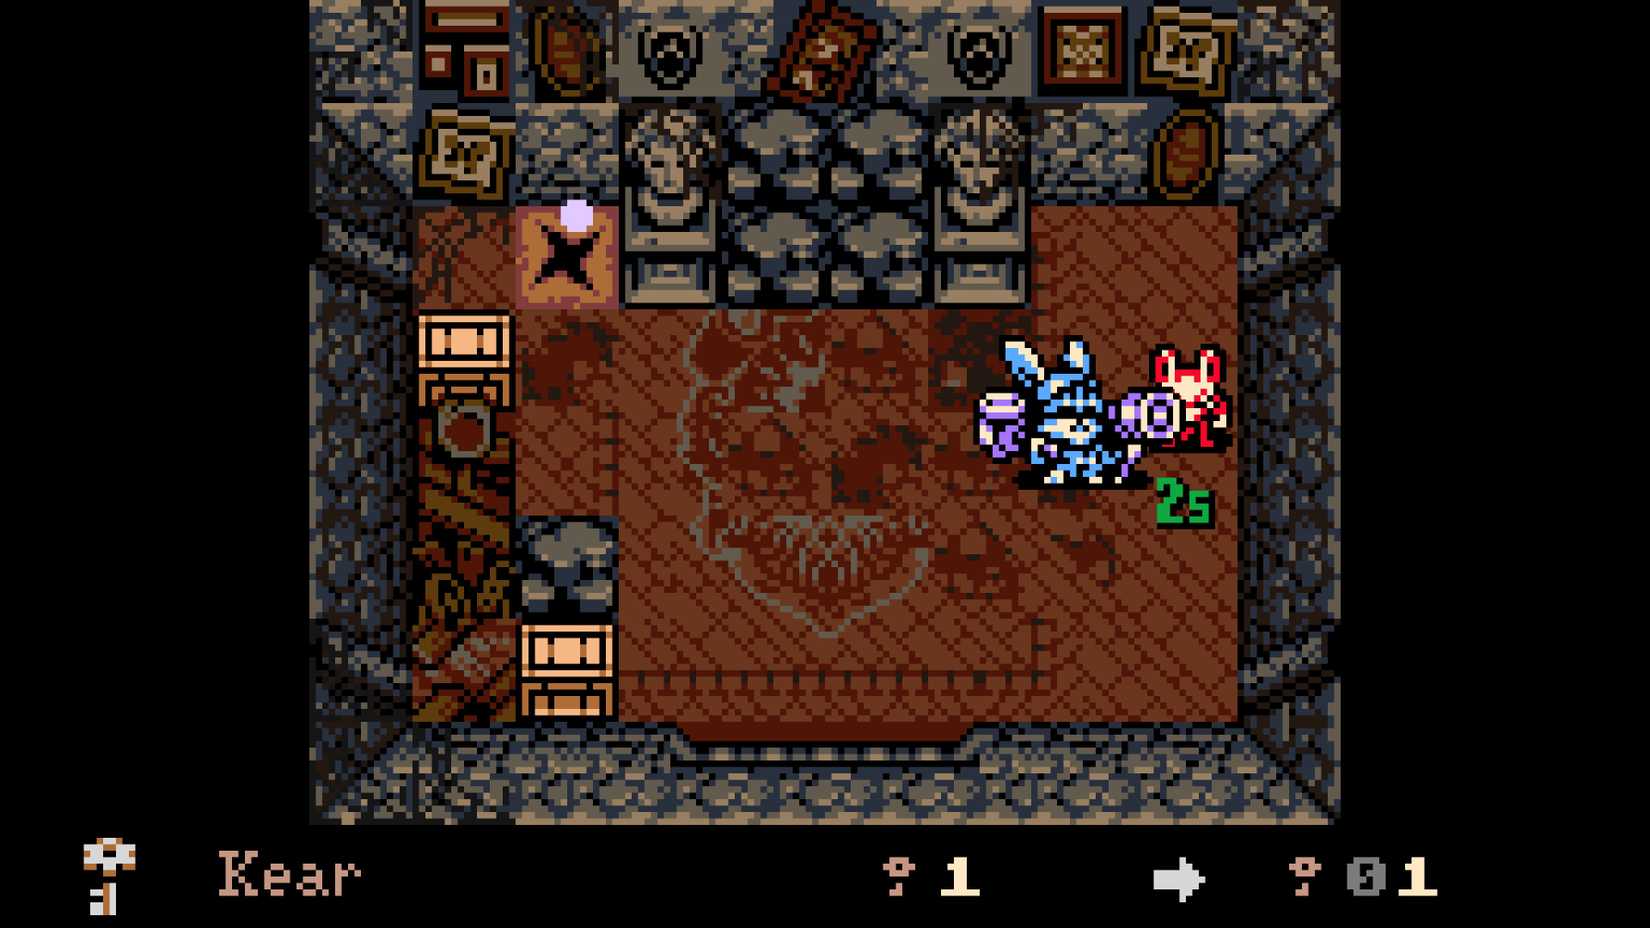
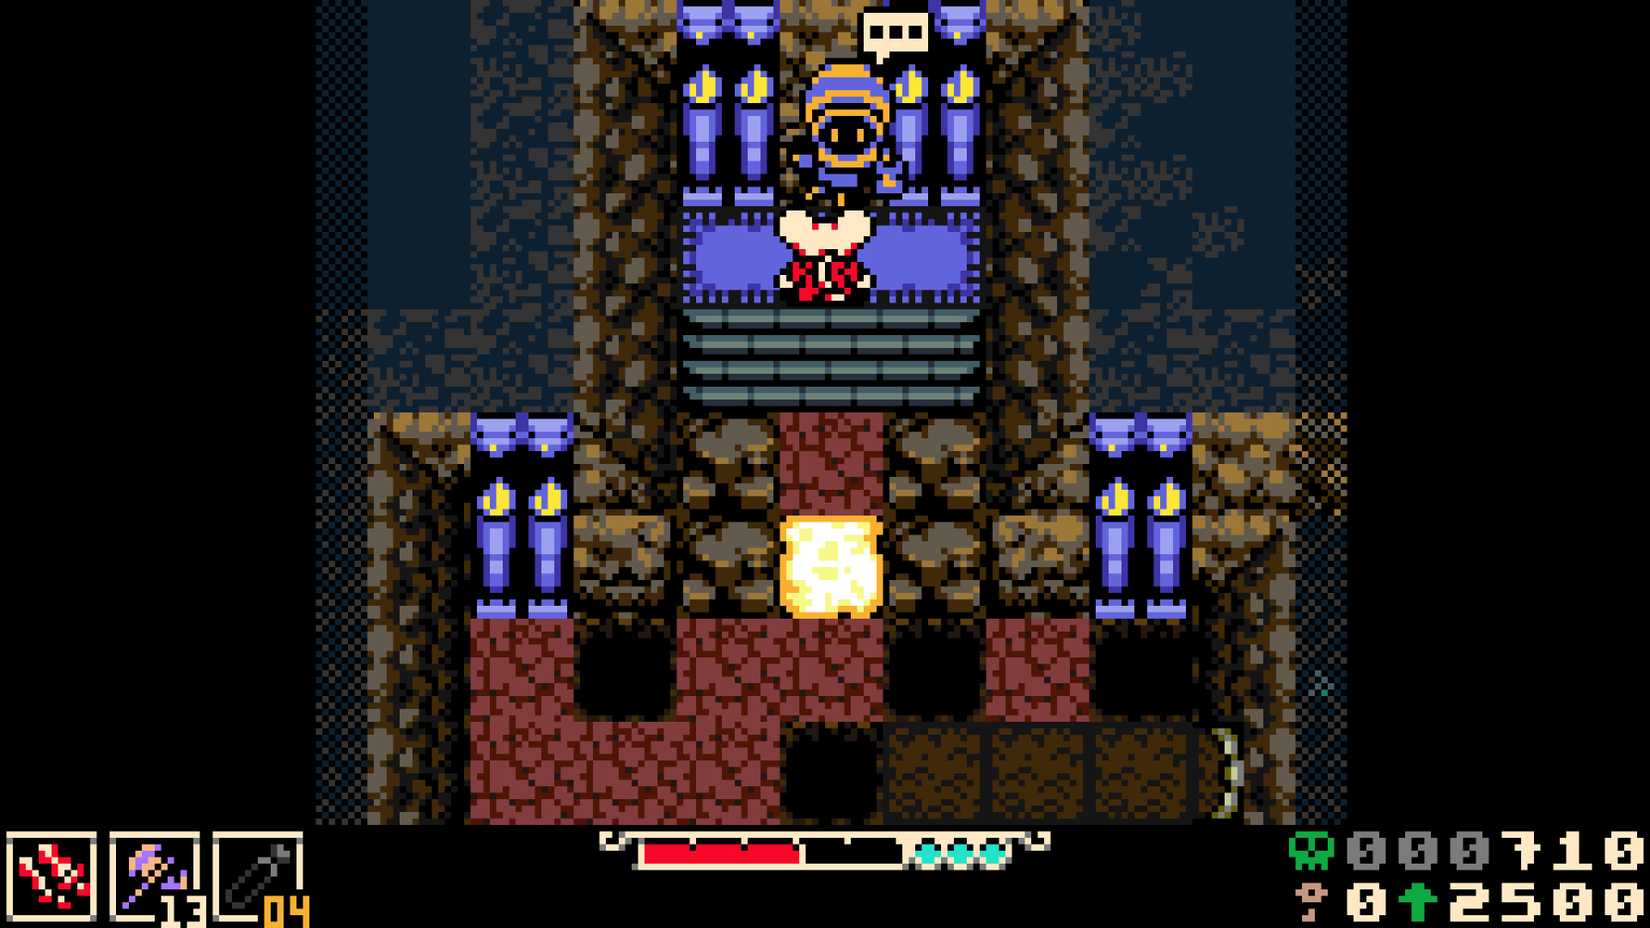
Kear 15: The Subterranean Tomb
In the narrow corridor filled with goblin ambushes and candles, push to the far right. Use your burrowing ability to reach an underground chamber. Shatter the tombstone in the bottom-right corner to open a path to an adjacent room, then return and destroy the third tombstone from the left in the top row. Do not destroy the candles in the secret room, as their light is necessary to guide you to the Kear.
Kear 17: The Gravedigger’s Debt
Near the entrance to the Queensbury Crypt, you will find an exhausted gravedigger. He will complain about his workload. To receive a Kear, you must dig up every single patch of loose dirt on this screen. Once the area is clear, talk to him again to collect your reward.
The Perils of the Wilds (Kears 20–27)
Poppit’s secret shops are the bane of every player’s budget, but they are essential for the collection.
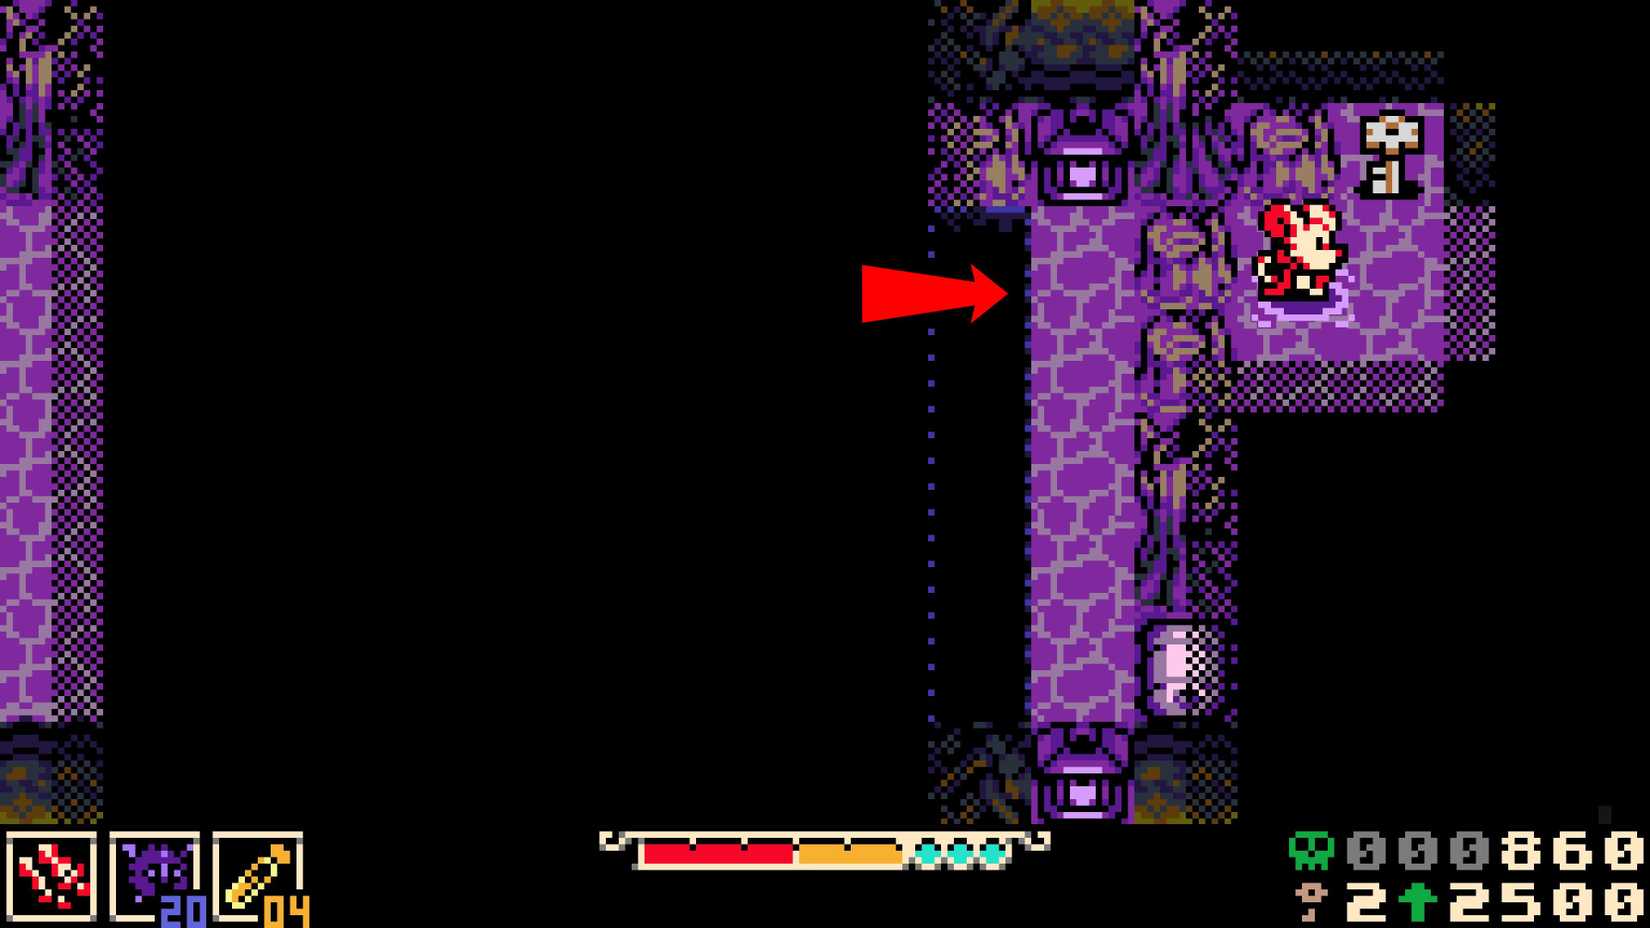
Kear 20: Western Wilds
Inside the Molten Foundry cabin, use the burrowing ability in the top-right corner to access the back of the building. In this darkened, lava-filled area, you must carefully guide the flow of molten lava to illuminate your path. Reach the left wall and follow the path to Poppit’s second shop.
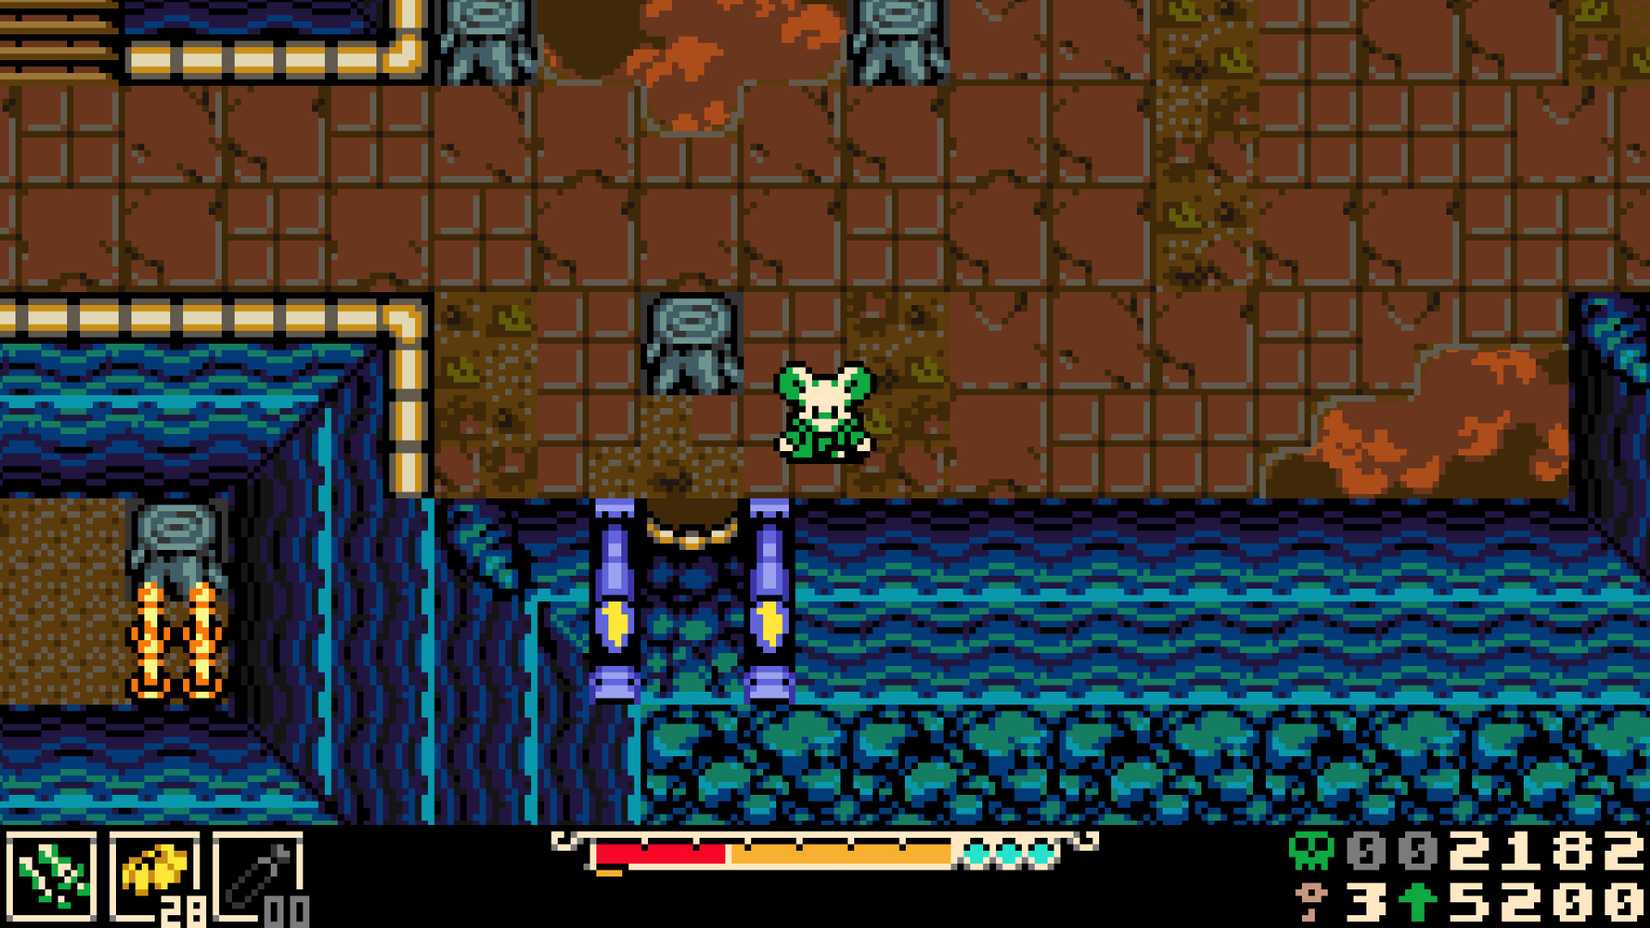
Kear 27: Southern Outskirts
Backtrack to the game’s tutorial zone. Now that you can access previously fire-blocked areas, use the purple flowers to launch yourself to the highest cliffside. Clear out the enemies, then find the purple-decorated opening. Burrow straight down to find Poppit’s final secret shop.
Complex Maneuvers: Astral Orrery and Beyond (Kears 45–50)
As the game nears its climax, the puzzles become increasingly abstract.
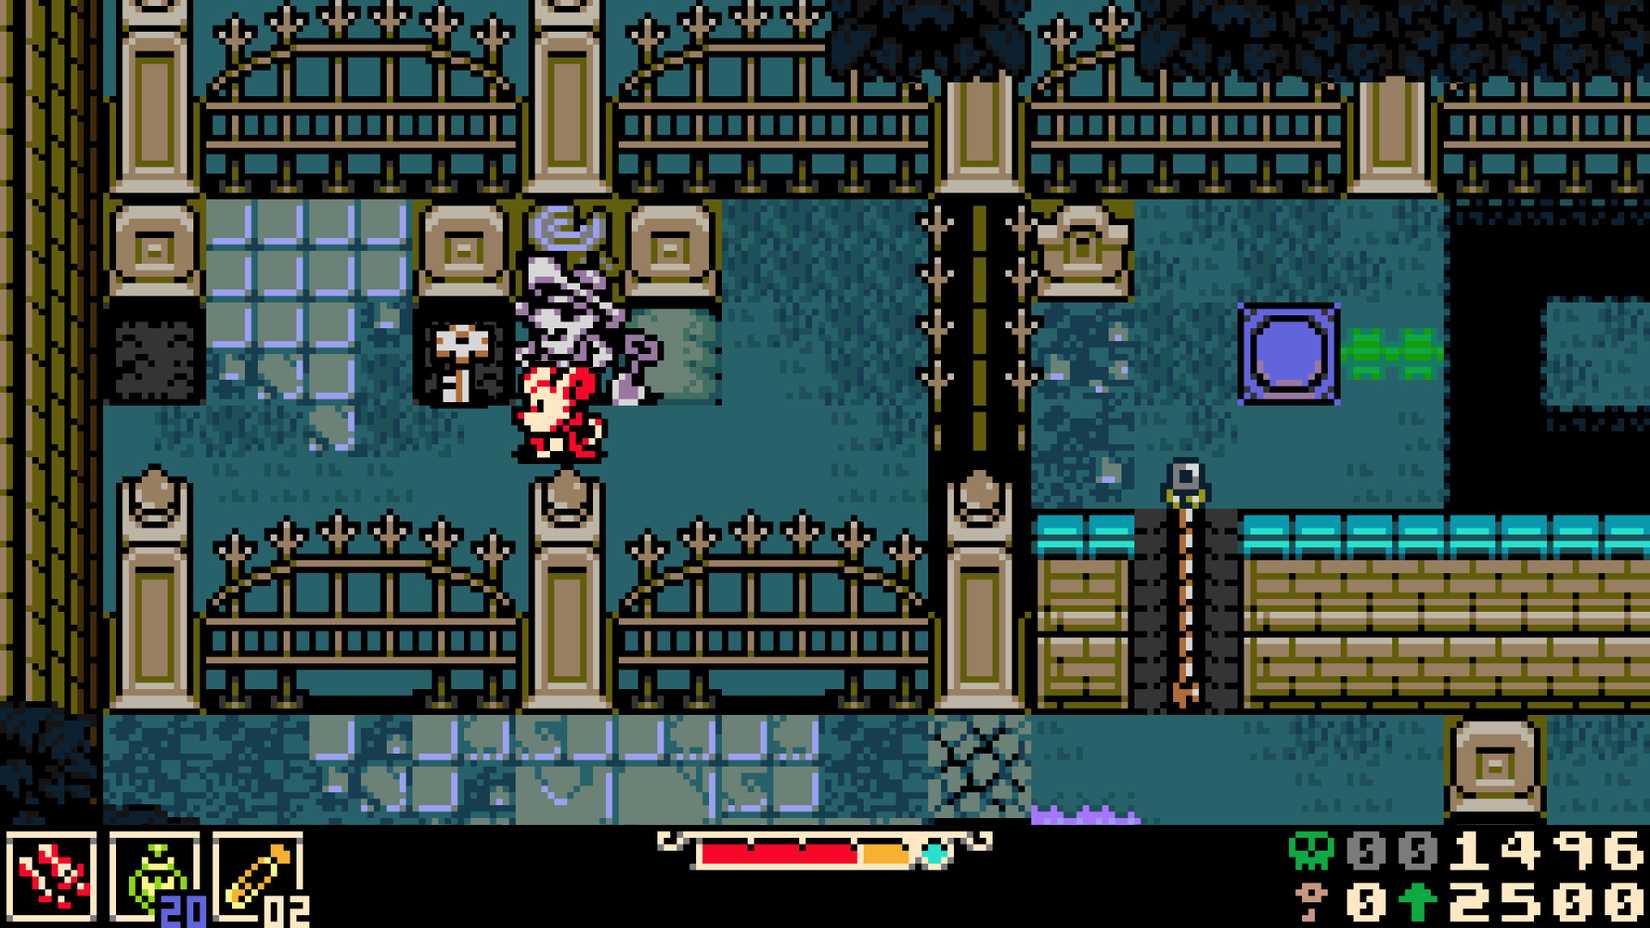
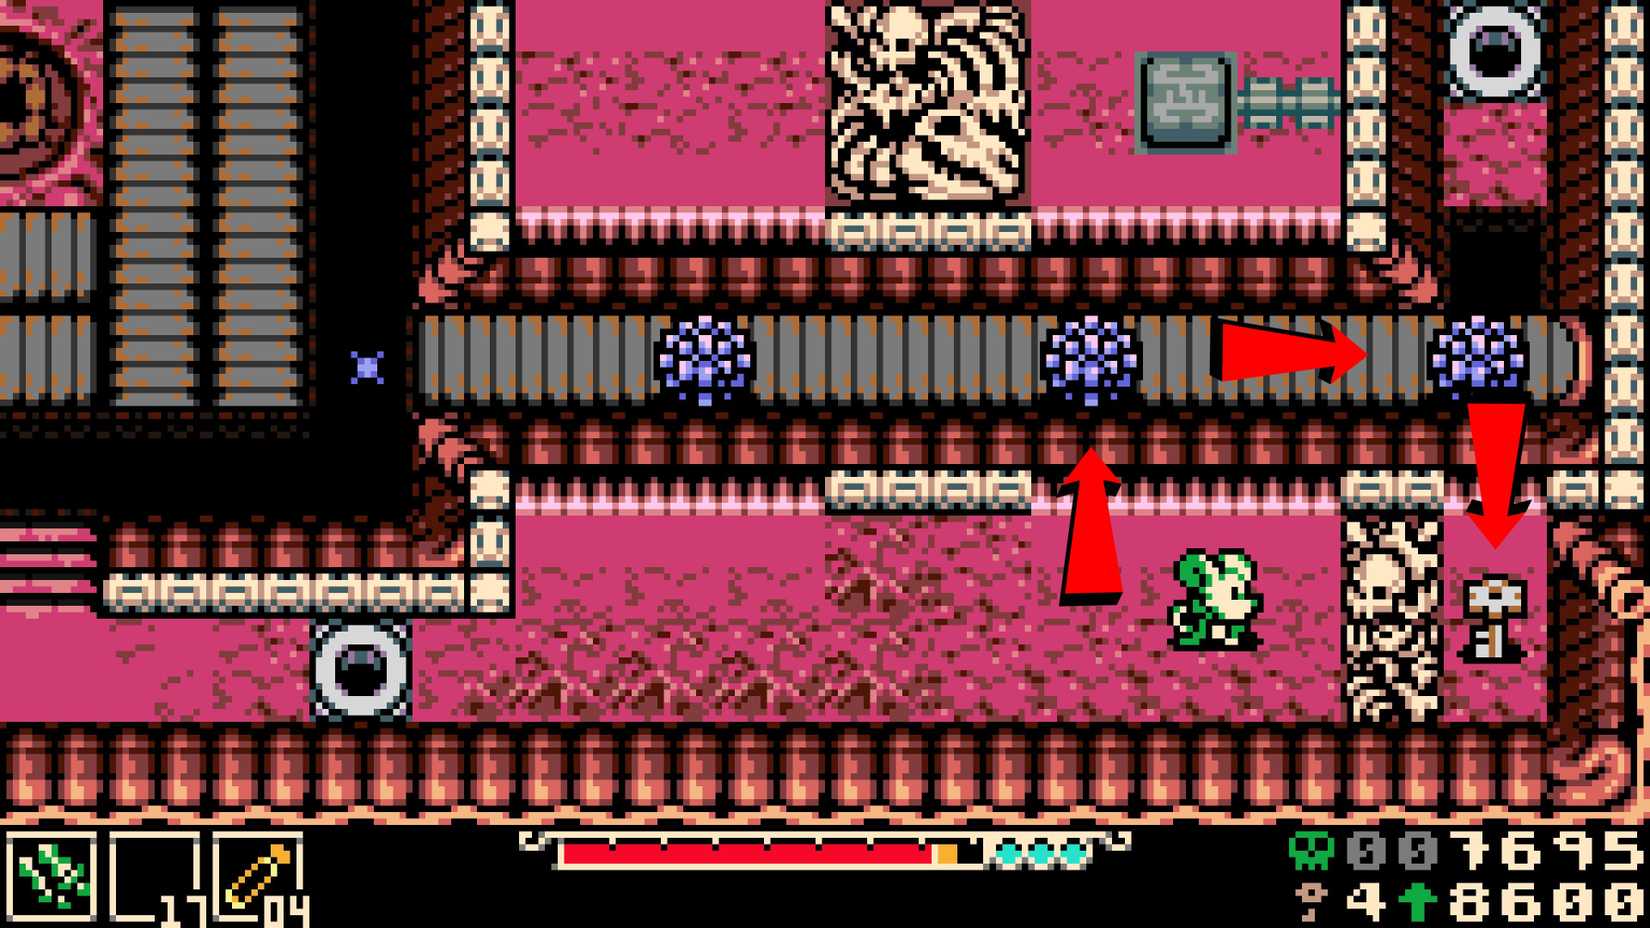
Kear 45: Crimson Mirror Sector
In the Astral Orrery, during the mirror puzzles, locate the room with rotating mechanical gears. After obtaining a blue square, head to the far right where three turrets are mounted. Use the square to destroy the center turret, revealing a hole that leads to a secret chamber.

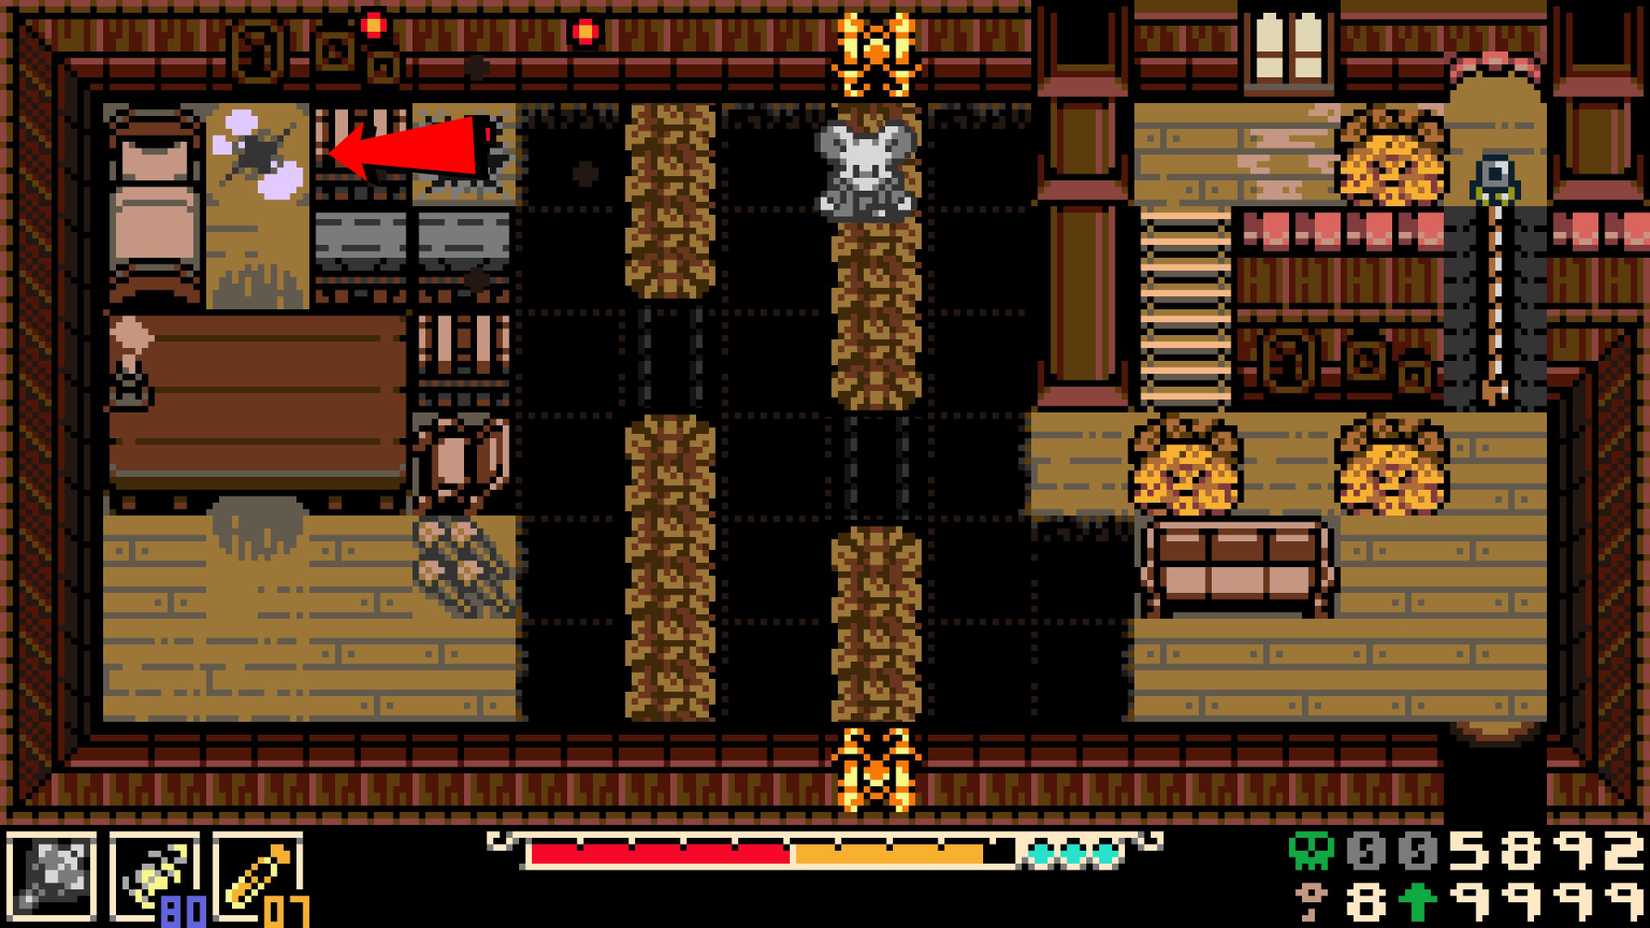
Kear 49: The Trinket Bazaar Basement
To access the basement of the Trinket Bazaar in Ossex, you must cause the merchant to panic. Use a fast-attacking weapon like the Volt Hatchet to strike her repeatedly until her animation speeds up into an uncontrollable loop. While she is distracted, burrow through the floor hatch and speak to the creature in the cage to receive the Kear.
Kear 50: The Invisible Trail
In the Southern Outskirts, you will find a dark cavern with invisible platforms. After defeating the chain-wielding enemy, look for the invisible tiles leading to the bottom-left corner of the screen. Burrow into the crevice to find the final, elusive Kear.
Implications for Gameplay
Collecting all 50 Kears is a monumental task that changes the way a player interacts with the world of Mina the Hollower. It encourages players to look at the game not just as a series of combat encounters, but as a dense, environmental puzzle. Those who complete the set will find that their mastery of the game’s mechanics—burrowing, whip-timing, and sidearm utility—has been refined to the highest degree.
For new players, the advice remains the same: pay attention to the environment, listen to the NPCs, and never assume a wall is merely a wall. In the world of Mina, the truth is usually buried just beneath the surface.