
In the evolving ecosystem of Apple’s operating systems, the ability to perform a clean install remains a cornerstone for power users, system administrators, and enthusiasts alike. As Apple prepares for the public release of macOS Golden Gate, the demand for efficient, reliable deployment methods has spiked. While modern macOS versions prioritize seamless, over-the-air updates, there is an enduring utility in having a physical, bootable USB installer.
Whether you are looking to deploy the operating system across a fleet of Macs, troubleshoot a corrupted installation, or simply circumvent the limitations of a slow or unreliable internet connection, a bootable USB drive is an indispensable tool in your digital arsenal. This comprehensive guide details the precise steps required to construct a bootable installer for macOS Golden Gate, ensuring you are prepared for the next era of Mac computing.
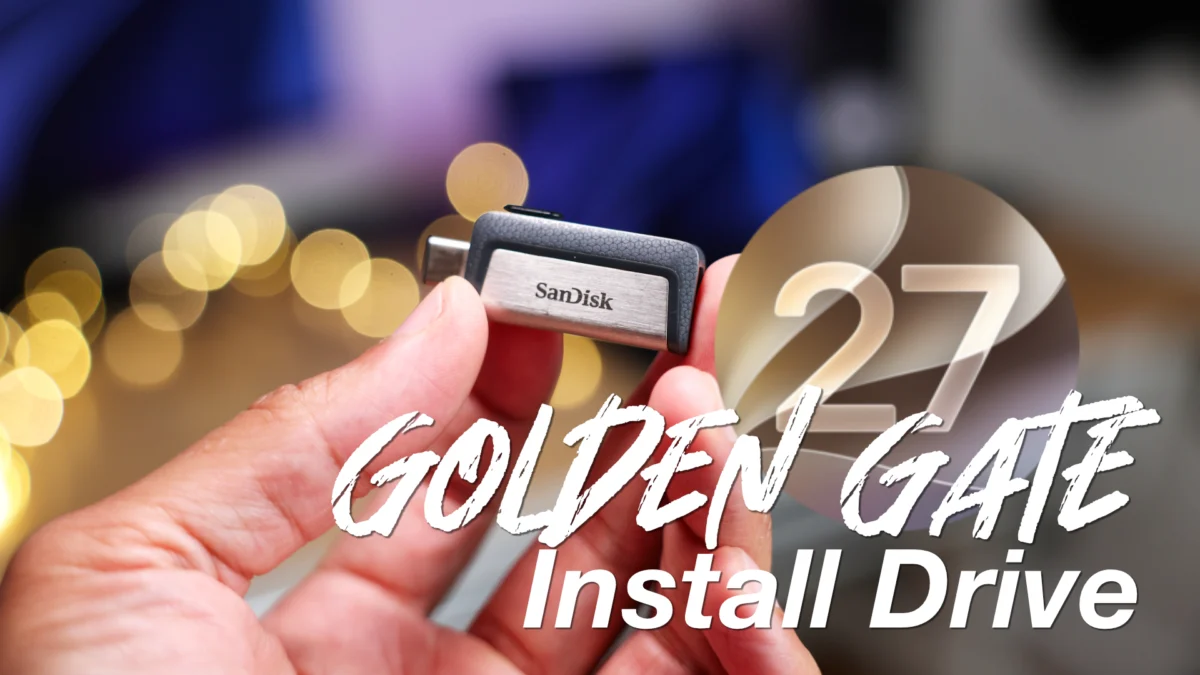
![How to create a macOS Golden Gate USB install drive [Video]](https://i0.wp.com/9to5mac.com/wp-content/uploads/sites/6/2026/06/Golden-Gate-Install-Drive-Features.jpg?resize=1200%2C628&quality=82&strip=all&ssl=1)
Main Facts: Why a USB Installer Still Matters
While Apple’s Software Update mechanism is the standard for most users, creating a dedicated bootable installer provides a level of autonomy that OTA (Over-the-Air) updates cannot match.
- Offline Deployment: Once the installer is created, you no longer require an active internet connection to initiate a fresh installation of macOS Golden Gate. This is critical for users in regions with limited bandwidth or for those performing multiple upgrades in quick succession.
- System Integrity and Troubleshooting: If your Mac is suffering from critical system errors or startup issues, booting from an external drive allows you to access Disk Utility and Terminal to repair volumes or perform a clean wipe—a necessity for resolving deep-seated OS conflicts.
- Version Control: By maintaining a bootable installer, you gain the ability to perform a "clean slate" install at your convenience, ensuring your system is free from the residual clutter of previous software iterations.
It is important to note that this process is compatible with both the final public release and the developer/public beta versions of macOS Golden Gate.
![How to create a macOS Golden Gate USB install drive [Video]](https://9to5mac.com/wp-content/uploads/sites/6/2026/06/Golden-Gate-Install-Drive-Features.jpg?quality=82&strip=all&w=1600)
Chronology: A Step-by-Step Execution
Creating a bootable installer involves a transition from the GUI (Graphical User Interface) to the command-line interface via the macOS Terminal. Follow these steps meticulously.
Phase 1: Preparing Your Hardware
Before proceeding, you must select an appropriate USB drive. You will need a device with at least 16GB of storage capacity. While a standard flash drive is sufficient, using a high-speed SSD via a USB-C interface can significantly reduce the time required to write the installer files.
![How to create a macOS Golden Gate USB install drive [Video]](https://9to5mac.com/wp-content/uploads/sites/6/2026/06/macOS-GoldenGate-Settings-General-Software-Update-Beta-Updates.jpg?quality=82&strip=all)
- Format the Drive: Connect your USB drive. Open Disk Utility (found in Applications > Utilities). Select your drive from the sidebar, click Erase, and ensure the format is set to Mac OS Extended (Journaled).
- Note: APFS-formatted drives are not supported for creating bootable macOS installers.
- Back Up: Ensure no vital data remains on the drive, as the subsequent process will permanently wipe all existing content.
Phase 2: Acquiring the Installer
Instead of relying on the Mac App Store, power users prefer the precision of the Terminal’s softwareupdate utility.
- Open the Terminal application.
- Enter the following command to view available installers:
softwareupdate --list-full-installers - If you are targeting a beta release, ensure you have enabled Beta Updates in System Settings > General > Software Update.
- Once you have identified the version, trigger the download:
softwareupdate --fetch-full-installer --full-installer-version 27.0
(Replace "27.0" with the specific version number identified in the previous step).
Phase 3: Executing the CreateInstallMedia Command
With the installer file now residing in your Applications folder, you must bridge it to your USB drive.
![How to create a macOS Golden Gate USB install drive [Video]](https://9to5mac.com/wp-content/uploads/sites/6/2026/06/macOS-GoldenGate-Terminal-SoftwareUpdate-available-updates-list.jpg?quality=82&strip=all)
- Right-click the Install macOS Golden Gate app in the Applications folder and select Show Package Contents.
- Navigate to
Contents > Resources. - In Terminal, type
sudofollowed by a space. - Drag the
createinstallmediafile from the Resources folder into the Terminal window. - Type
--volumefollowed by a space. - Locate your USB drive in the
/Volumesdirectory (you can pressCmd + Shift + Gin Finder and type/Volumesto see it). Drag the icon of your USB drive into the Terminal window. - Press Return. You will be prompted for your administrator password. Upon confirmation, the Terminal will begin the process of partitioning and formatting your drive, followed by the transfer of installation assets.
Supporting Data: System Compatibility and Performance
The transition to macOS Golden Gate represents a significant shift in architecture. Early benchmarks suggest that while the OS is highly optimized for Apple Silicon, the installation process benefits significantly from the read/write speeds of modern flash storage.
When creating the installer, users should be aware that the createinstallmedia tool performs a deep-level verification of the filesystem. On slower USB 2.0 drives, this process can take upwards of 30 to 45 minutes. Utilizing a USB 3.1 or USB-C drive typically reduces this window to under 10 minutes. Furthermore, users running on Intel-based Macs must ensure their Firmware Security settings allow for booting from external media via the Startup Security Utility.
![How to create a macOS Golden Gate USB install drive [Video]](https://9to5mac.com/wp-content/uploads/sites/6/2026/06/macOS-GoldenGate-Terminal-SoftwareUpdate-fetch-installer.jpg?quality=82&strip=all)
Official Responses and Best Practices
Apple has consistently maintained that for the vast majority of users, the System Settings update path is the safest and most efficient route. However, the documentation for the createinstallmedia tool remains a standard feature in Apple’s enterprise deployment guides.
Pro-Tip for Beta Testers: If you are installing the macOS Golden Gate beta, it is strongly advised to utilize a secondary APFS volume. By partitioning your internal drive, you can maintain your current, stable installation (e.g., macOS Tahoe) while running the Golden Gate beta in a separate, isolated environment. This "dual-boot" strategy mitigates the risks associated with potential beta instability and ensures that you do not lose access to critical production tools.
![How to create a macOS Golden Gate USB install drive [Video]](https://9to5mac.com/wp-content/uploads/sites/6/2026/06/macOS-Golden-Gate-USB-Installer-jeff-Benjamin-SanDisk-USB-C-drive.jpg?quality=82&strip=all)
Implications: The Future of Mac Maintenance
As Apple moves toward increasingly locked-down system architectures, the ability to perform a hardware-level install becomes more of a niche skill than a general requirement. However, as macOS Golden Gate introduces tighter security protocols and advanced file-system encryption, having a local bootable installer remains the ultimate "fail-safe."
The shift towards these granular, manual installation methods implies a growing importance for IT professionals and power users to maintain their own "toolkit" of installers. As we move into the 2026/2027 computing cycle, the reliance on cloud-based recovery—while convenient—remains subject to the vagaries of network infrastructure.
![How to create a macOS Golden Gate USB install drive [Video]](https://9to5mac.com/wp-content/uploads/sites/6/2026/06/macOS-Golden-Gate-USB-drive-installer-inserting-in-MacBook-Pro.jpg?quality=82&strip=all)
Final Considerations
Once the installation process in Terminal finishes, your USB drive is ready. You can now use it by shutting down your Mac, plugging in the drive, and holding the power button (on Apple Silicon) or the Option key (on Intel Macs) to select the boot volume.
This, ultimately, is the freedom of the Mac platform: the ability to exert total control over your system’s software state. Whether you are a system administrator managing a fleet or a home user who prefers a clean start, the macOS Golden Gate USB installer is the most reliable way to ensure your hardware is performing exactly as you intend.
![How to create a macOS Golden Gate USB install drive [Video]](https://9to5mac.com/wp-content/uploads/sites/6/2026/06/macOS-Golden-Gate-createinstallmedia-drag-and-drop-to-Terminal.jpg?quality=82&strip=all)
Join the Conversation: Are you preparing for the transition to macOS Golden Gate? Will you be performing a fresh install to clear out legacy files, or are you upgrading in place? Share your experiences and any hurdles you encounter in the comments below. For more advanced tutorials and deep dives into the macOS ecosystem, ensure you are subscribed to our newsletter and YouTube channel.
FTC: This article includes affiliate links. Purchases made through these links support our editorial team and independent testing.