In an era defined by the pursuit of graphical fidelity, where ray tracing and hyper-realistic lighting are the gold standards of modern gaming, Minecraft remains a fascinating anomaly. Despite its humble, blocky origins and simple aesthetic, the game’s visual flexibility is unparalleled. For millions of players, the "default" look is merely a canvas—a starting point for a complete transformation.

Whether you are looking to capture the haunting beauty of a sunset, the oppressive dread of a horror-themed build, or the crisp, modern aesthetic of high-end rendering, shader packs act as the ultimate catalyst for change. By injecting advanced lighting, fluid physics, and atmospheric effects into the engine, these mods allow users to push their hardware—and their creative vision—to the limit. This guide explores the evolution of the shader landscape, the top-tier packs available for both Java and Bedrock editions, and the technical implications of modifying your game’s visual core.
The Evolution of Minecraft Aesthetics
Minecraft was never designed to be a graphical powerhouse. Its charm lies in its simplicity. However, the community’s desire to "modernize" the experience has driven a decade of innovation in the modding scene.

A Brief Chronology
The early days of Minecraft modding (circa 2011-2012) were marked by simple lighting tweaks. It wasn’t until the release of the "GLSL Shaders" mod that the community truly began to experiment with screen-space effects.

- The Early Era: Projects like SEUS (Sonic Ether’s Unbelievable Shaders) redefined what players thought was possible, introducing real-time shadows and dynamic lighting.
- The Optimization Era: As shaders became more complex, they became "taxing." This led to the rise of performance-focused packs like Vanilla Plus, which proved that visual beauty didn’t necessarily require a top-tier GPU.
- The Modern Era: Today, we see a focus on niche aesthetics—VHS filters, body-camera simulations, and ray-traced lighting models that aim to replicate the "Super Duper Graphics" update that Mojang famously cancelled.
Top-Tier Shaders: A Curated Selection
The following selection highlights the most impactful shader packs currently dominating the scene, categorized by their distinct visual philosophies.

1. The Realism Enthusiasts: Continuum and BSL
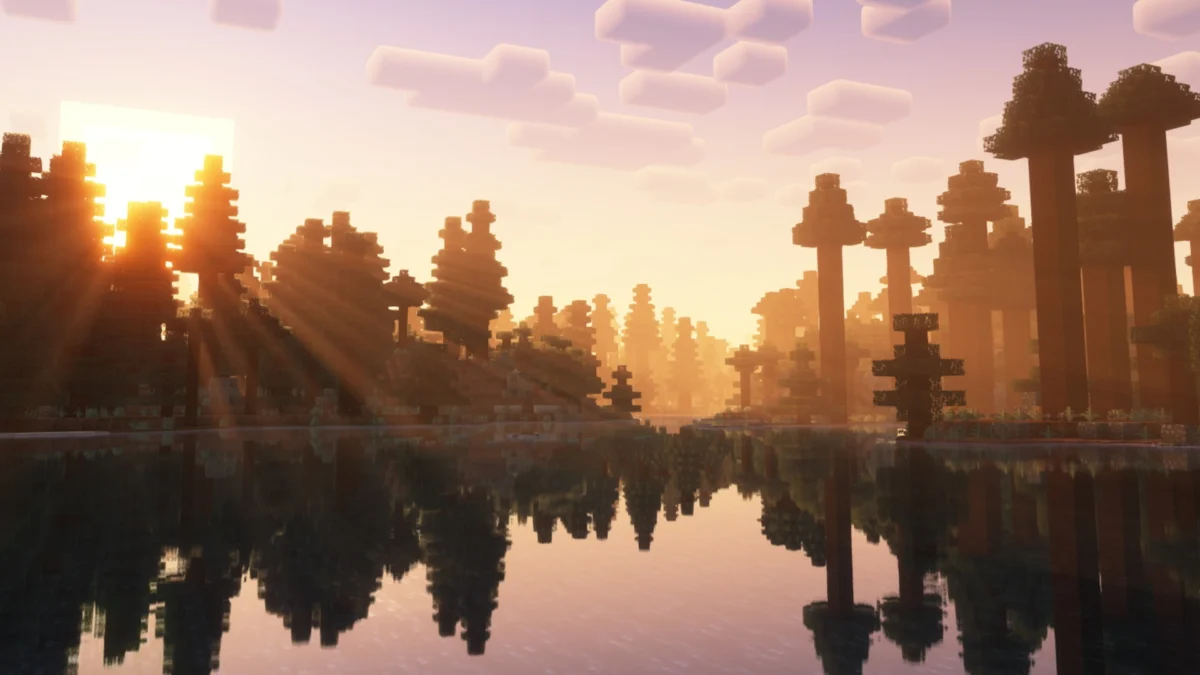
For players seeking a "next-gen" look, Continuum Shaders remains the gold standard for photo-realism. It features advanced color gradients and shadows that shift with the sun’s angle. Similarly, BSL Shaders is often cited as the perfect balance between performance and beauty. It offers a warm, inviting atmosphere that feels "natural" without straying too far from the game’s core identity.

2. The Atmospheric Specialists: Bliss and Spooklementary
If you want your world to feel alive, Bliss Shaders is the premier choice. It introduces thick, mystical fog and dynamic weather patterns that change the mood of entire biomes. For those who enjoy a darker, more unsettling experience, Spooklementary—a horror-focused spin on the popular Complementary pack—adds a layer of grime, dense atmosphere, and eerie lighting that makes survival feel significantly more precarious.
3. The Stylistic Pioneers: Body Camera and PSX
Some shaders aim to change the genre rather than just the lighting. The Body Camera Shader by LoLip_p introduces fisheye effects and realistic exposure, turning a standard survival session into a found-footage horror experience. Conversely, the Minecraft PSX Shader provides a beautiful, pixelated nostalgia trip, perfectly replicating the shaky, low-resolution aesthetic of 1990s console gaming.

4. The Faithful Upgraders: Vanilla Plus and Rethinking Voxels
Not every player wants a total transformation. Vanilla Plus offers a streamlined, pastel-toned overhaul that keeps the game looking like Minecraft, just "better." Meanwhile, Rethinking Voxels is the go-to for players who want the Minecraft RTX experience without needing a specific high-end card, as it intelligently re-renders light sources to mimic high-end ray tracing.

Supporting Data: Performance vs. Visual Fidelity
Modifying Minecraft is a trade-off. Even the most lightweight shaders like Stracciatella require more GPU overhead than the base game.

| Shader Pack | Primary Focus | Hardware Demand |
|---|---|---|
| Vanilla Plus | Subtle Enhancement | Low |
| BSL | Balanced Beauty | Moderate |
| Continuum | Extreme Realism | High |
| Spooklementary | Horror/Mood | Moderate |
When choosing a pack, consider your PC’s thermal headroom. While some shaders allow for extensive toggling (motion blur, film grain, depth of field), others are locked to a specific rendering path that can cause significant frame-rate drops on older systems.

Official Perspectives and the Future of Bedrock
Mojang has acknowledged the community’s desire for improved visuals, most notably through the "RenderDragon" engine update in Bedrock Edition. While the official "Super Duper" update was cancelled, the implementation of "Vibrant Visuals" in Bedrock has opened the door for a new generation of shaders.

The Bedrock Renaissance
Bedrock Edition is historically harder to mod than Java, but recent years have seen an explosion in high-quality packs. Revolution Vibrant Visuals and Lumenix are leading the charge, proving that Bedrock players no longer have to envy the Java modding scene. These packs work within the official engine framework to deliver high-fidelity reflections and shadows that feel integrated rather than "tacked on."

Technical Implications: How to Install
Installing these modifications requires careful attention to compatibility.

Java Edition Installation
- Framework: Install a performance loader such as Fabric or Forge.
- Shader Engine: Download Iris (for Fabric) or Optifine (for Forge/Vanilla). These are the bridges that allow the game to interpret shader code.
- Placement: Navigate to your
.minecraft/shaderpacksfolder and drop the downloaded.zipfile inside. - Activation: Once in-game, navigate to Options > Video Settings > Shader Packs and select your desired file.
Bedrock Edition Installation
- File Format: Ensure you have the correct
.mcpackfile. - Importing: Double-clicking the file will typically trigger an import directly into your Minecraft client.
- Activation: In your World Settings, go to "Resource Packs" and ensure the shader is active in the "Active" tab.
Note: Always verify that your shader version matches your game version to prevent graphical glitches or game crashes.
Implications for the Player Experience
The use of shaders fundamentally alters how players interact with the world of Minecraft. A build that looks average in default settings can become a masterpiece under the soft, volumetric lighting of a well-configured shader pack.
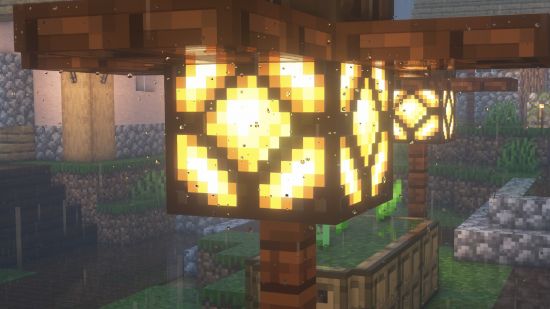
However, there is an "uncanny valley" effect to consider. Sometimes, making Minecraft look too realistic—such as using hyper-realistic water textures—can clash with the blocky, low-poly nature of the assets. The best shaders are those that find harmony between the geometry of the game and the complexity of the lighting.
Whether you are a builder looking to create the perfect cinematic shot for social media, or a survivalist wanting to be genuinely terrified of the dark, the current shader landscape offers something for everyone. By carefully selecting your tools and managing your hardware performance, you can transform your Minecraft experience from a simple game into a personal, visual odyssey.